Egg Box Monsters
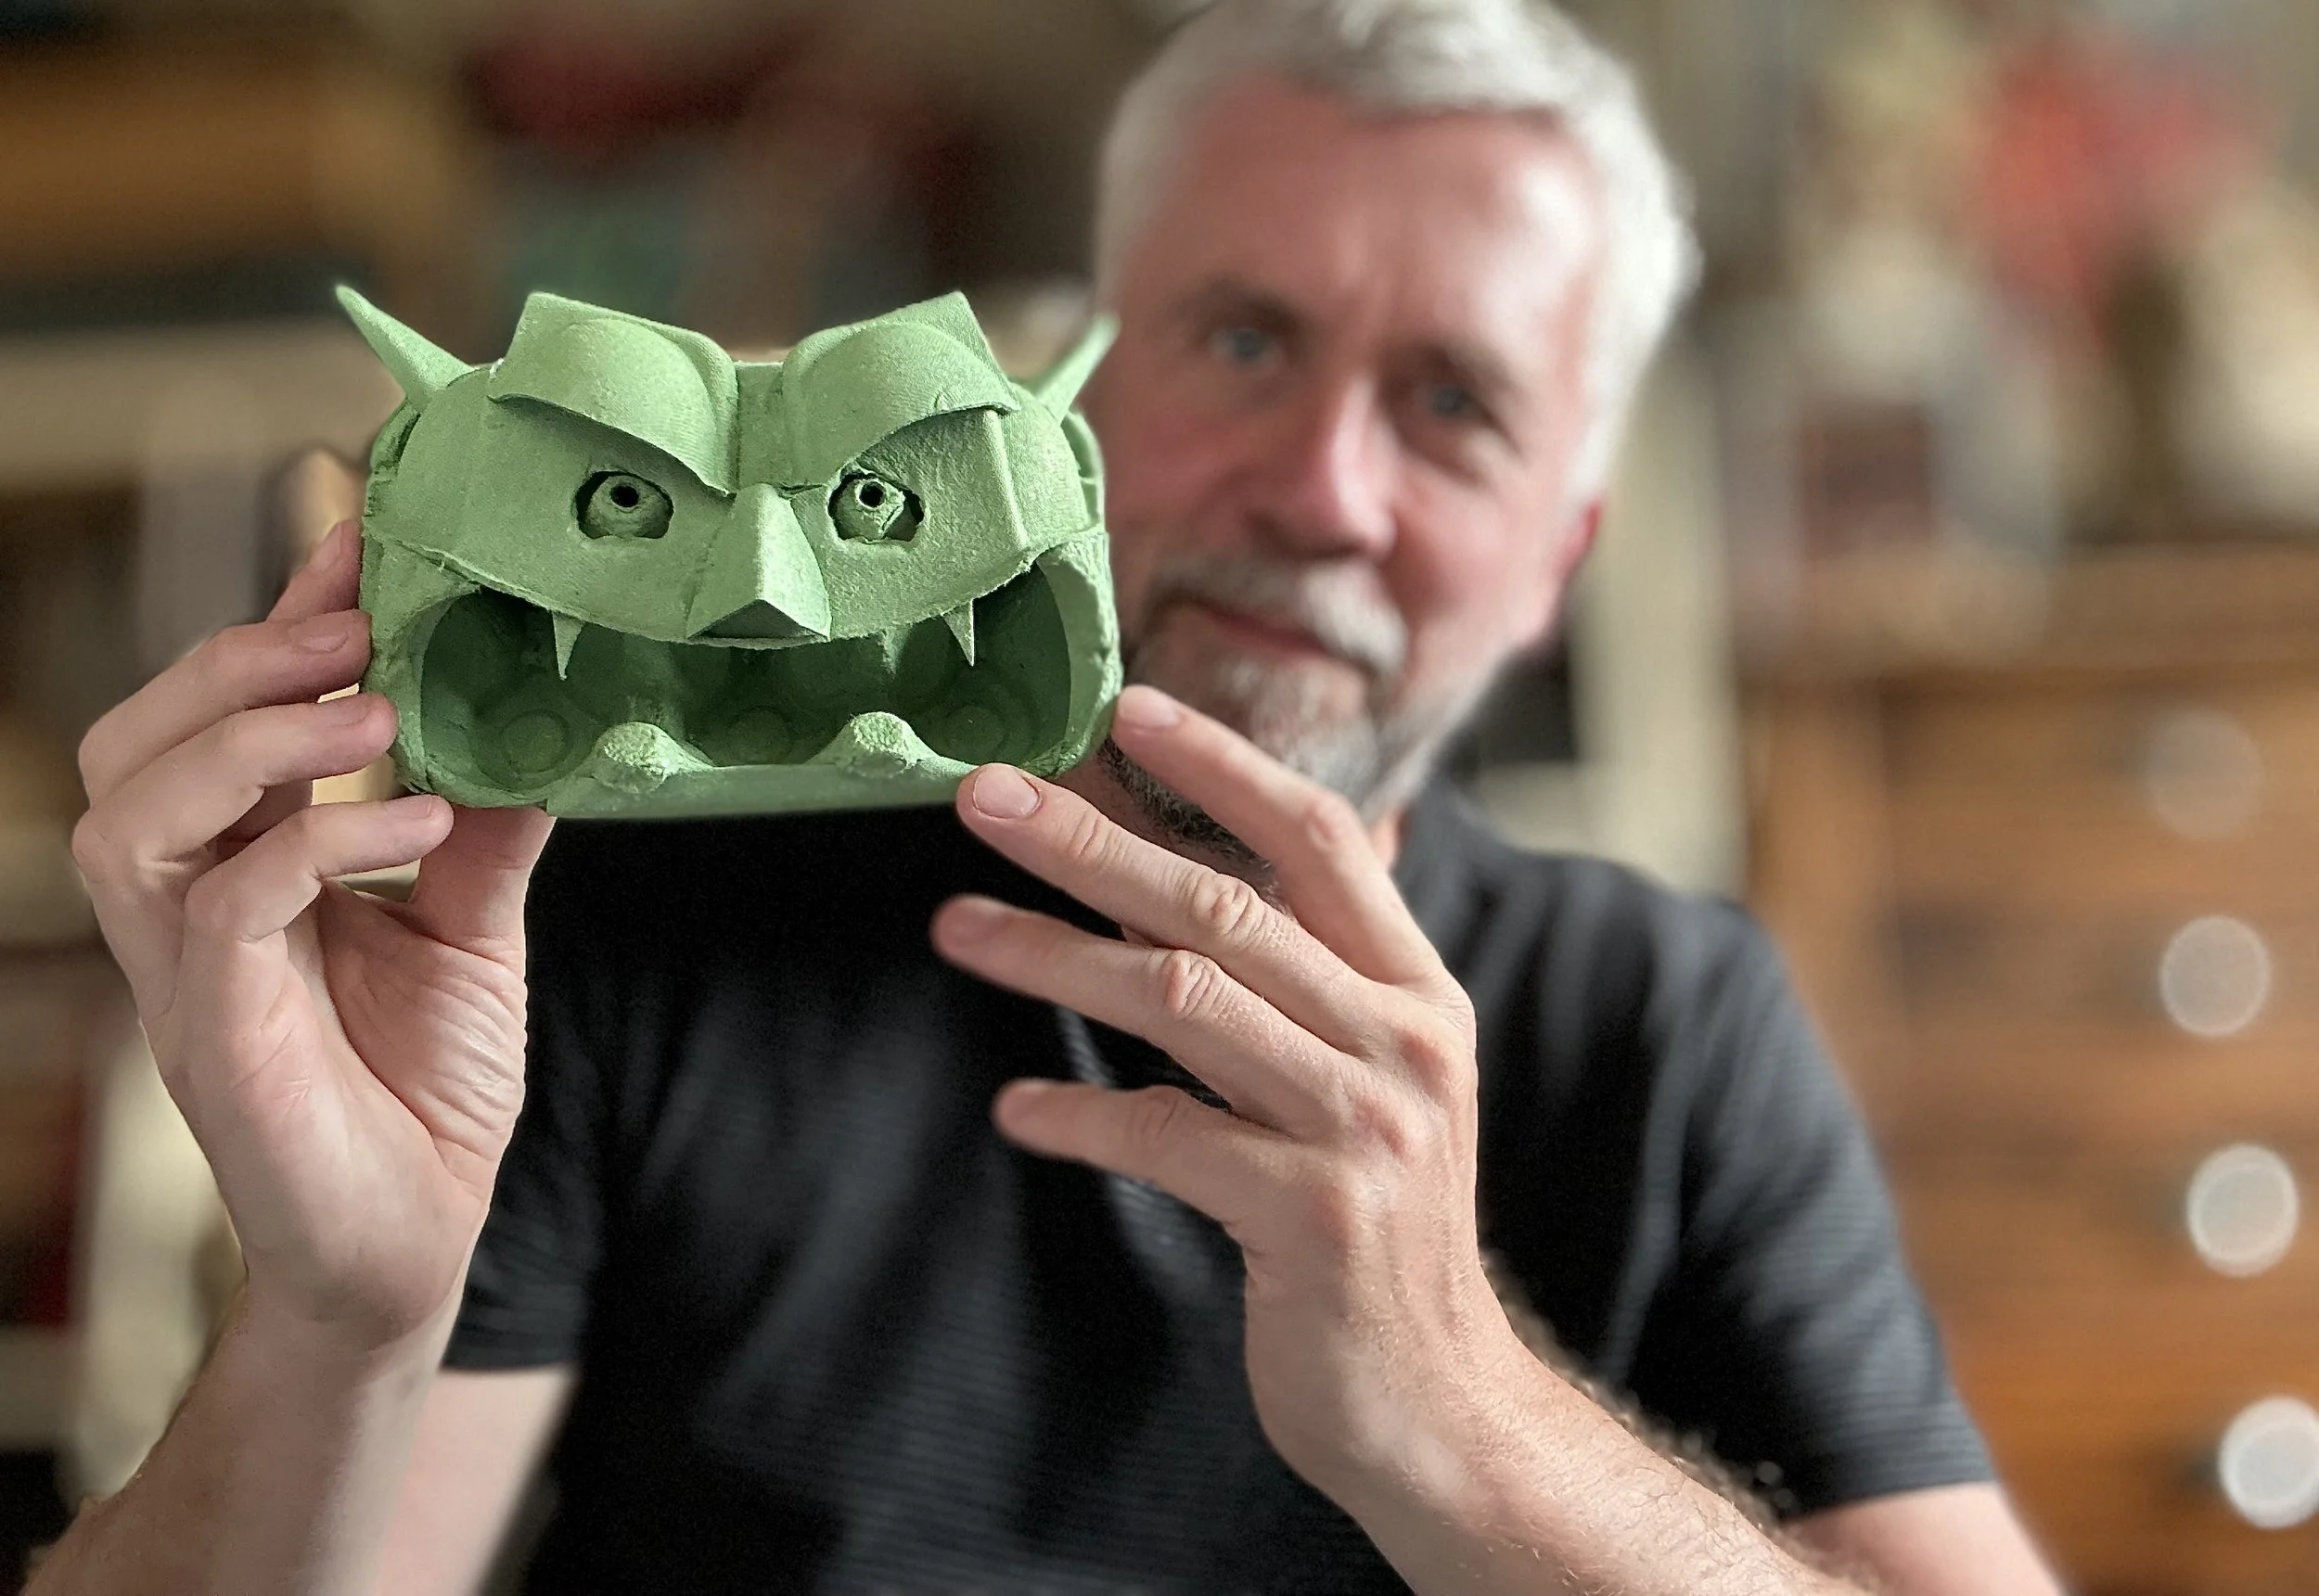
So, here are my latest egg box creations ‘EGG BOX MONSTERS’ . . . just in time for this year’s Halloween!

E G G B O X M O N S T E R S
Of course, a monster isn’t just for Halloween, every day can be monstrous . . .
Now, if you know my work you’ll already know, I like to use cheap available materials, I don’t like to throw stuff away, I try to be resourceful and use as much of the materials as possible, and I don’t like adding unnecessary bits and pieces, especially if they aren’t recyclable. This is what I call ‘Pure Making’ . . . and this little project is a perfect example.
‘Pure Making’ is a concept I came up with nearly 20 years ago, and it’s one of the main recurring themes in my bestselling book ‘Art Shaped’.
So . . . back to the monsters . . .
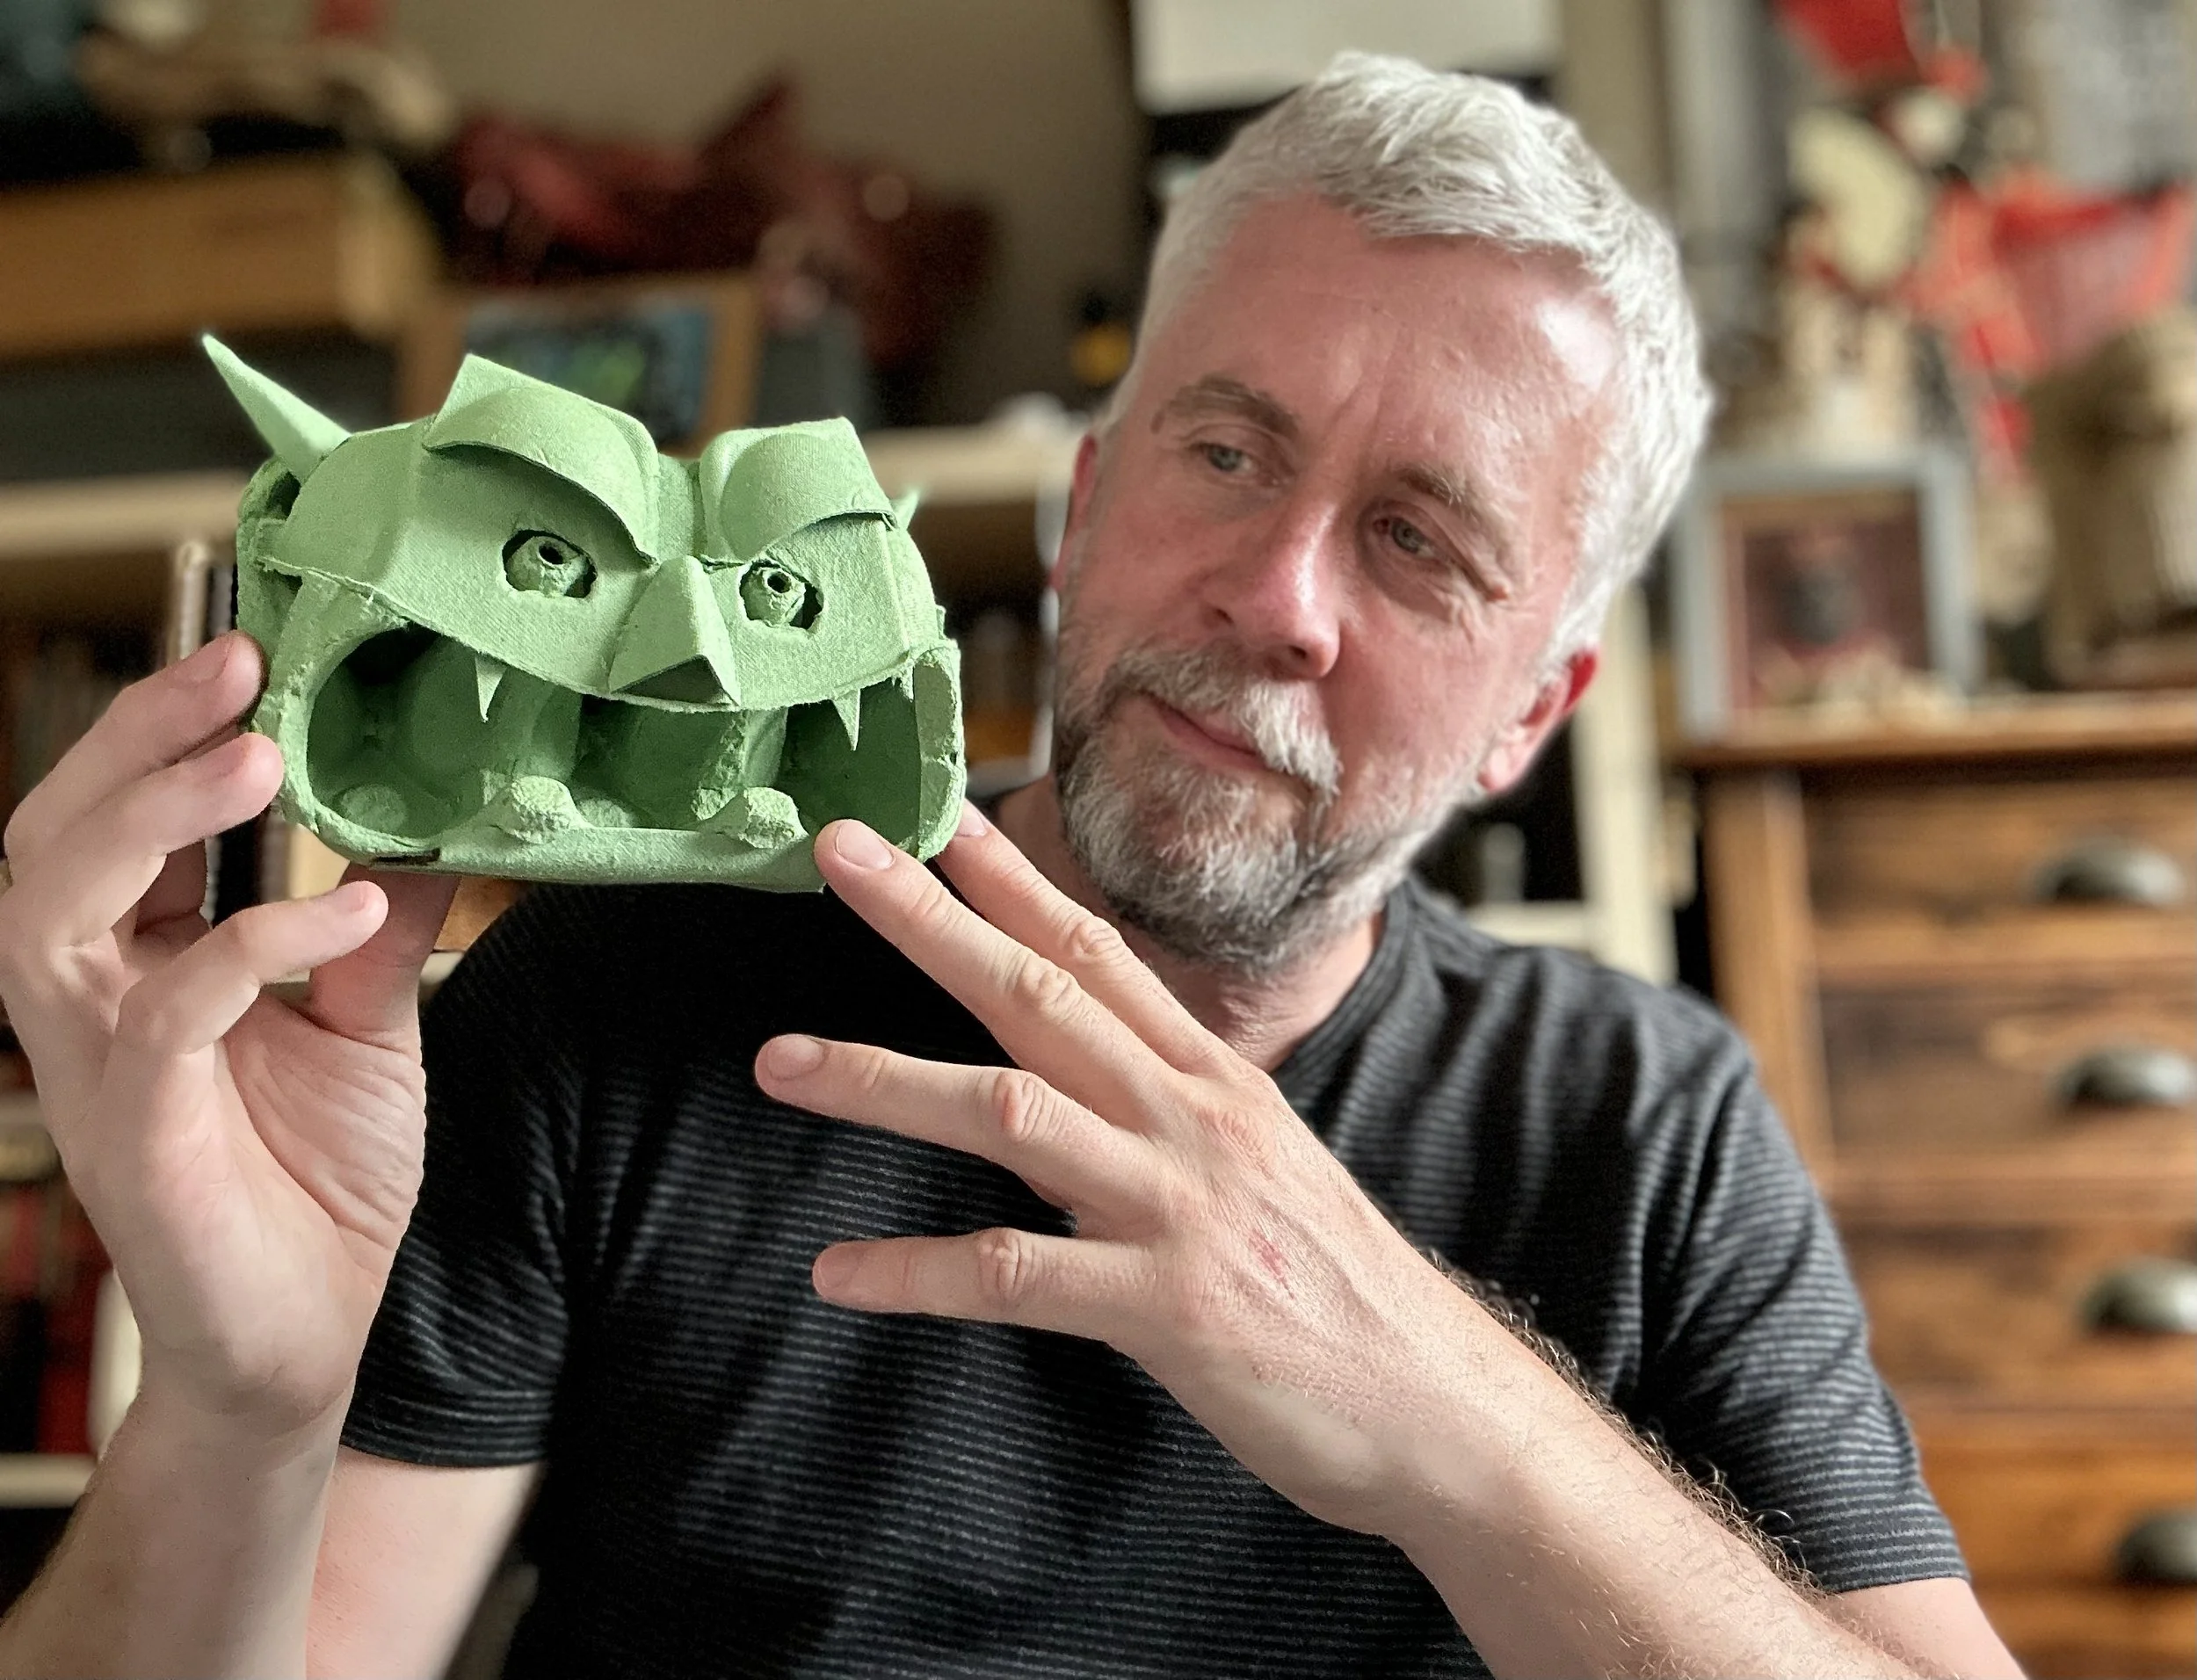
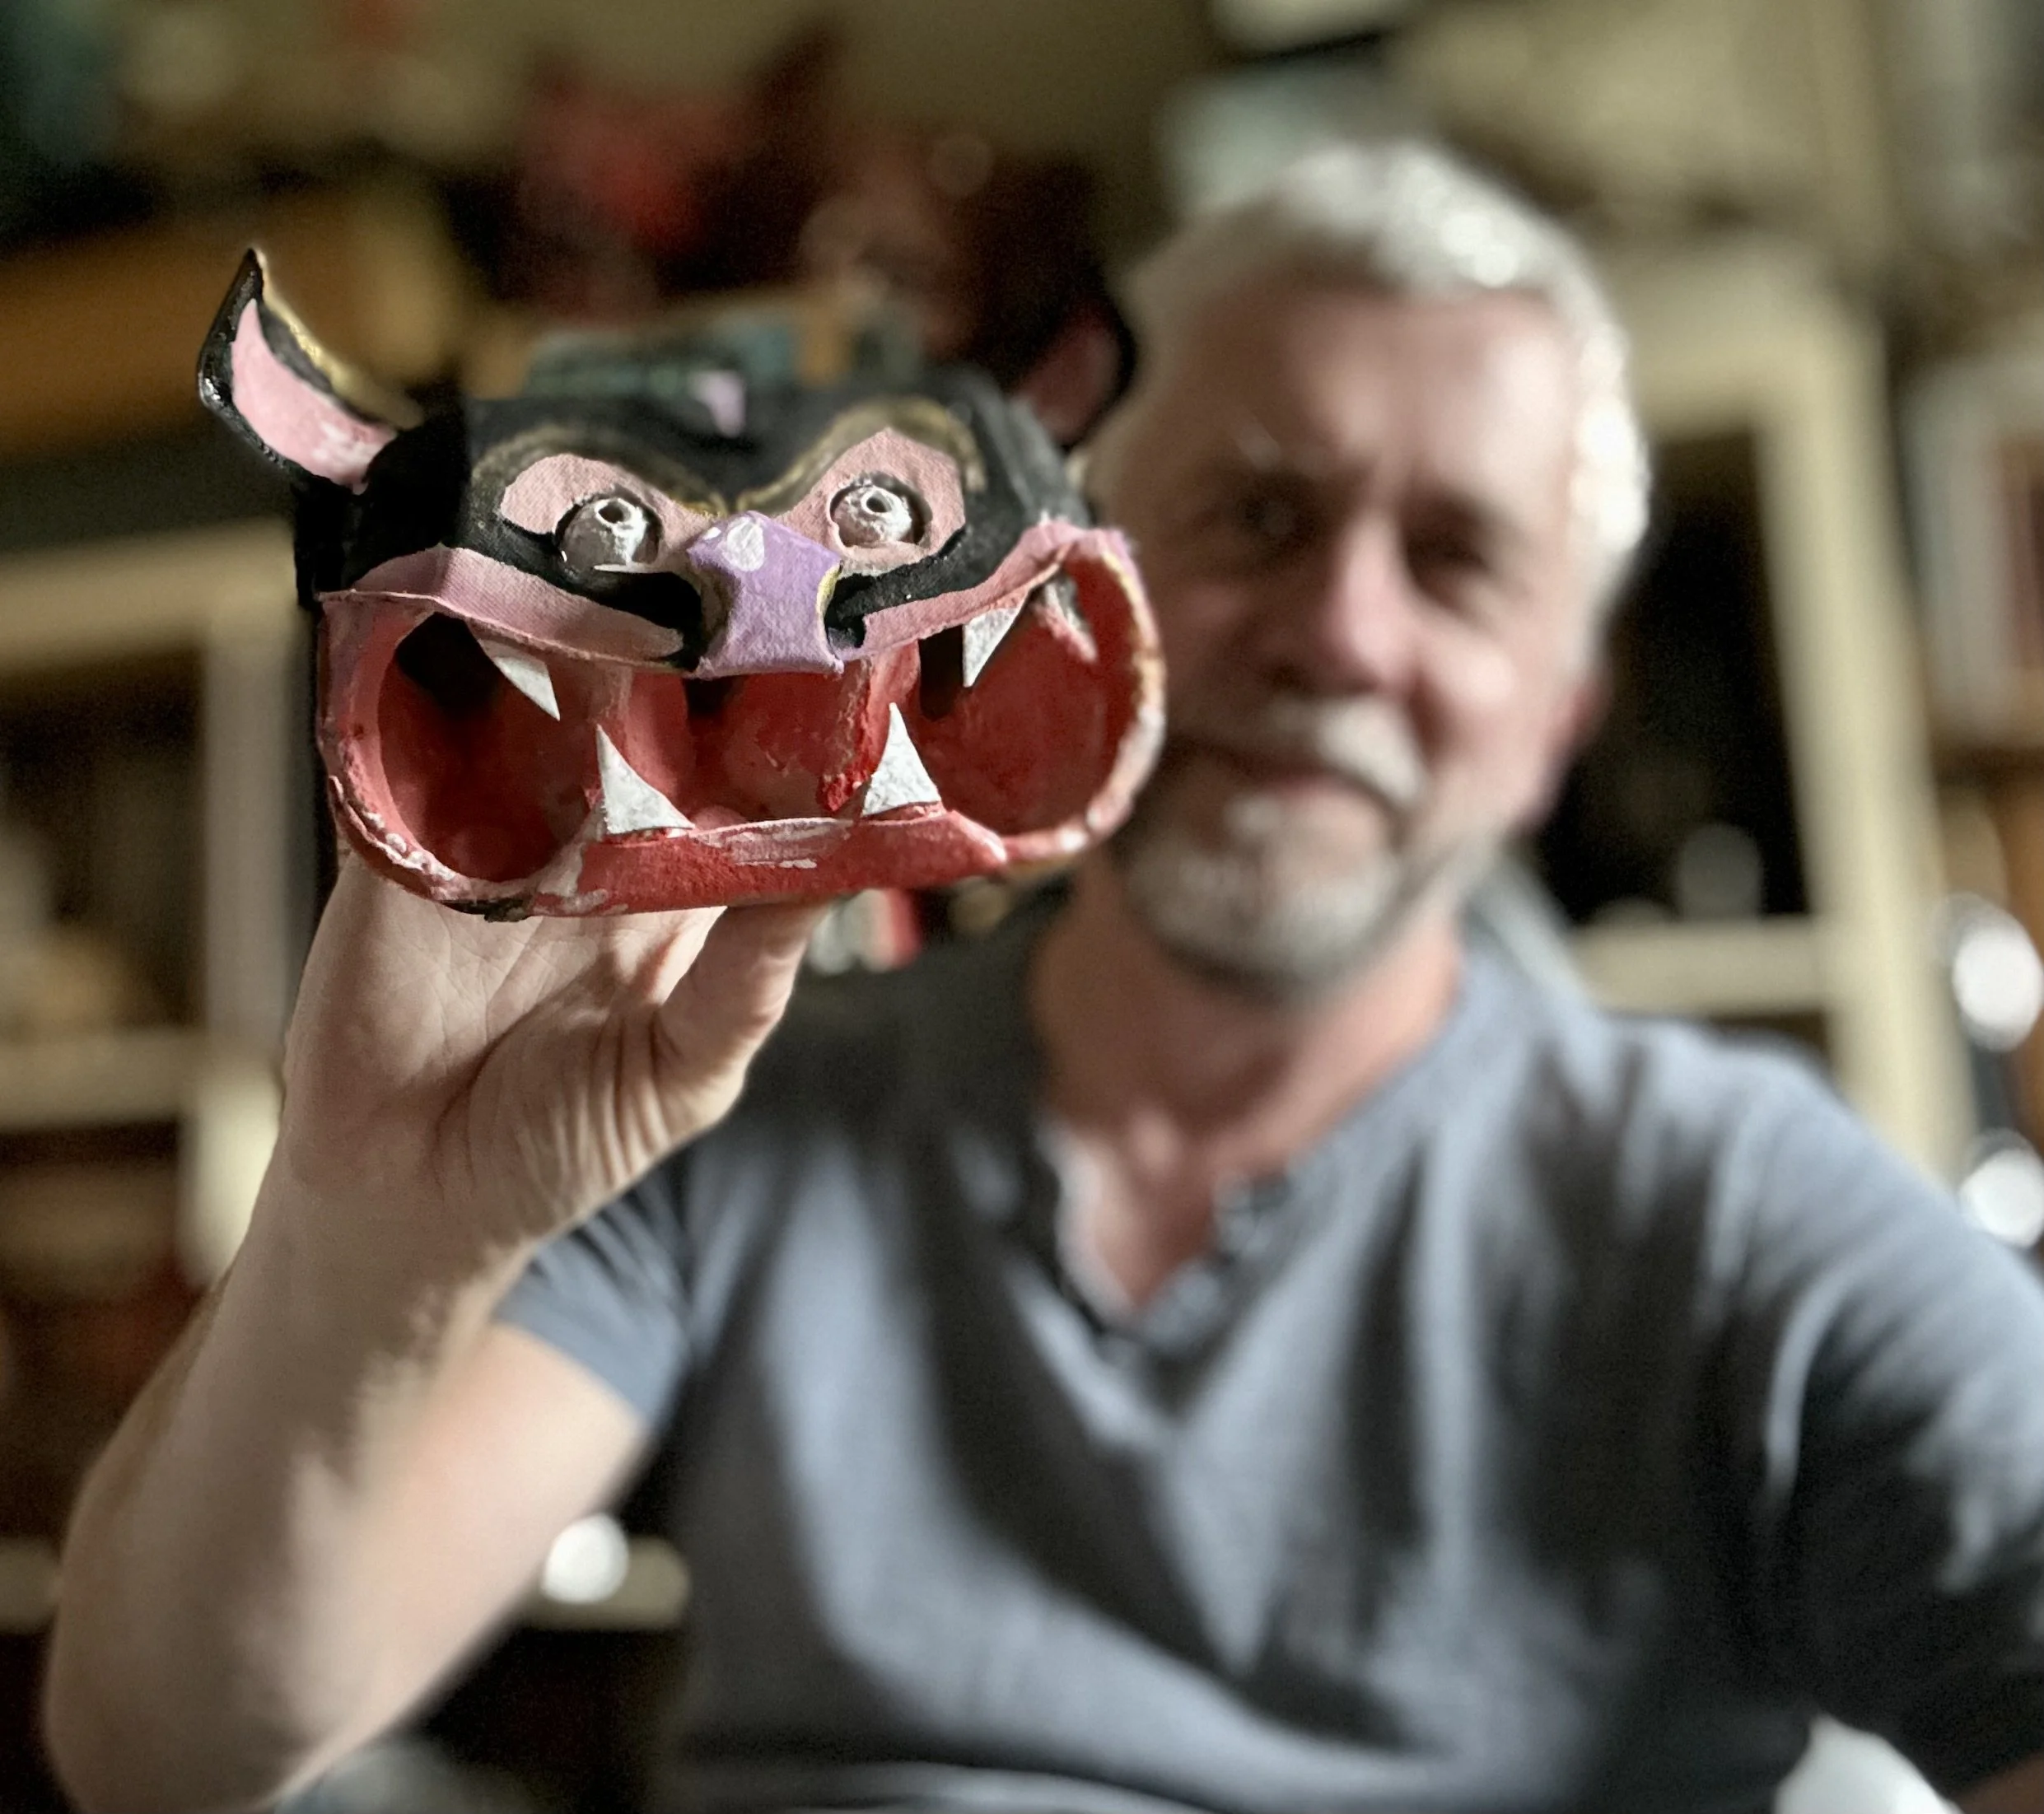
Monster & Me
Egg boxes are always fabulous for making, they already have so many shapes wrapped up in their design . . . curves, folds, flat pieces, angles, and they have a beautiful texture that makes them easy to glue and paint.
I’ve used one whole egg box for each of my designs, using every part. The only other materials I needed were a pencil, a pair of scissors, some PVA glue (I’ve used the slightly stronger ‘wood glue’ which I prefer but school PVA will do the job) and some tape, just to hold things together while they dry.
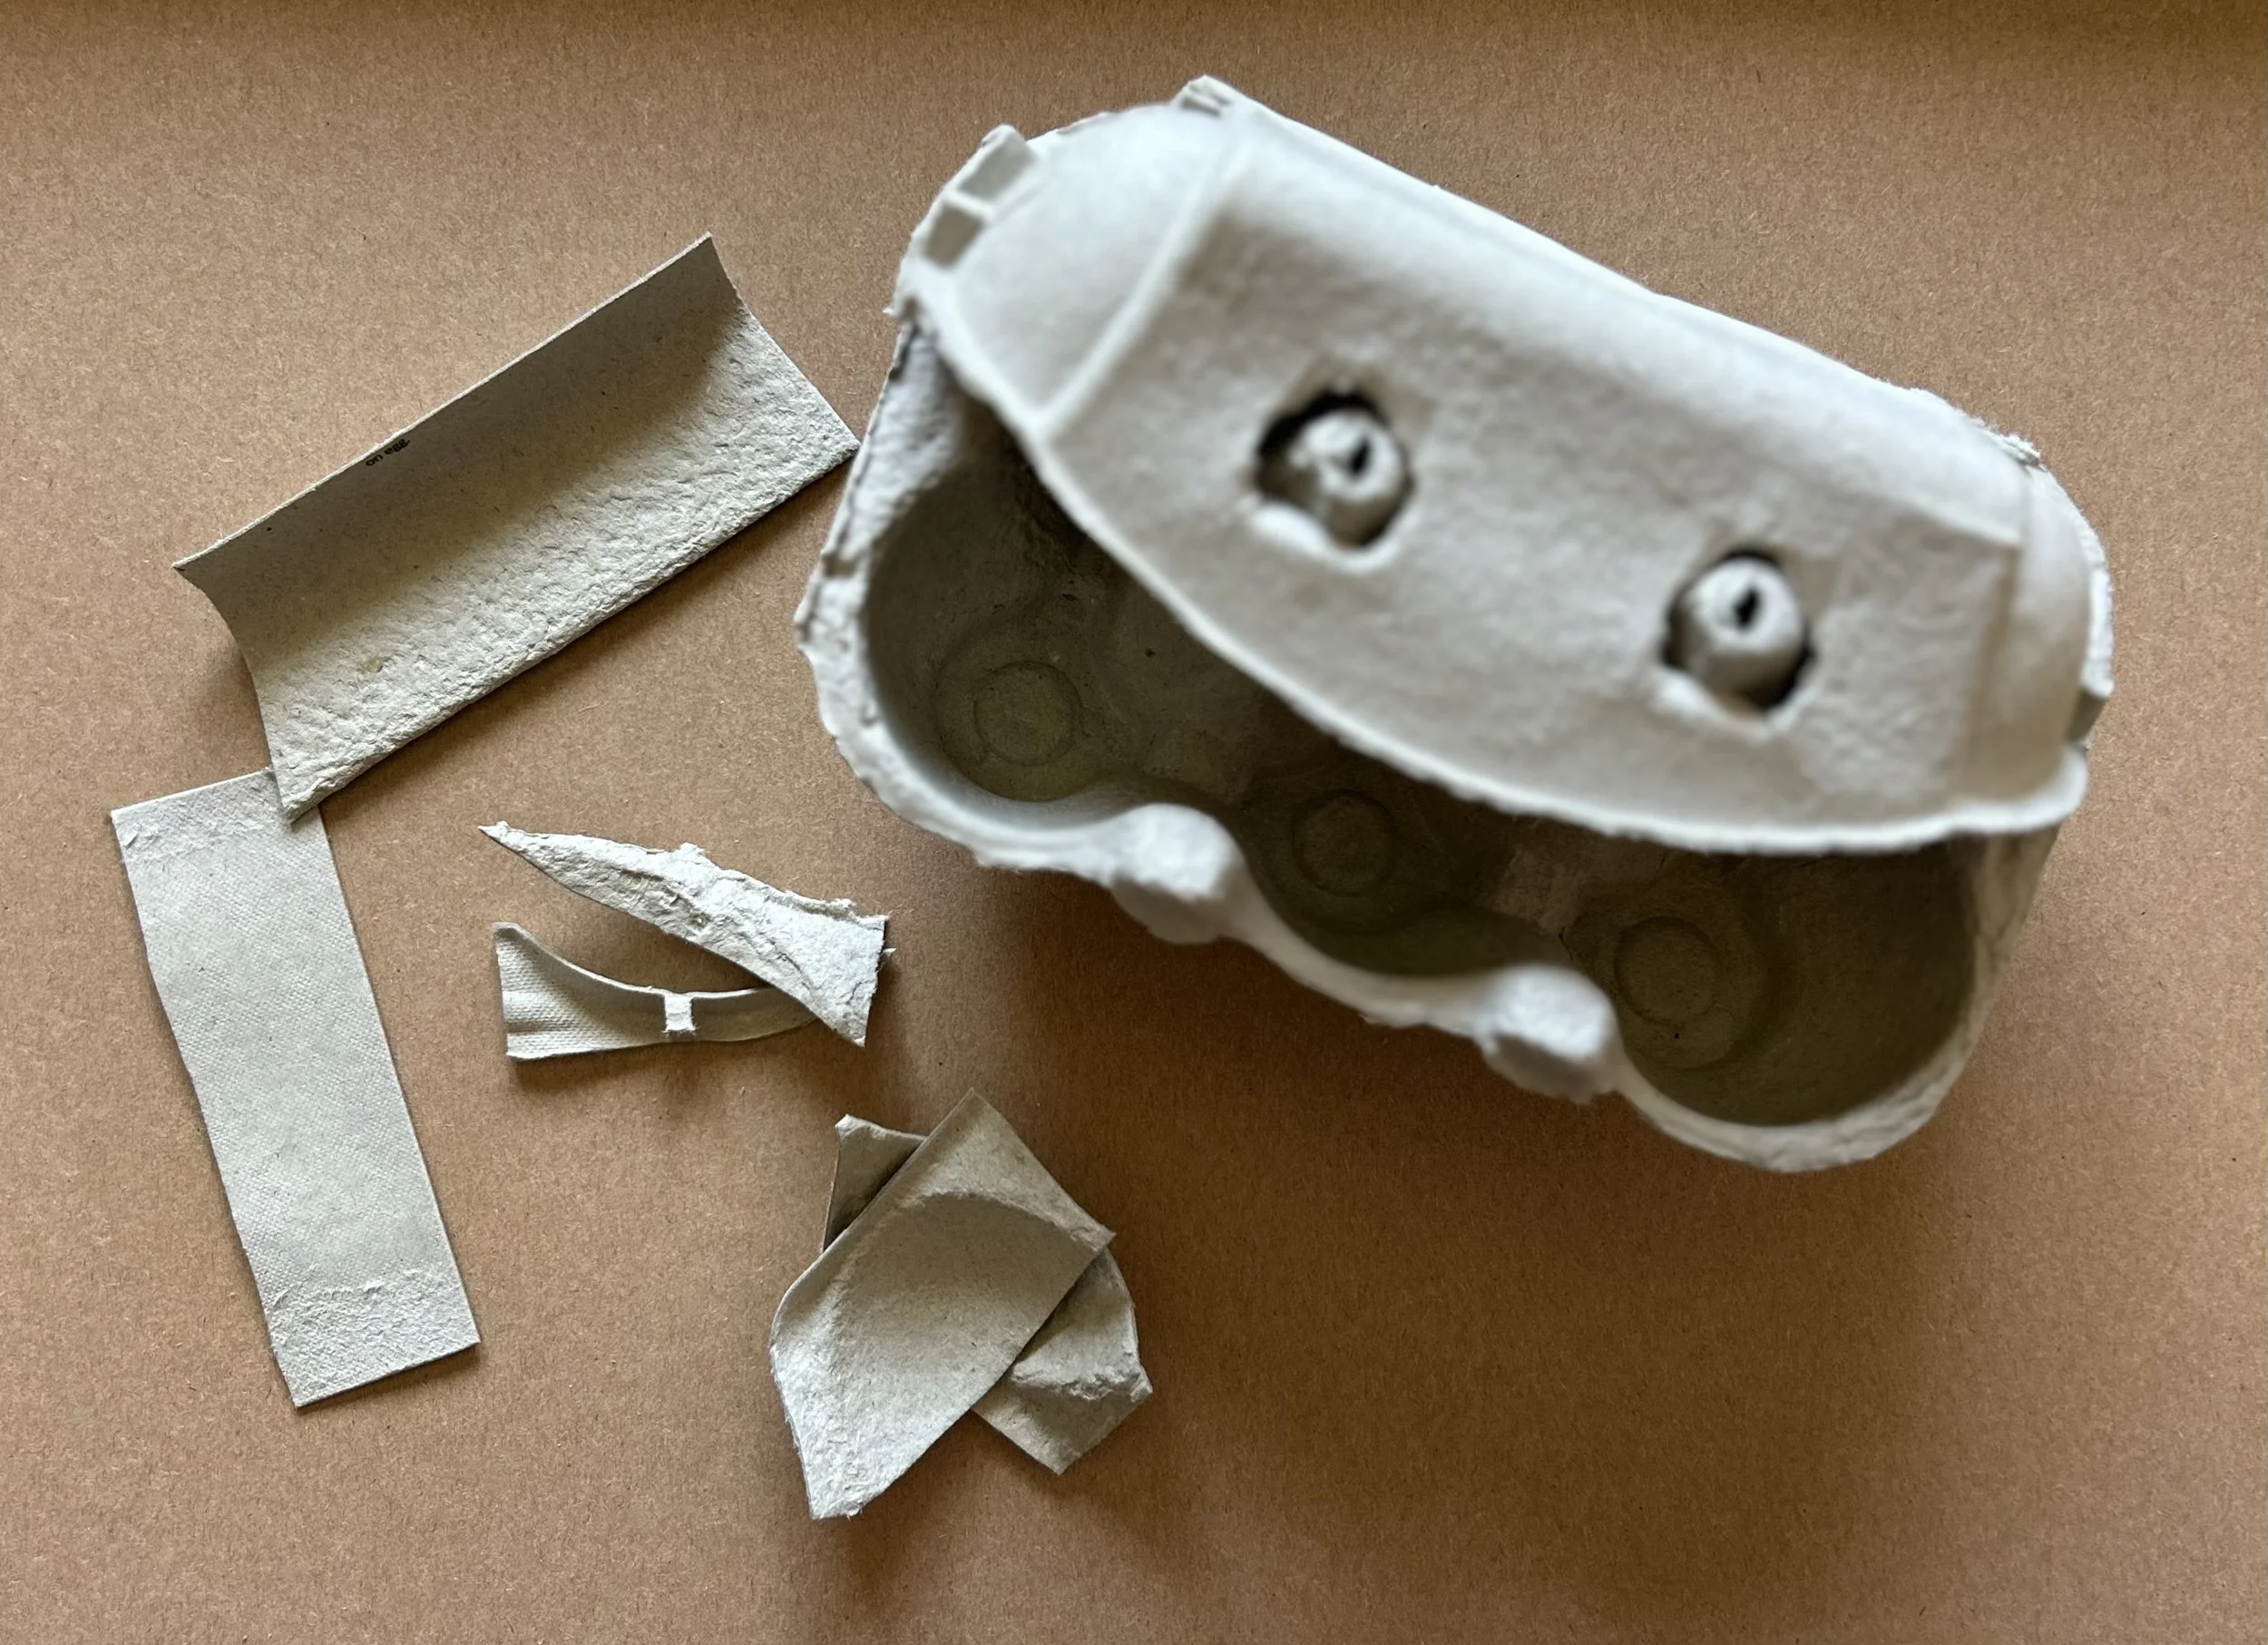
The first task is easy, cut the egg box in half where the hinge is so that the base and the lid are separate. Then, cut the lid in half down the centre lengthways . . . like this.

The base of the egg box, and the lid cut in half lengthways.
You should be able to position the one half of the lid (the one with the holes in it) so that it fits onto the two protruding points, making the eyes. * If your egg box hasn’t got these holes it would be really easy to mark their position with a pencil, careful push the pencil through the box at that point, and then cut out the two circular holes.

The one half of the lid positioned over the ‘eyes’.
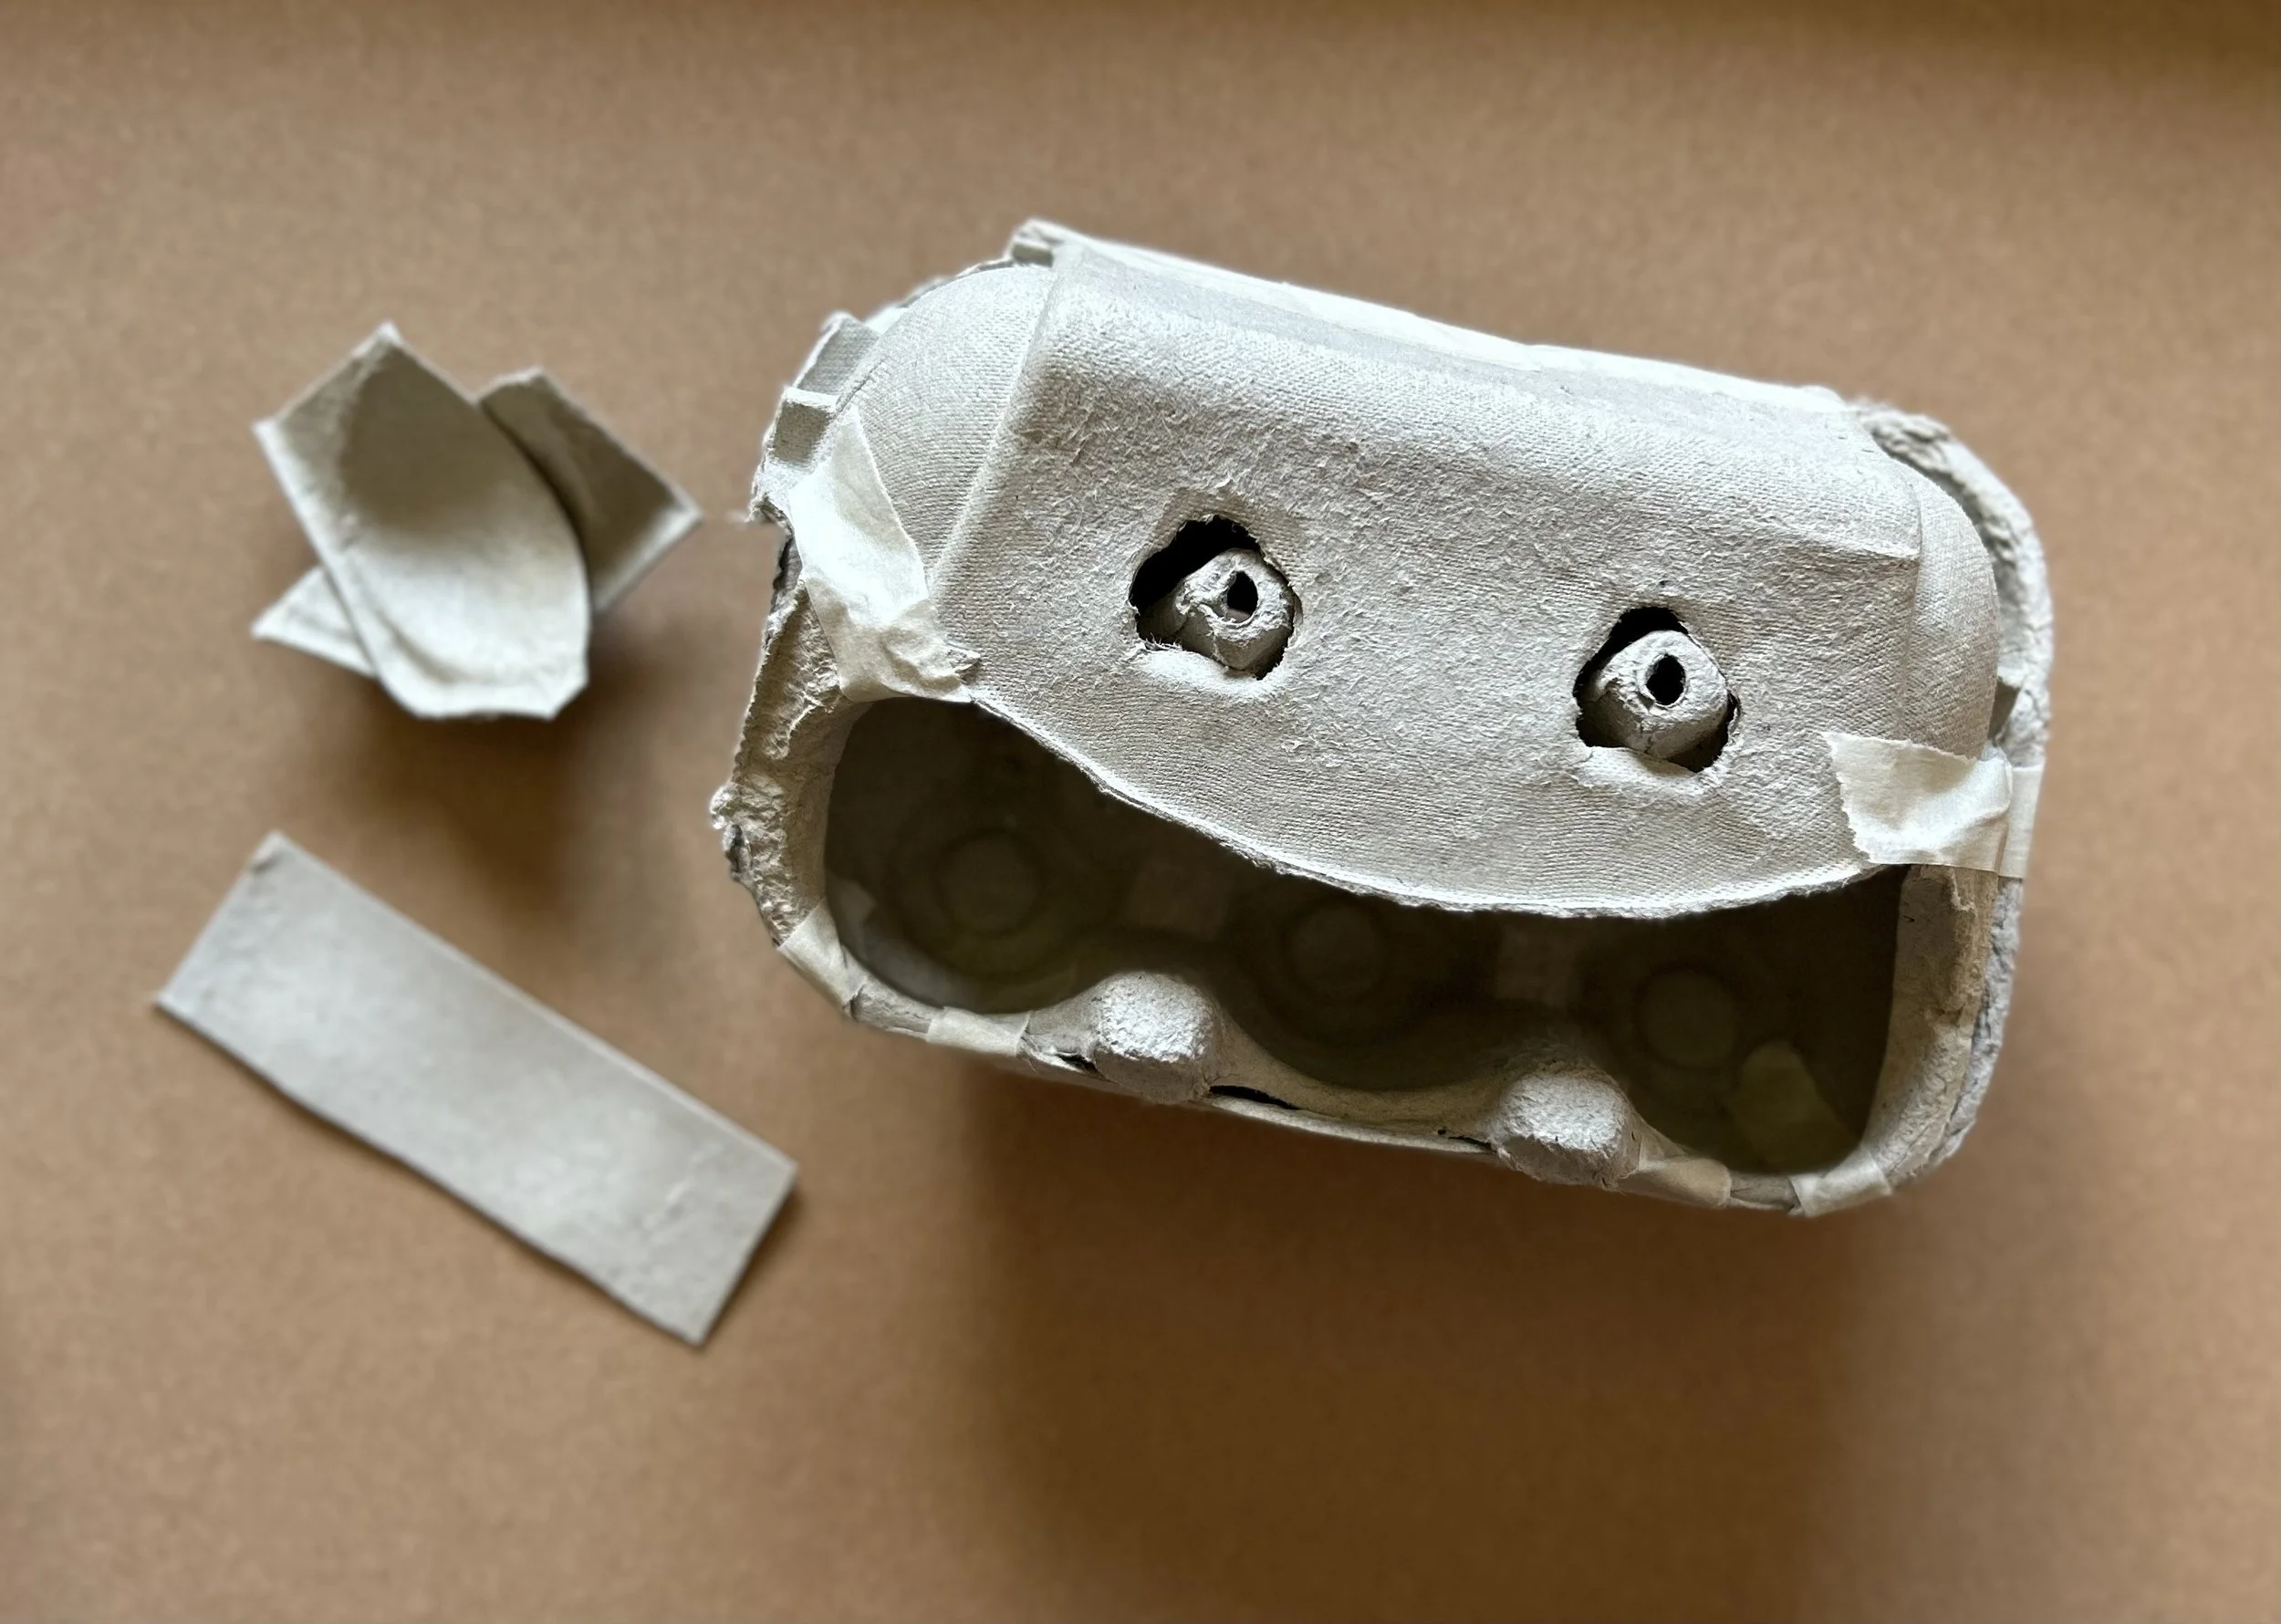
I’ve then glued this into position, just by pasting glue along the top edge and temporarily taping that together along the top of the box.
The other half of the lid, cut into different pieces.
I’ve then taken the other half of the lid and cut it into some other shapes. (these are clearly shown in the video)
It’s symmetrical, so I’ve sliced off two thin triangular slithers off either end (in the centre of the photo above) Next I’ve cut the curved semi-circular sections off, again one off each end. Finally, I’ve cut the flatter piece into two halves, one has a fold running the whole length, the other is just a flat rectangle.
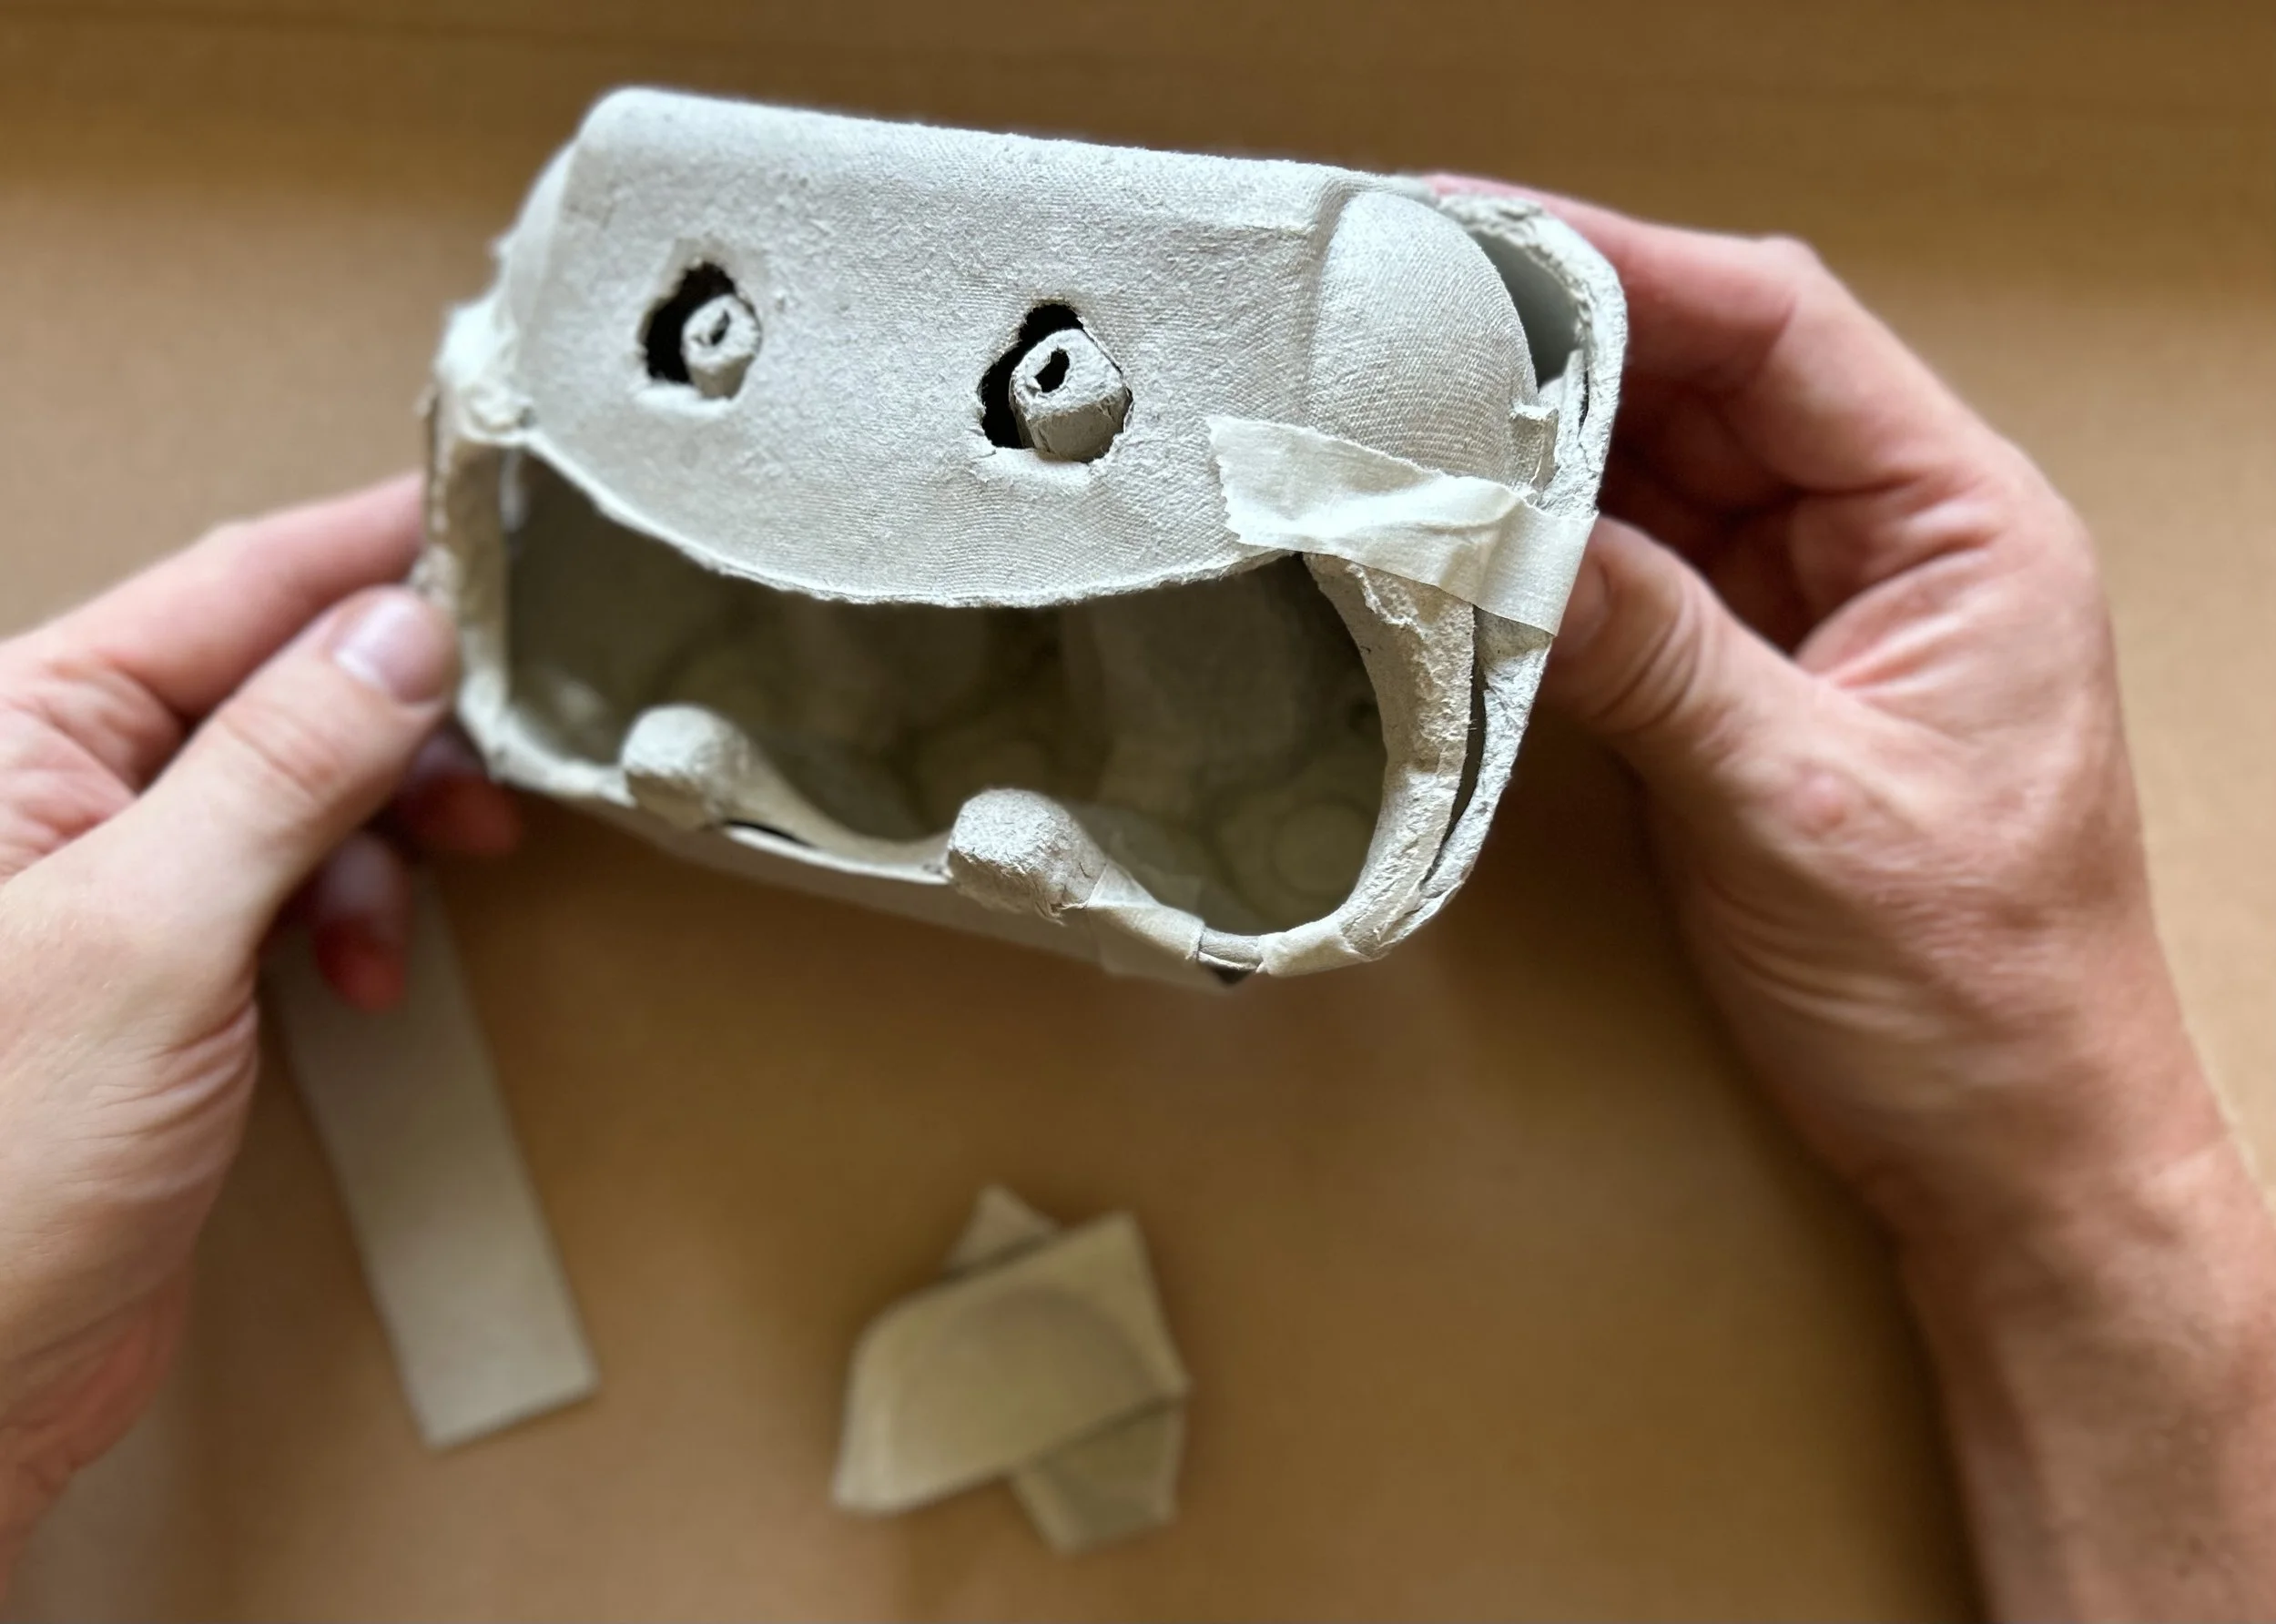
The chin, and the mouth.
The long piece with the fold can be glued under the open mouth like a ‘chin’, making that section stronger. (see video) You can just about see it on the above photo, it’s glued (and taped) underneath those bottom teeth.
The two thin triangular pieces are used to join the top and bottom jaws, one on either side. You can see in the photo above how I’ve put the ‘fatter’ end at the top by the cheek, and then connected the thinner bottom end to the lower lip. These have been glued, and then taped to hold them steady.
Then, there’s only three shapes left, the flat rectangle, and the two curves pieces.
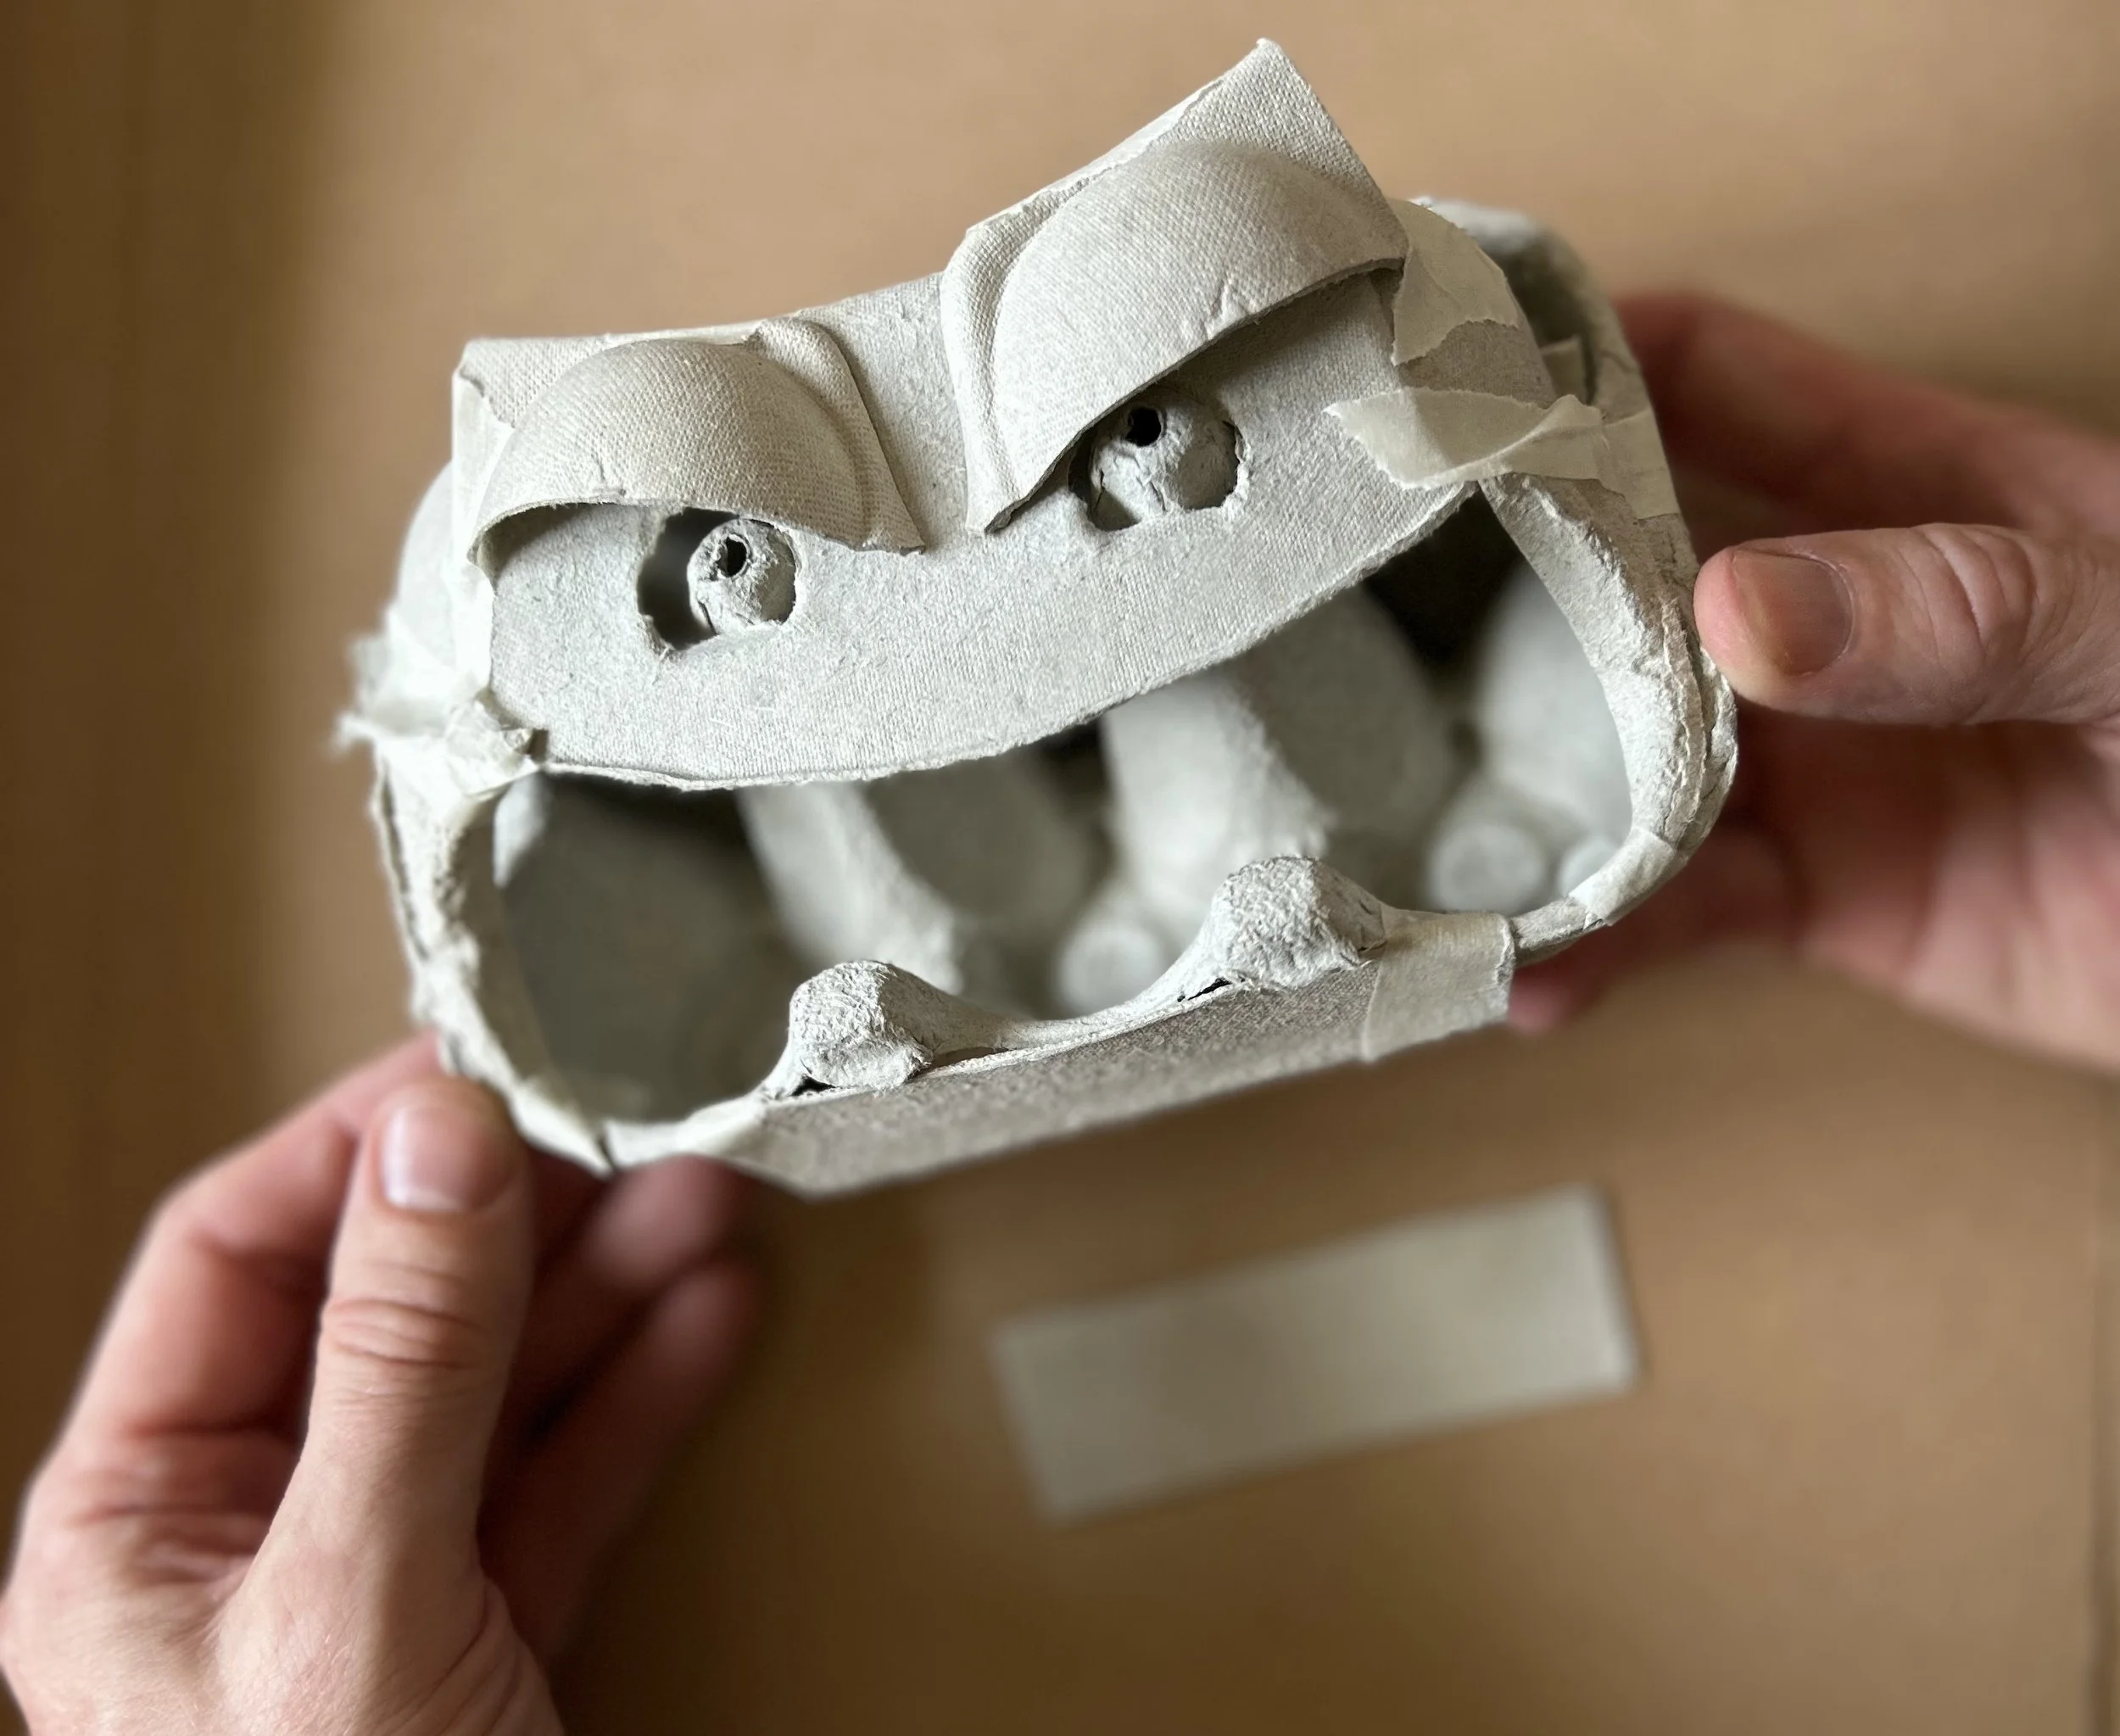
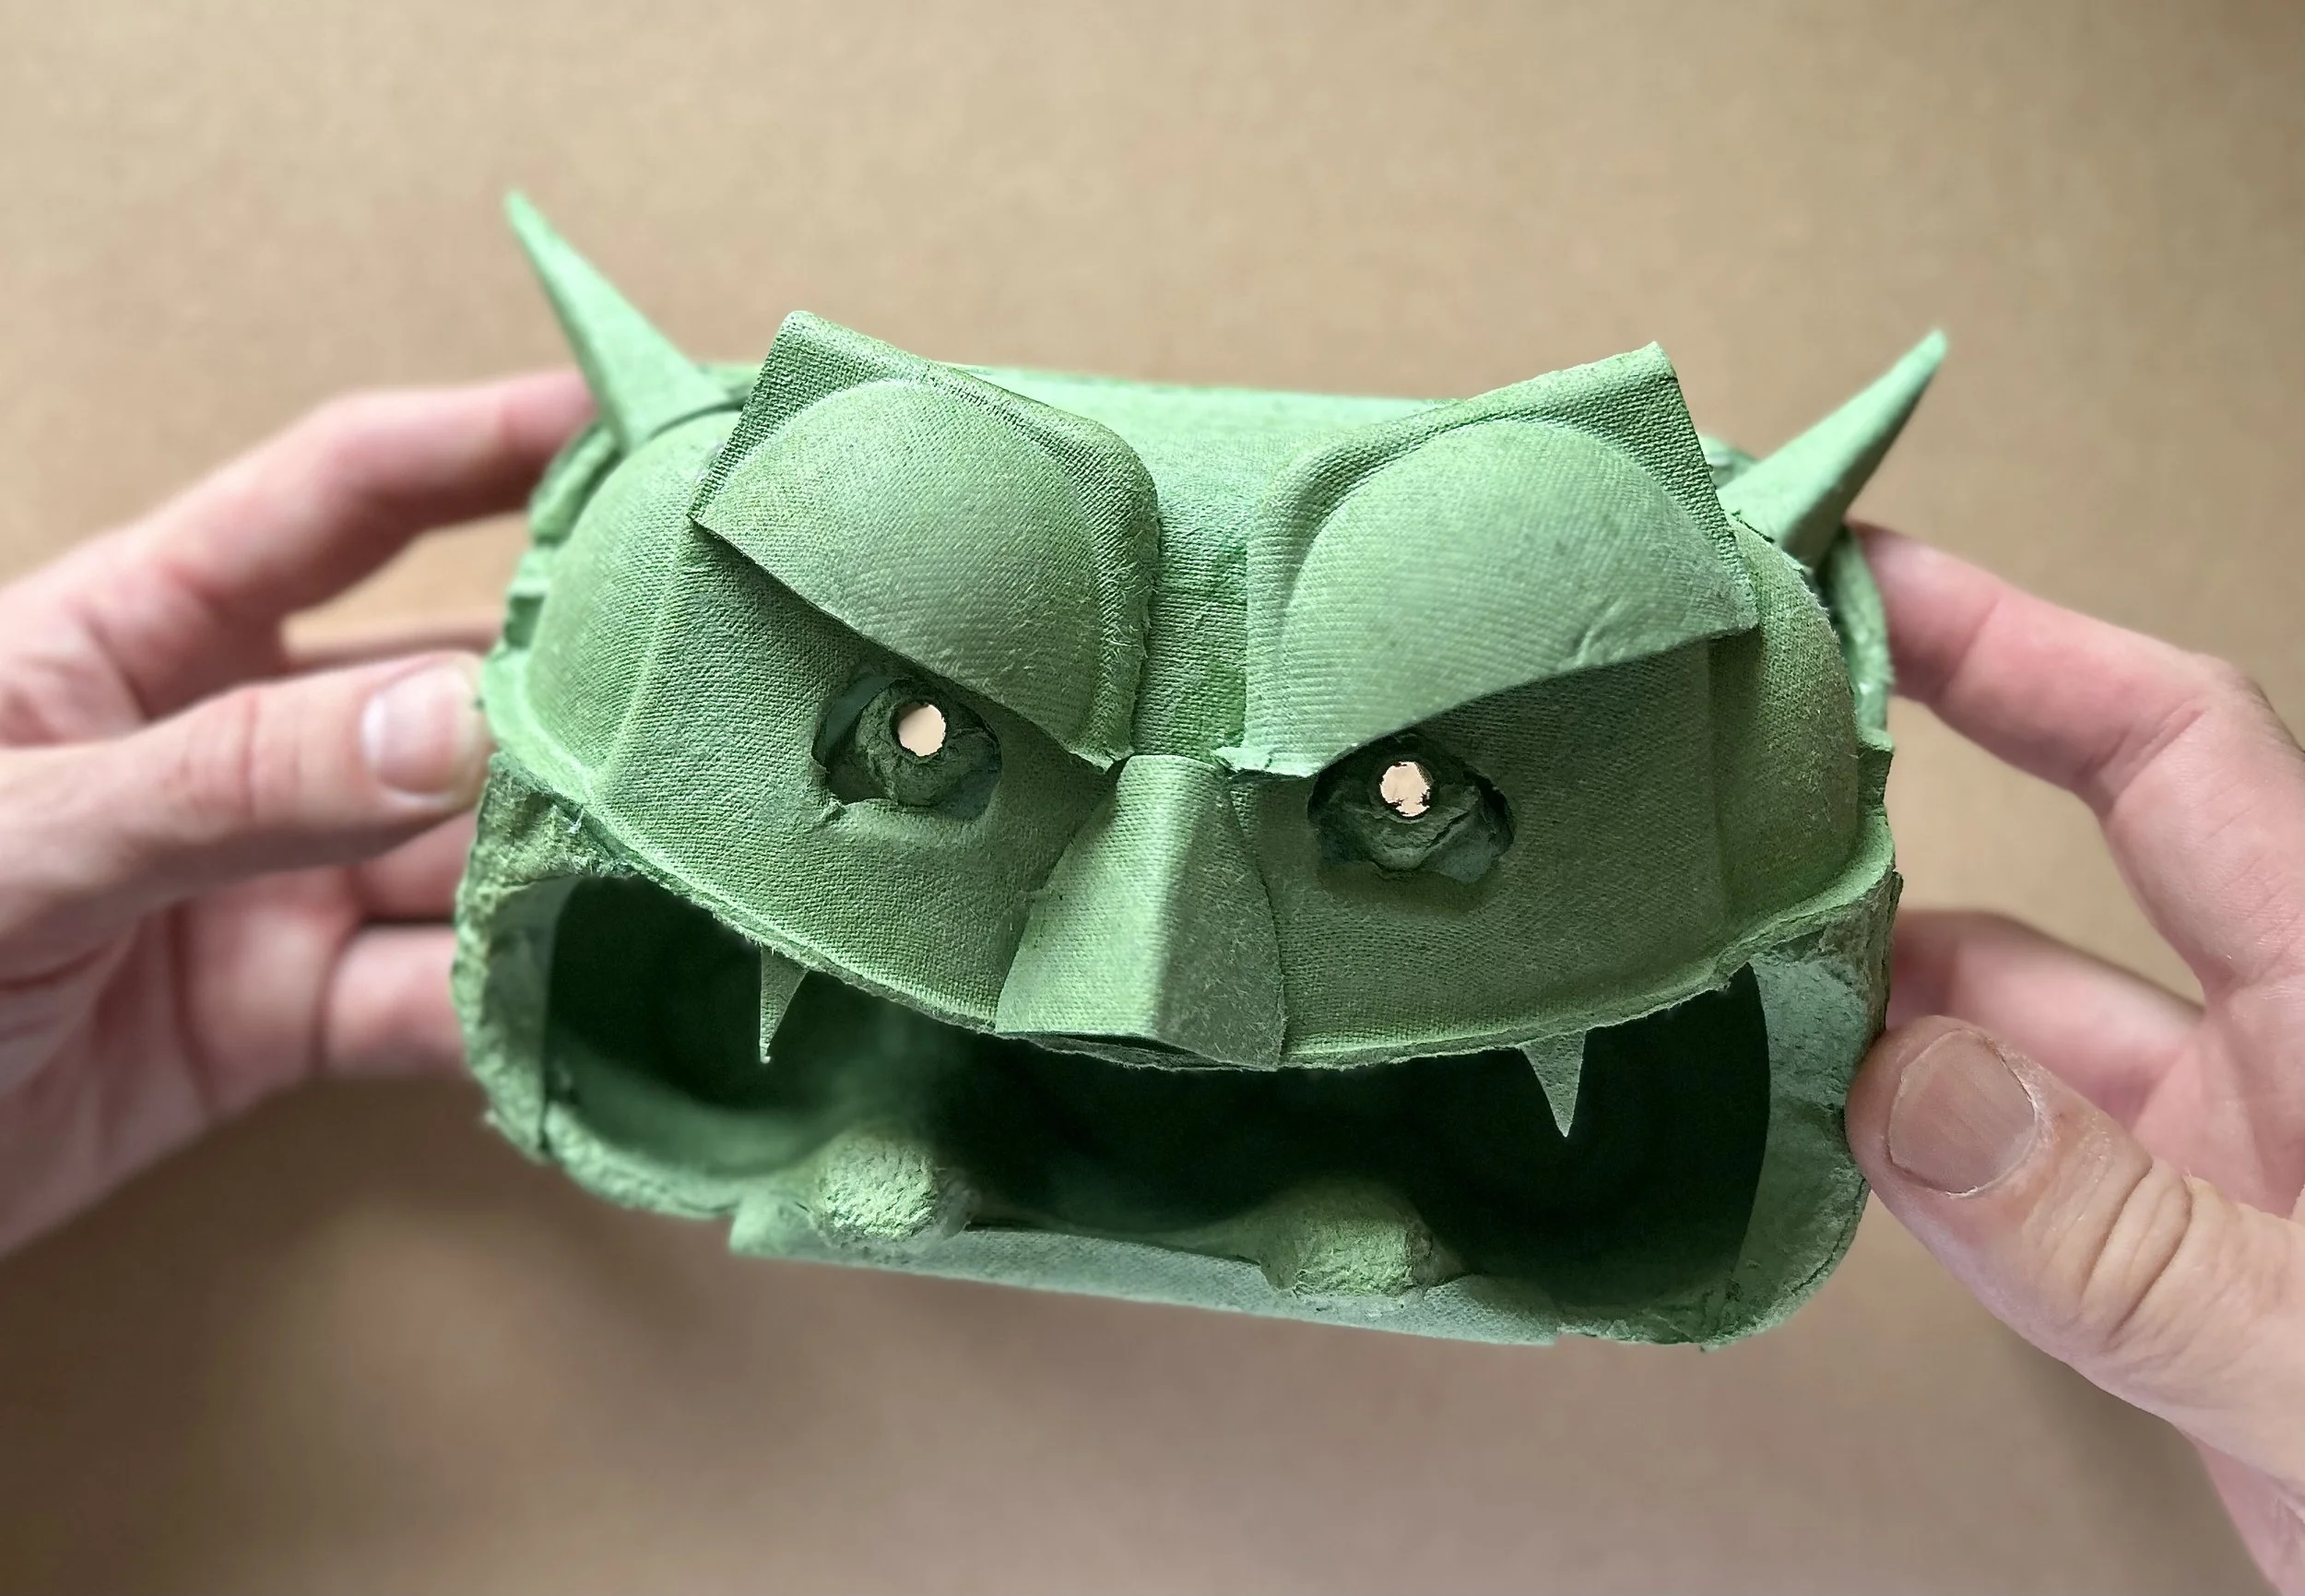
I’ve used these curves to make eyebrows.
These two curved shapes could be used to make all sorts of details, they could be ears, cheeks, or you could put them together to make a nose or snout, but I’ve used them for creepy looking eyebrows. If you tilt them slightly downwards in the centre then they look more sinister, in the way a cartoonist would draw ‘evil’ eyebrows.
Now, all you have left is the flat rectangular shape, that’s the last piece of the box. So this is where you have to get inventive. What could this be? You could cut it into all sorts of little details, horns, teeth, a nose, a tongue etc.
I’ve used mine to make two horns and a small nose here (below) . . . but you’ll see lots of other ideas on my other, different designs, and obviously you could add your own ideas.

Adding a nose and two horns.
Using different coloured boxes, or boxes that have slightly different designs to begin with.
Obviously, different ‘makes’ of boxes can be slightly different designs, and they come in a huge variety of colours. None of that really matters, because each difference will force you to be creative and inventive, which is part of the joy of this kind of work, especially for children.

A few different designs and different coloured boxes.
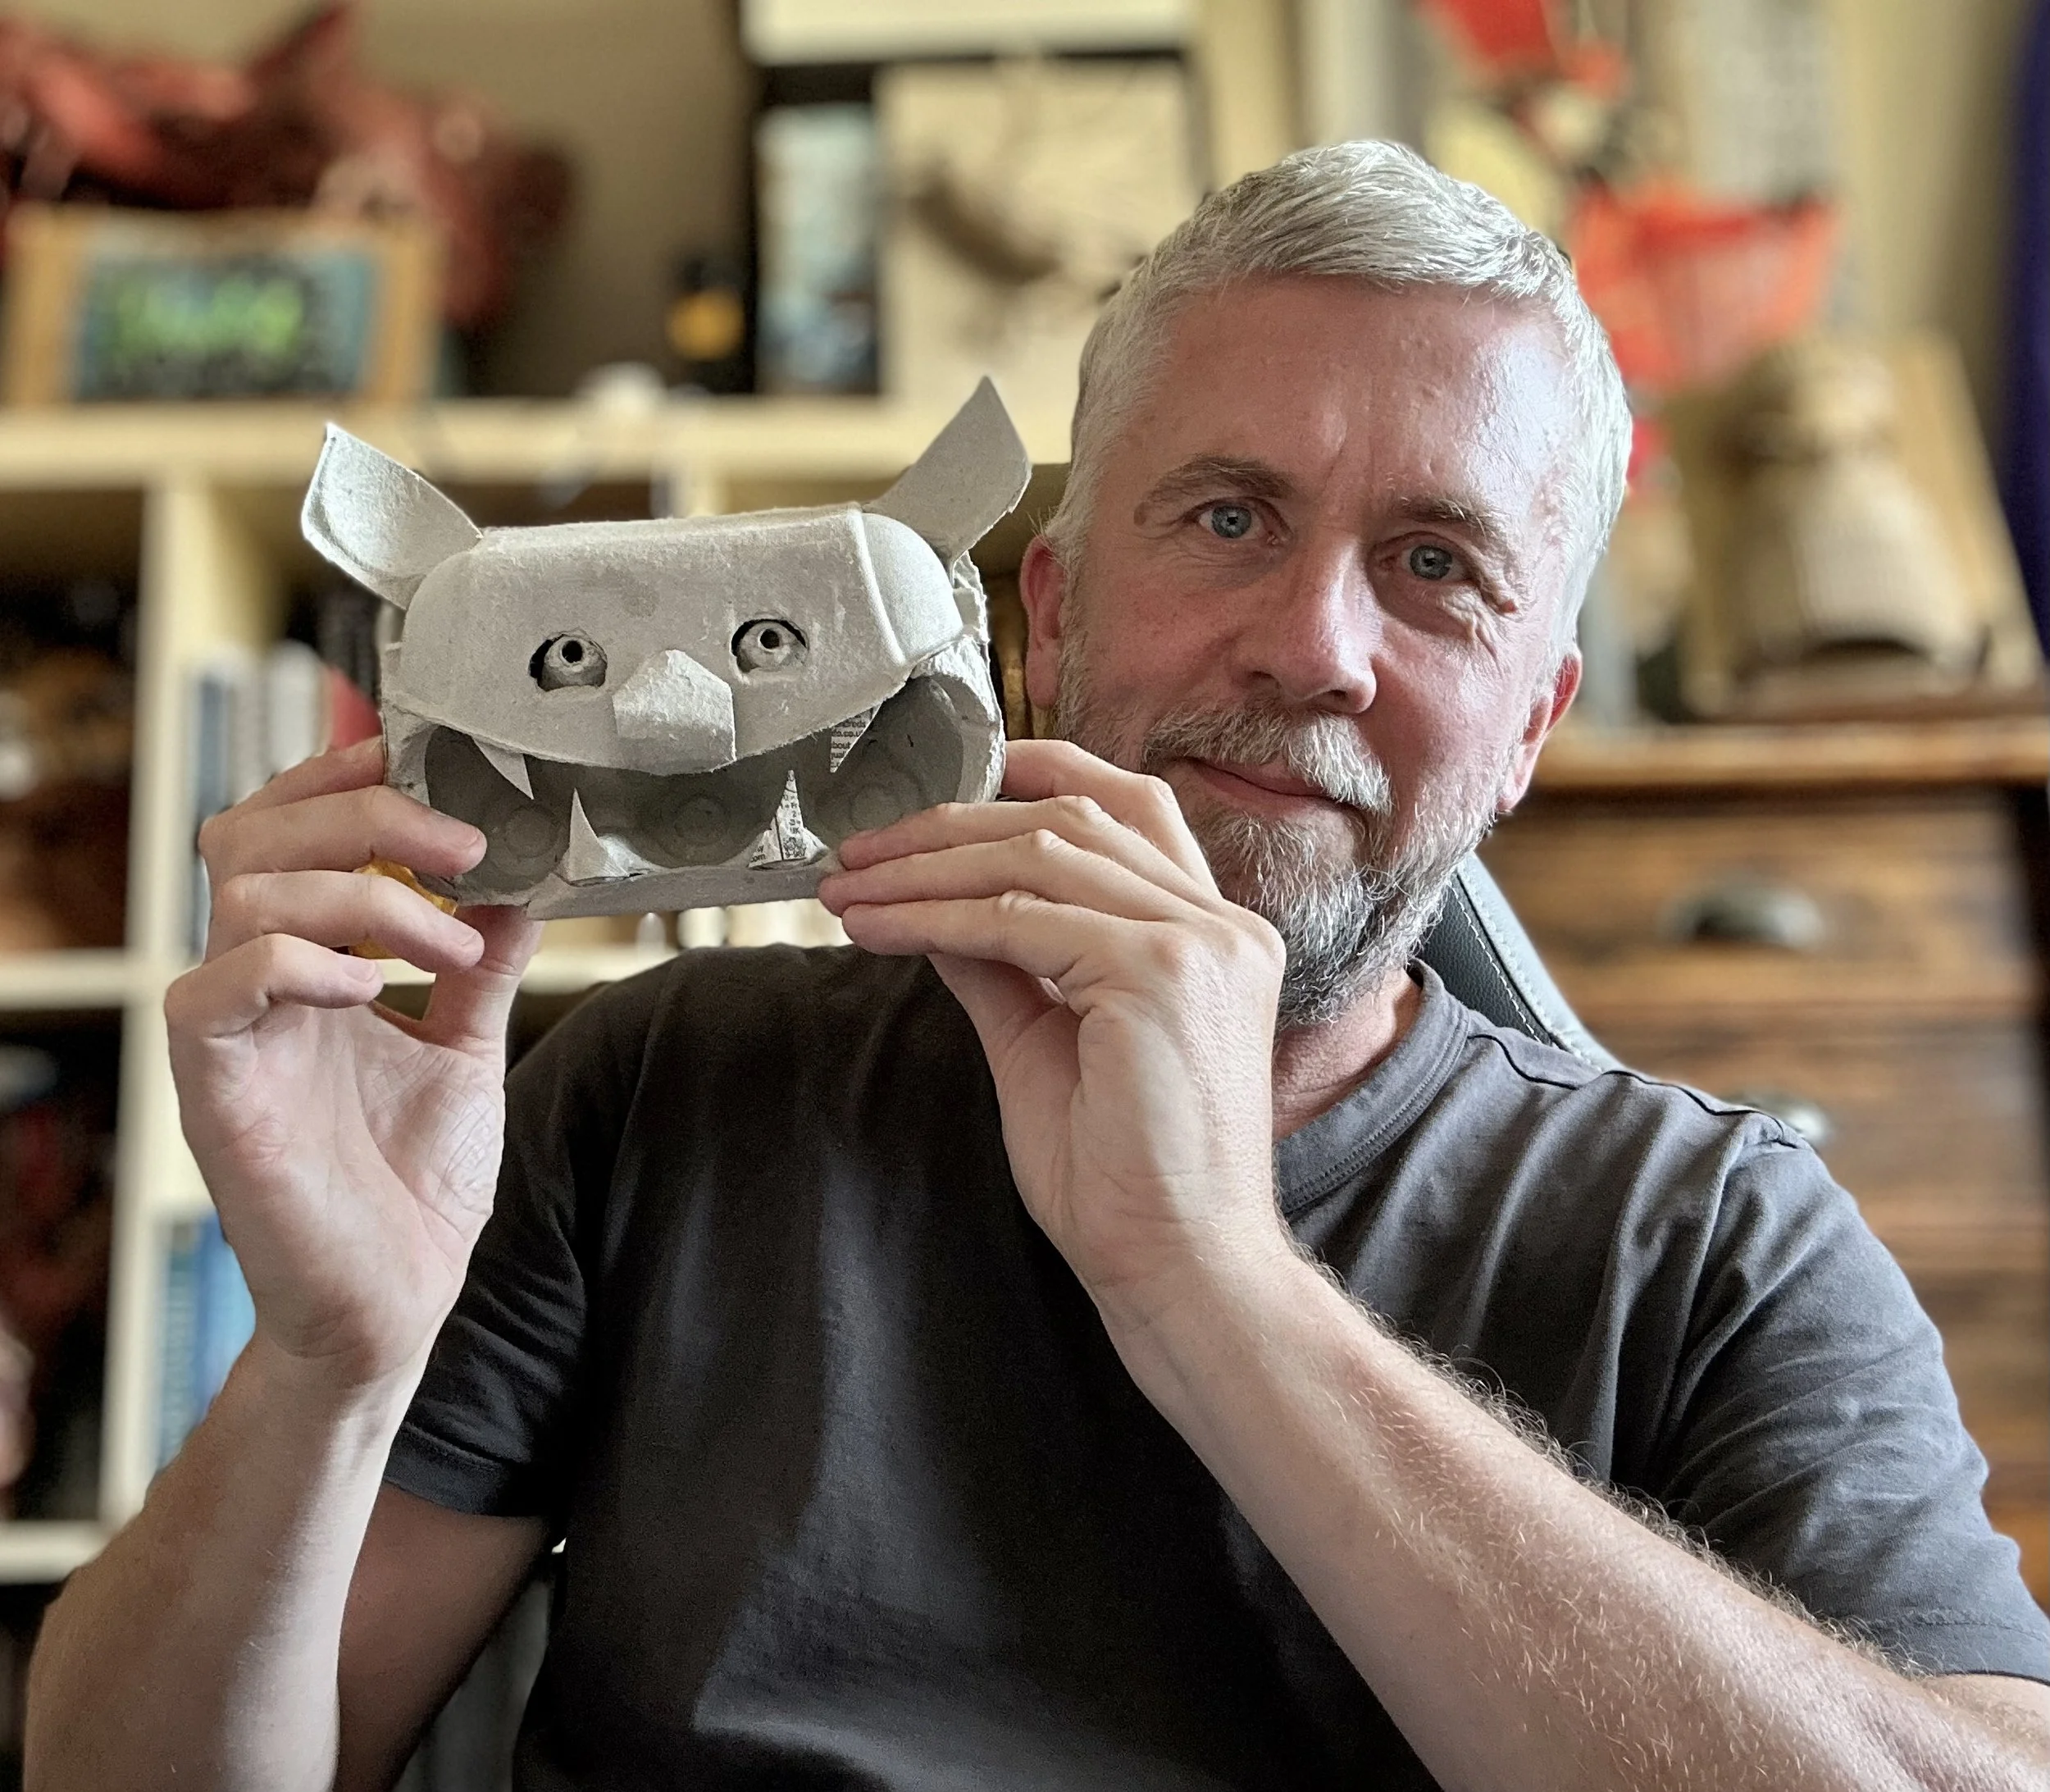
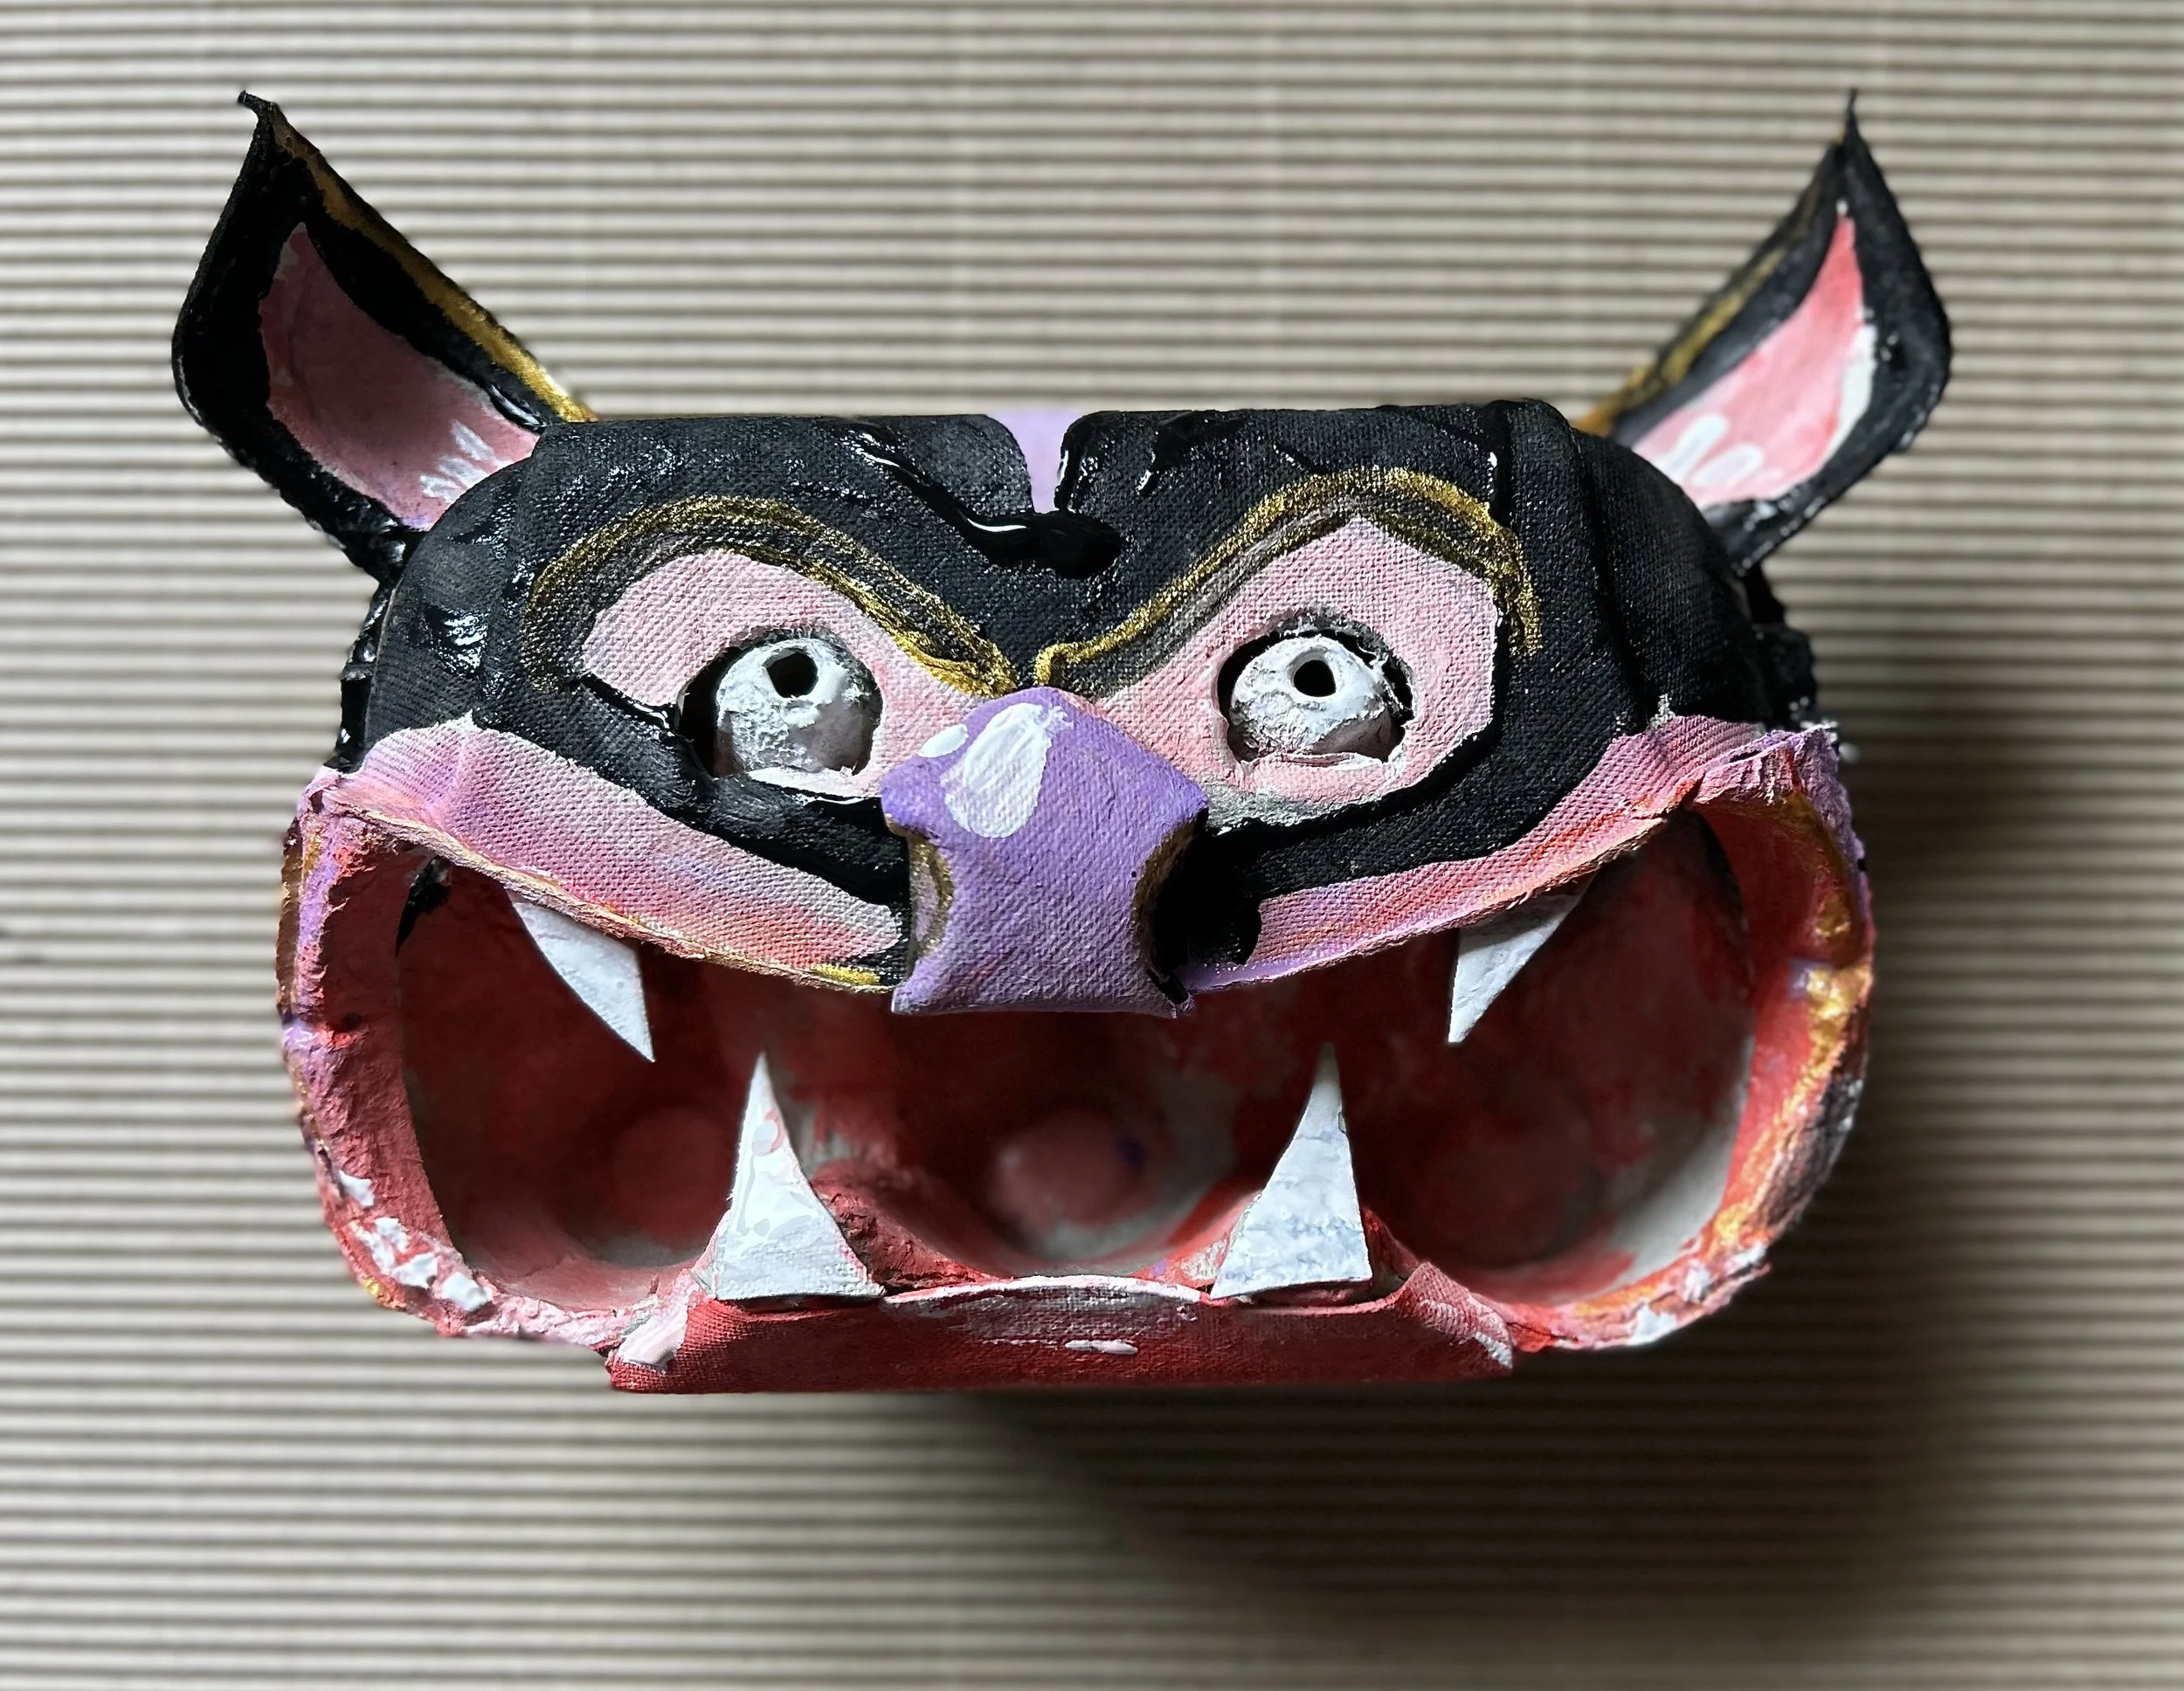
A cat, or a bat?
You could obviously paint these, add colours or paint designs, draw onto them, or even paper mache them to make them stronger.
I’ve left mine the original box colours here, just because it’s easier to see the form of them more clearly.
You could even fix some battery-powered lights inside the box, in the cavity behind the eyes, and they would light up!
They’d make great table decorations, or for your window ledge or mantlepiece.
Don’t get too scared though, it’s only an egg box. It won’t come to life . . . or will it!
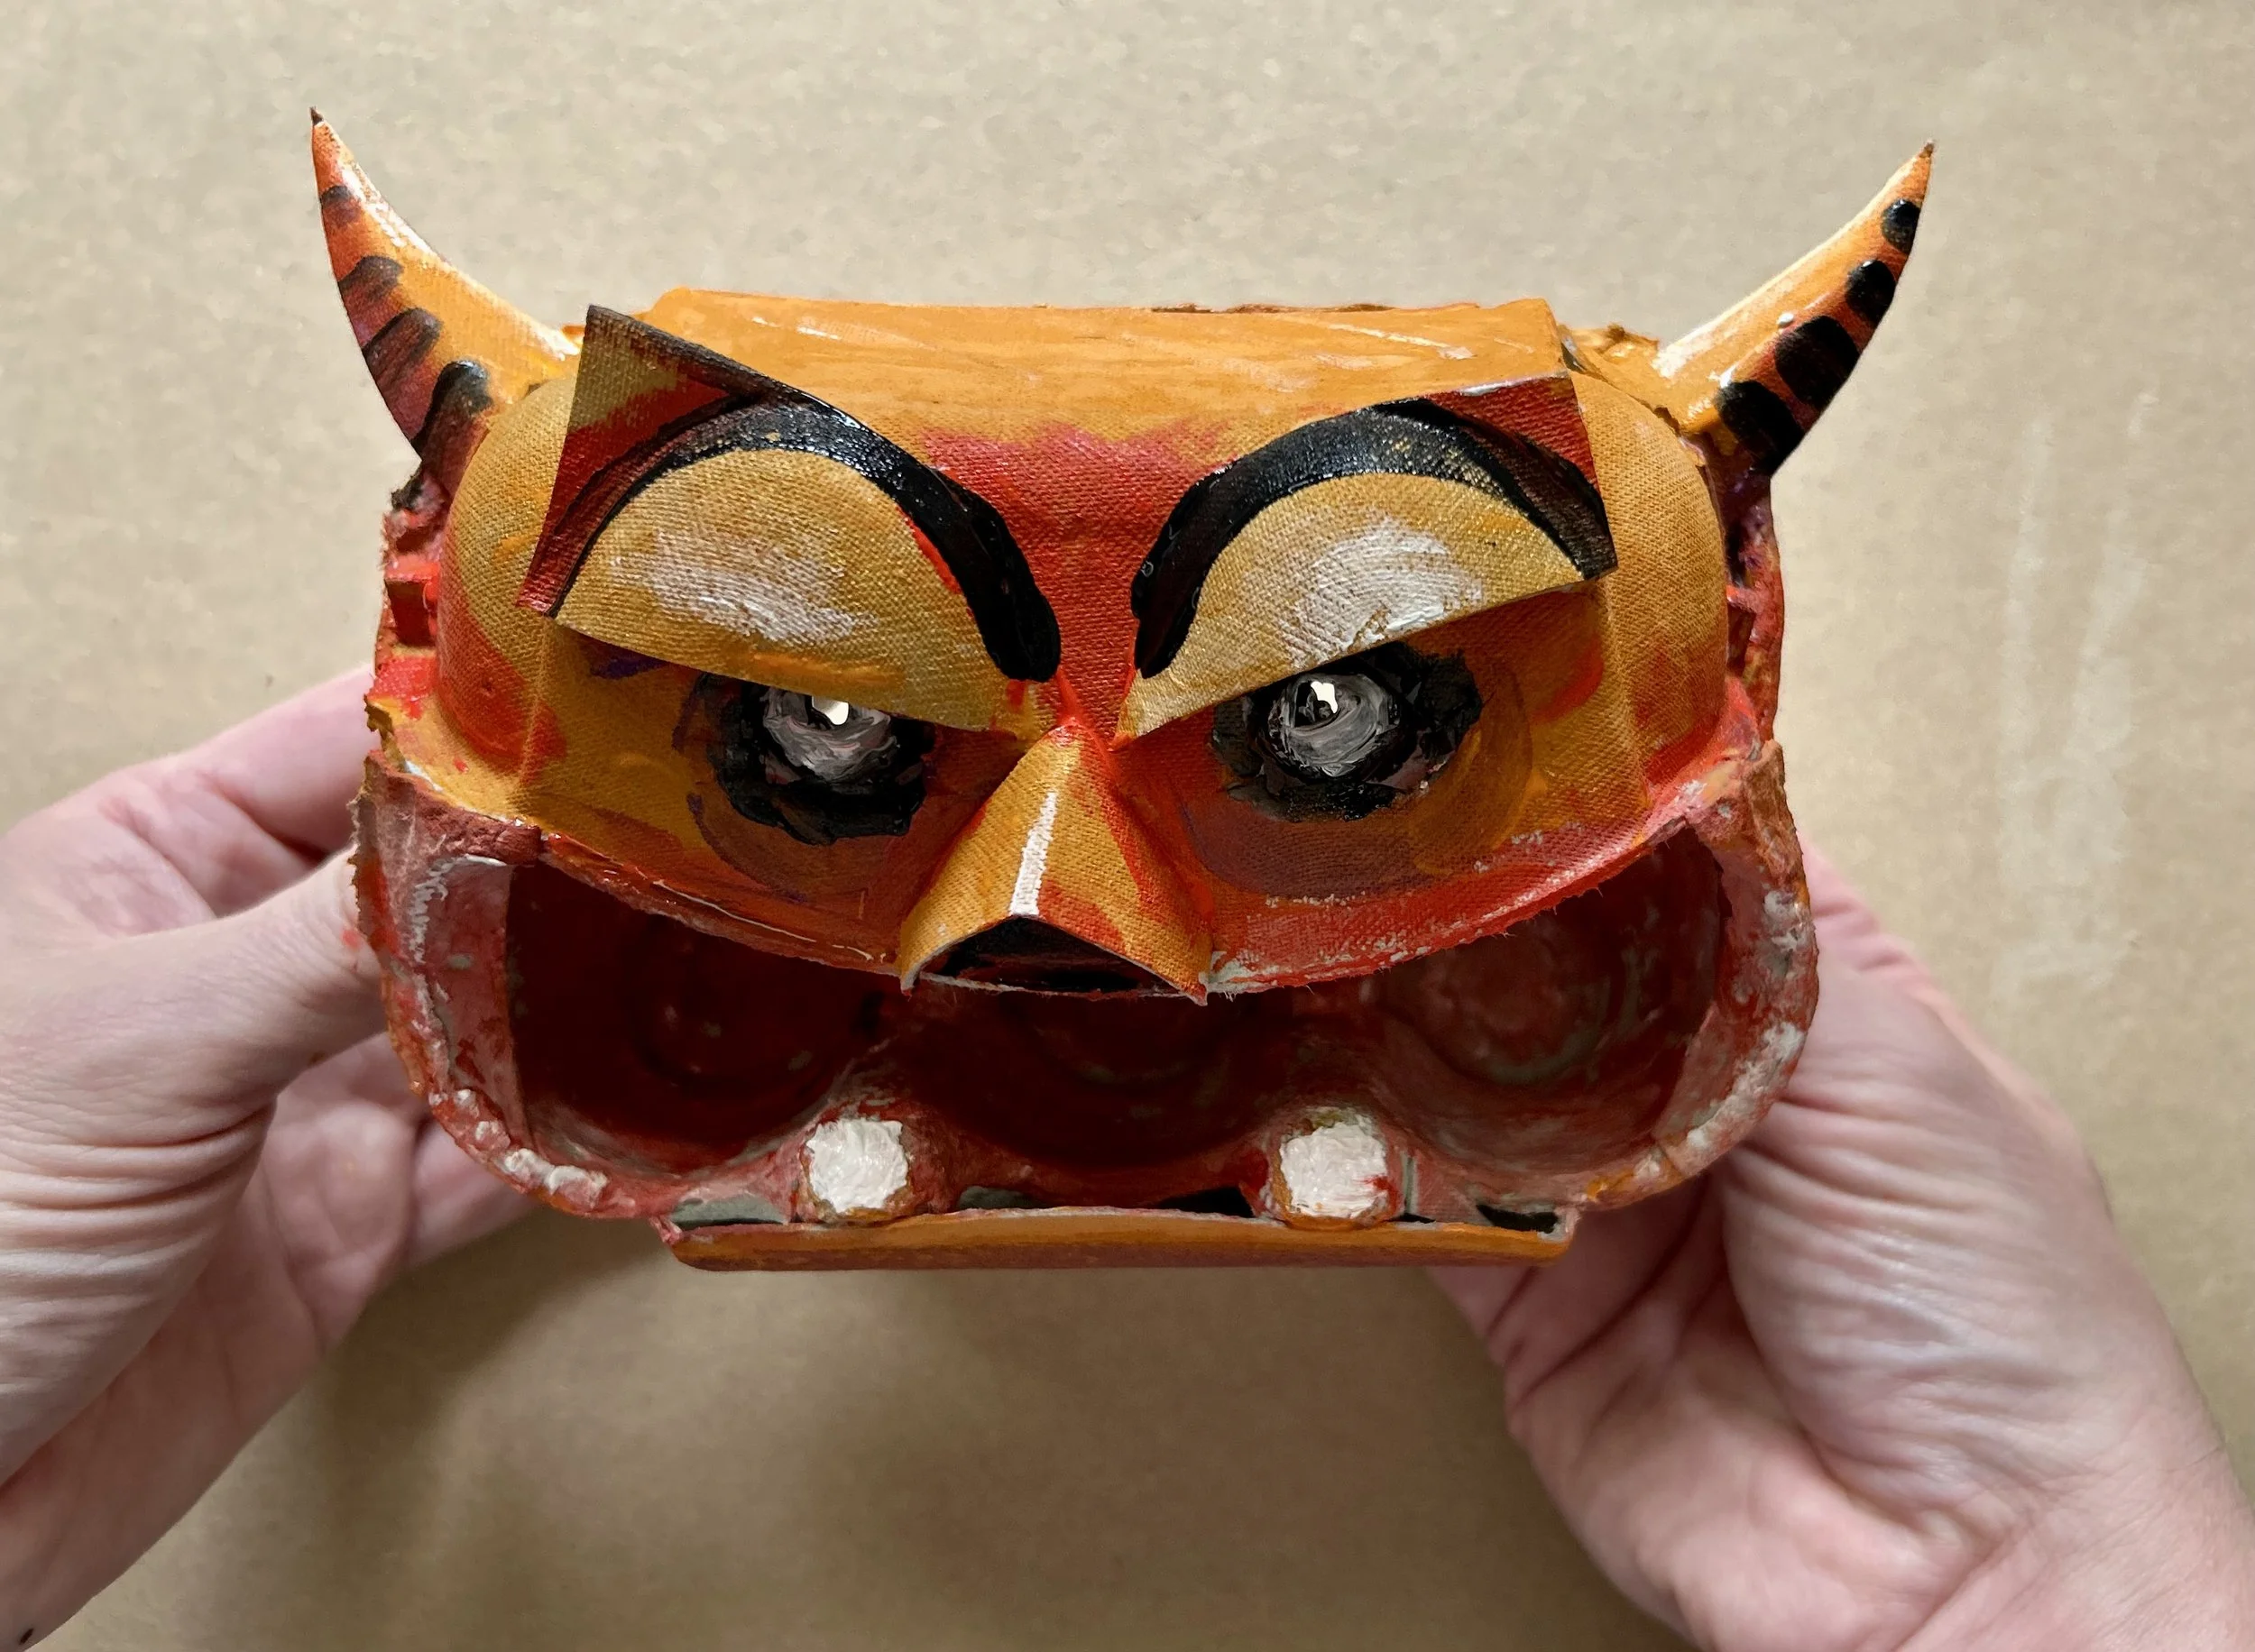
So . . . I decided I’d paint a couple, so here are two of the egg boxes you’ve seen being made above, but with some colour added. I’ve just used basic school water-based paints, with a little metallic paint, and a small amount of white acrylic just to make things brighter in places.