Paper Plate Rocking Reindeer
I’ve shared this before, online on various platforms, but I thought I’d put all of the info here in one place to make it easier to direct people to it.
So, this little idea is another of my own original designs, made using just one paper plate and leaving no leftovers, no waste, and hopefully not too much clearing up! All you need is one paper plate, a pencil, a pair of scissors, some tape (masking tape is best as you can paint over it) and then you need something for colour, I’ve used basic children’s paints for my version, but you could use pens, markers, torn up paper, glitter, sequins, acrylic paint, whatever you like.
Remember, this is an original design, which I’ve created, planned, and shared. You can use it, but you can’t recreate it as your own idea, explain the process as your own, or recreate the video/instructions without permission. The idea is my intellectual property. Thanks.
Okay, so here is the making video, it might be helpful to also scroll down so that you can see photos of some of the stages, most of it is straightforward, but those first two shapes you cut are pretty important, so you might want to grab that photo, or print it off to help if you are using this with a group of kids.
Below are some still photos of some of those stages, which will help. The cuts don’t have to be perfect, but the position of them has to be fairly close to where I’ve cut, otherwise you might end up with legs that aren’t strong enough to hold the weight etc.
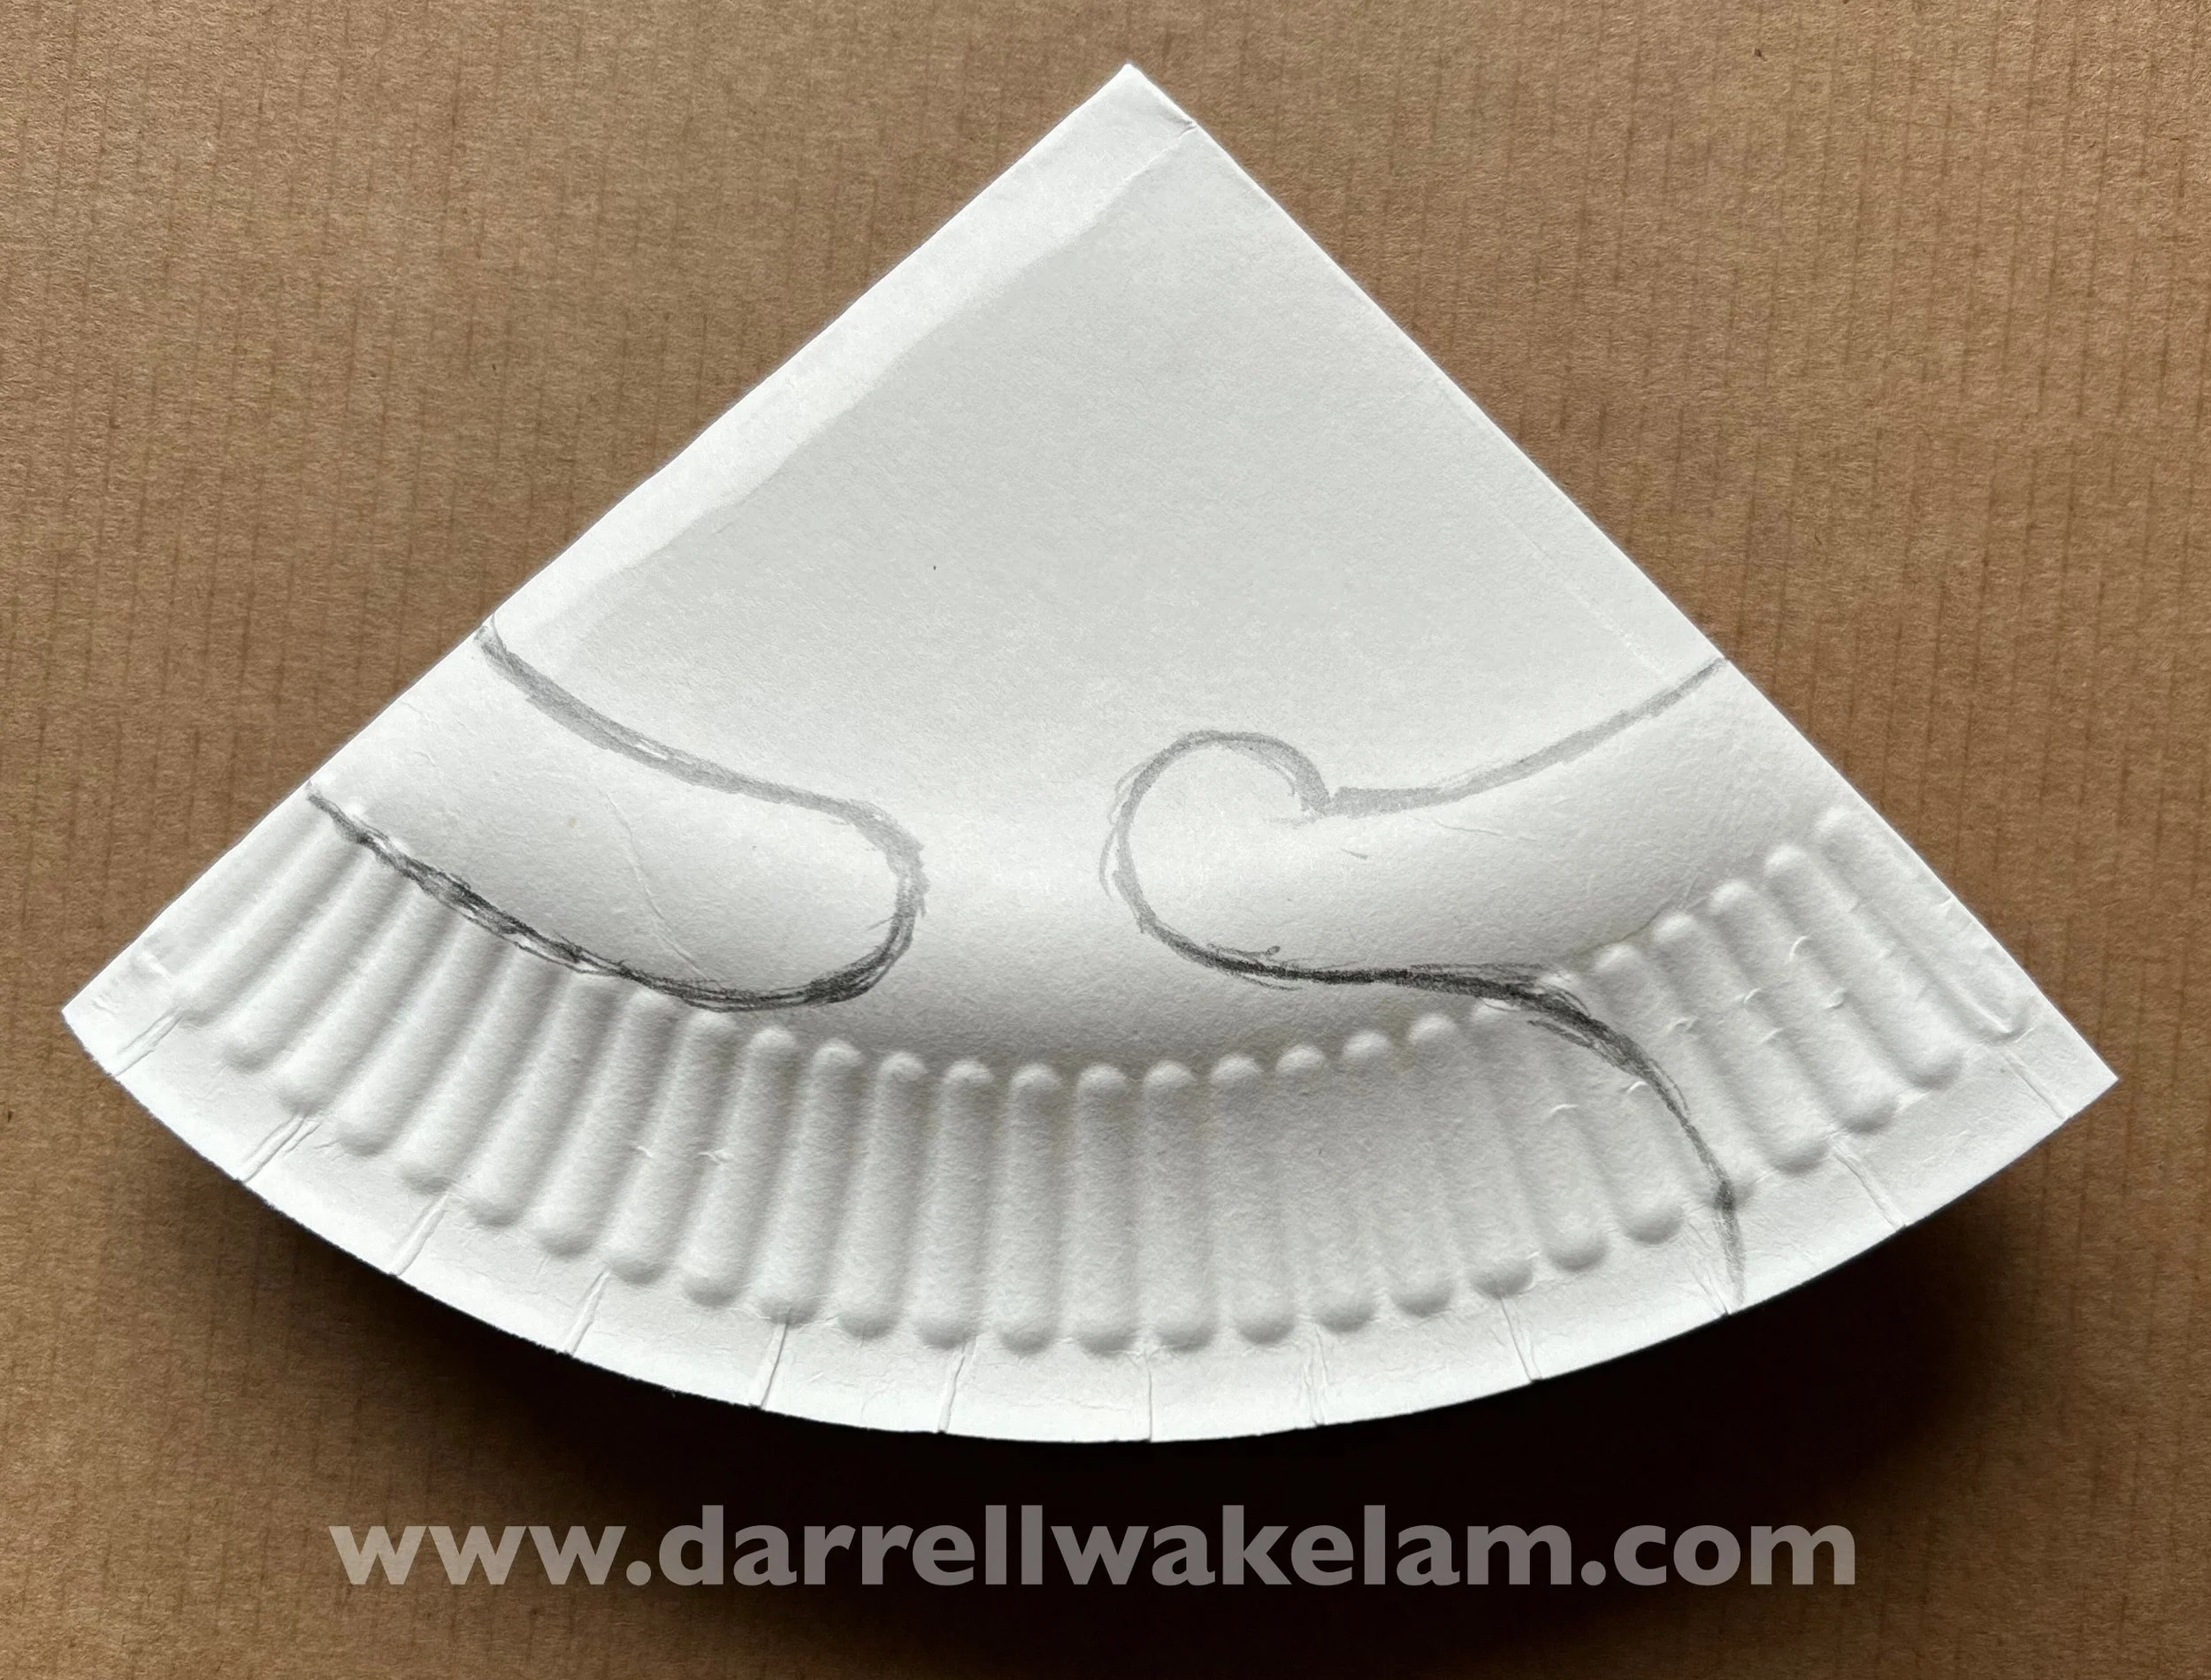
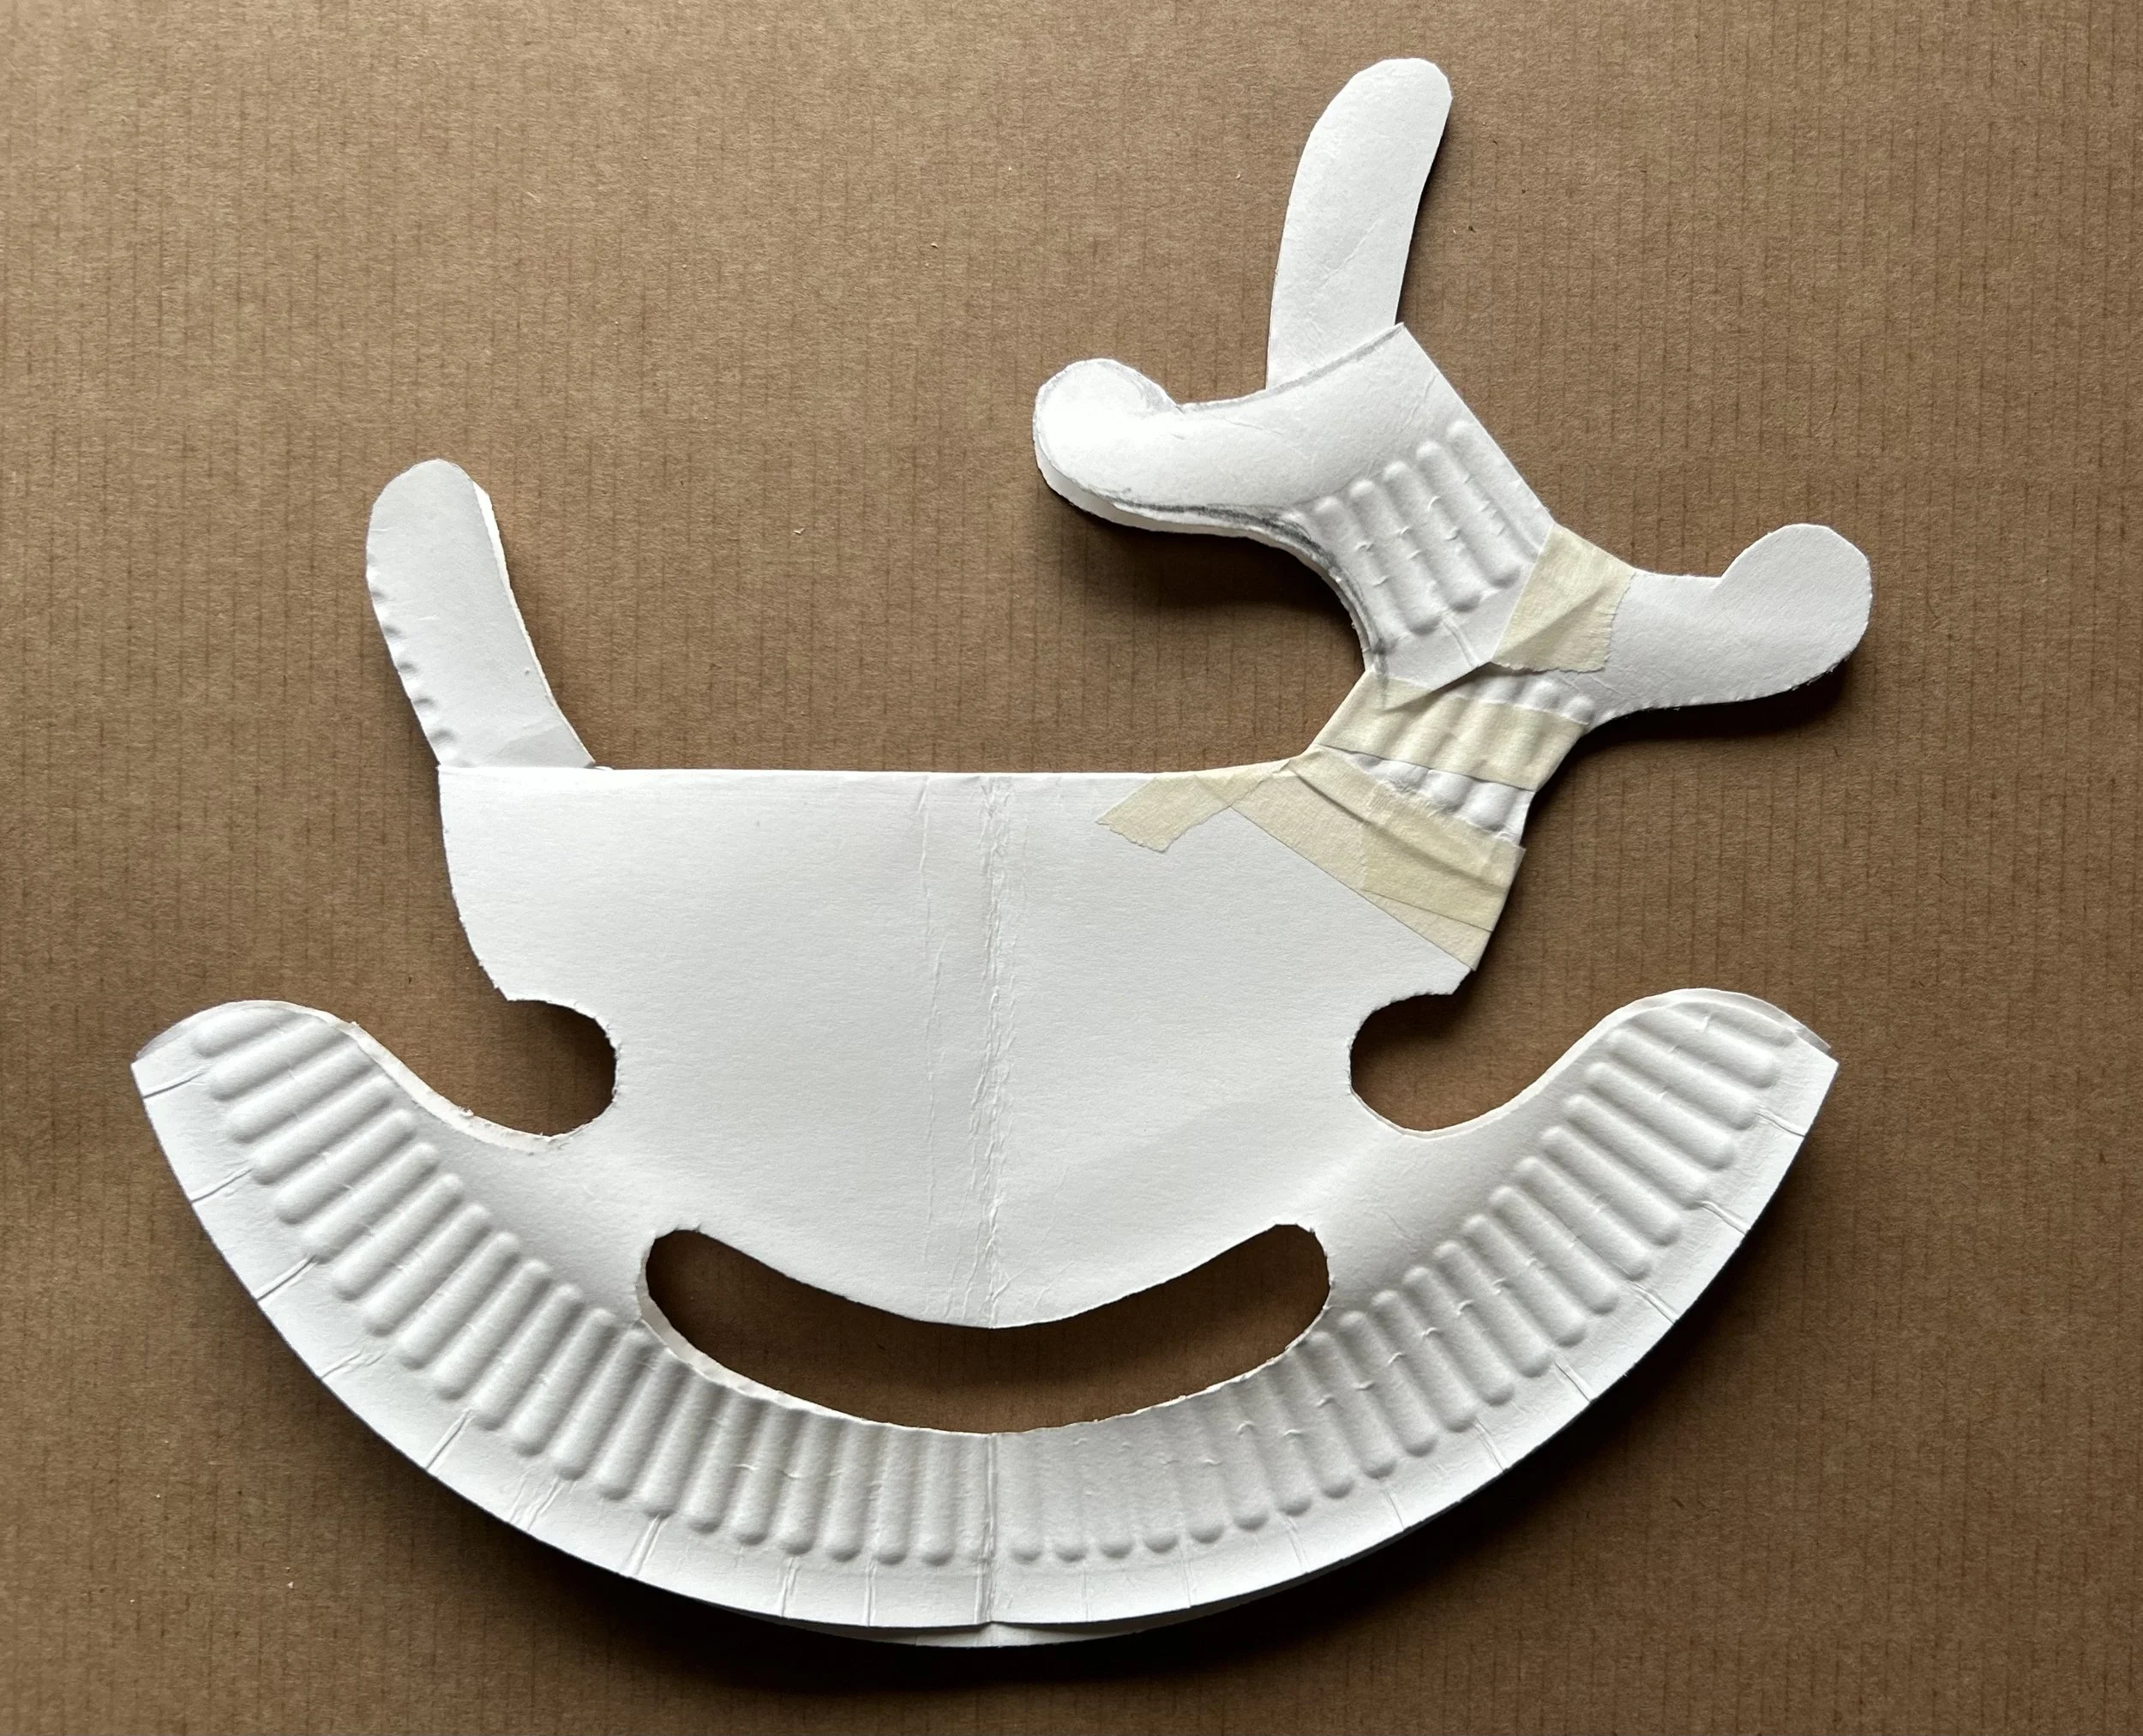
The first two shapes.
After folding the paper plate twice, into a ‘quarter circle’ then these are the shapes to cut out. Remember, you are cutting through four layers of the plate here, so you need a decent pair of scissors and children might need help.
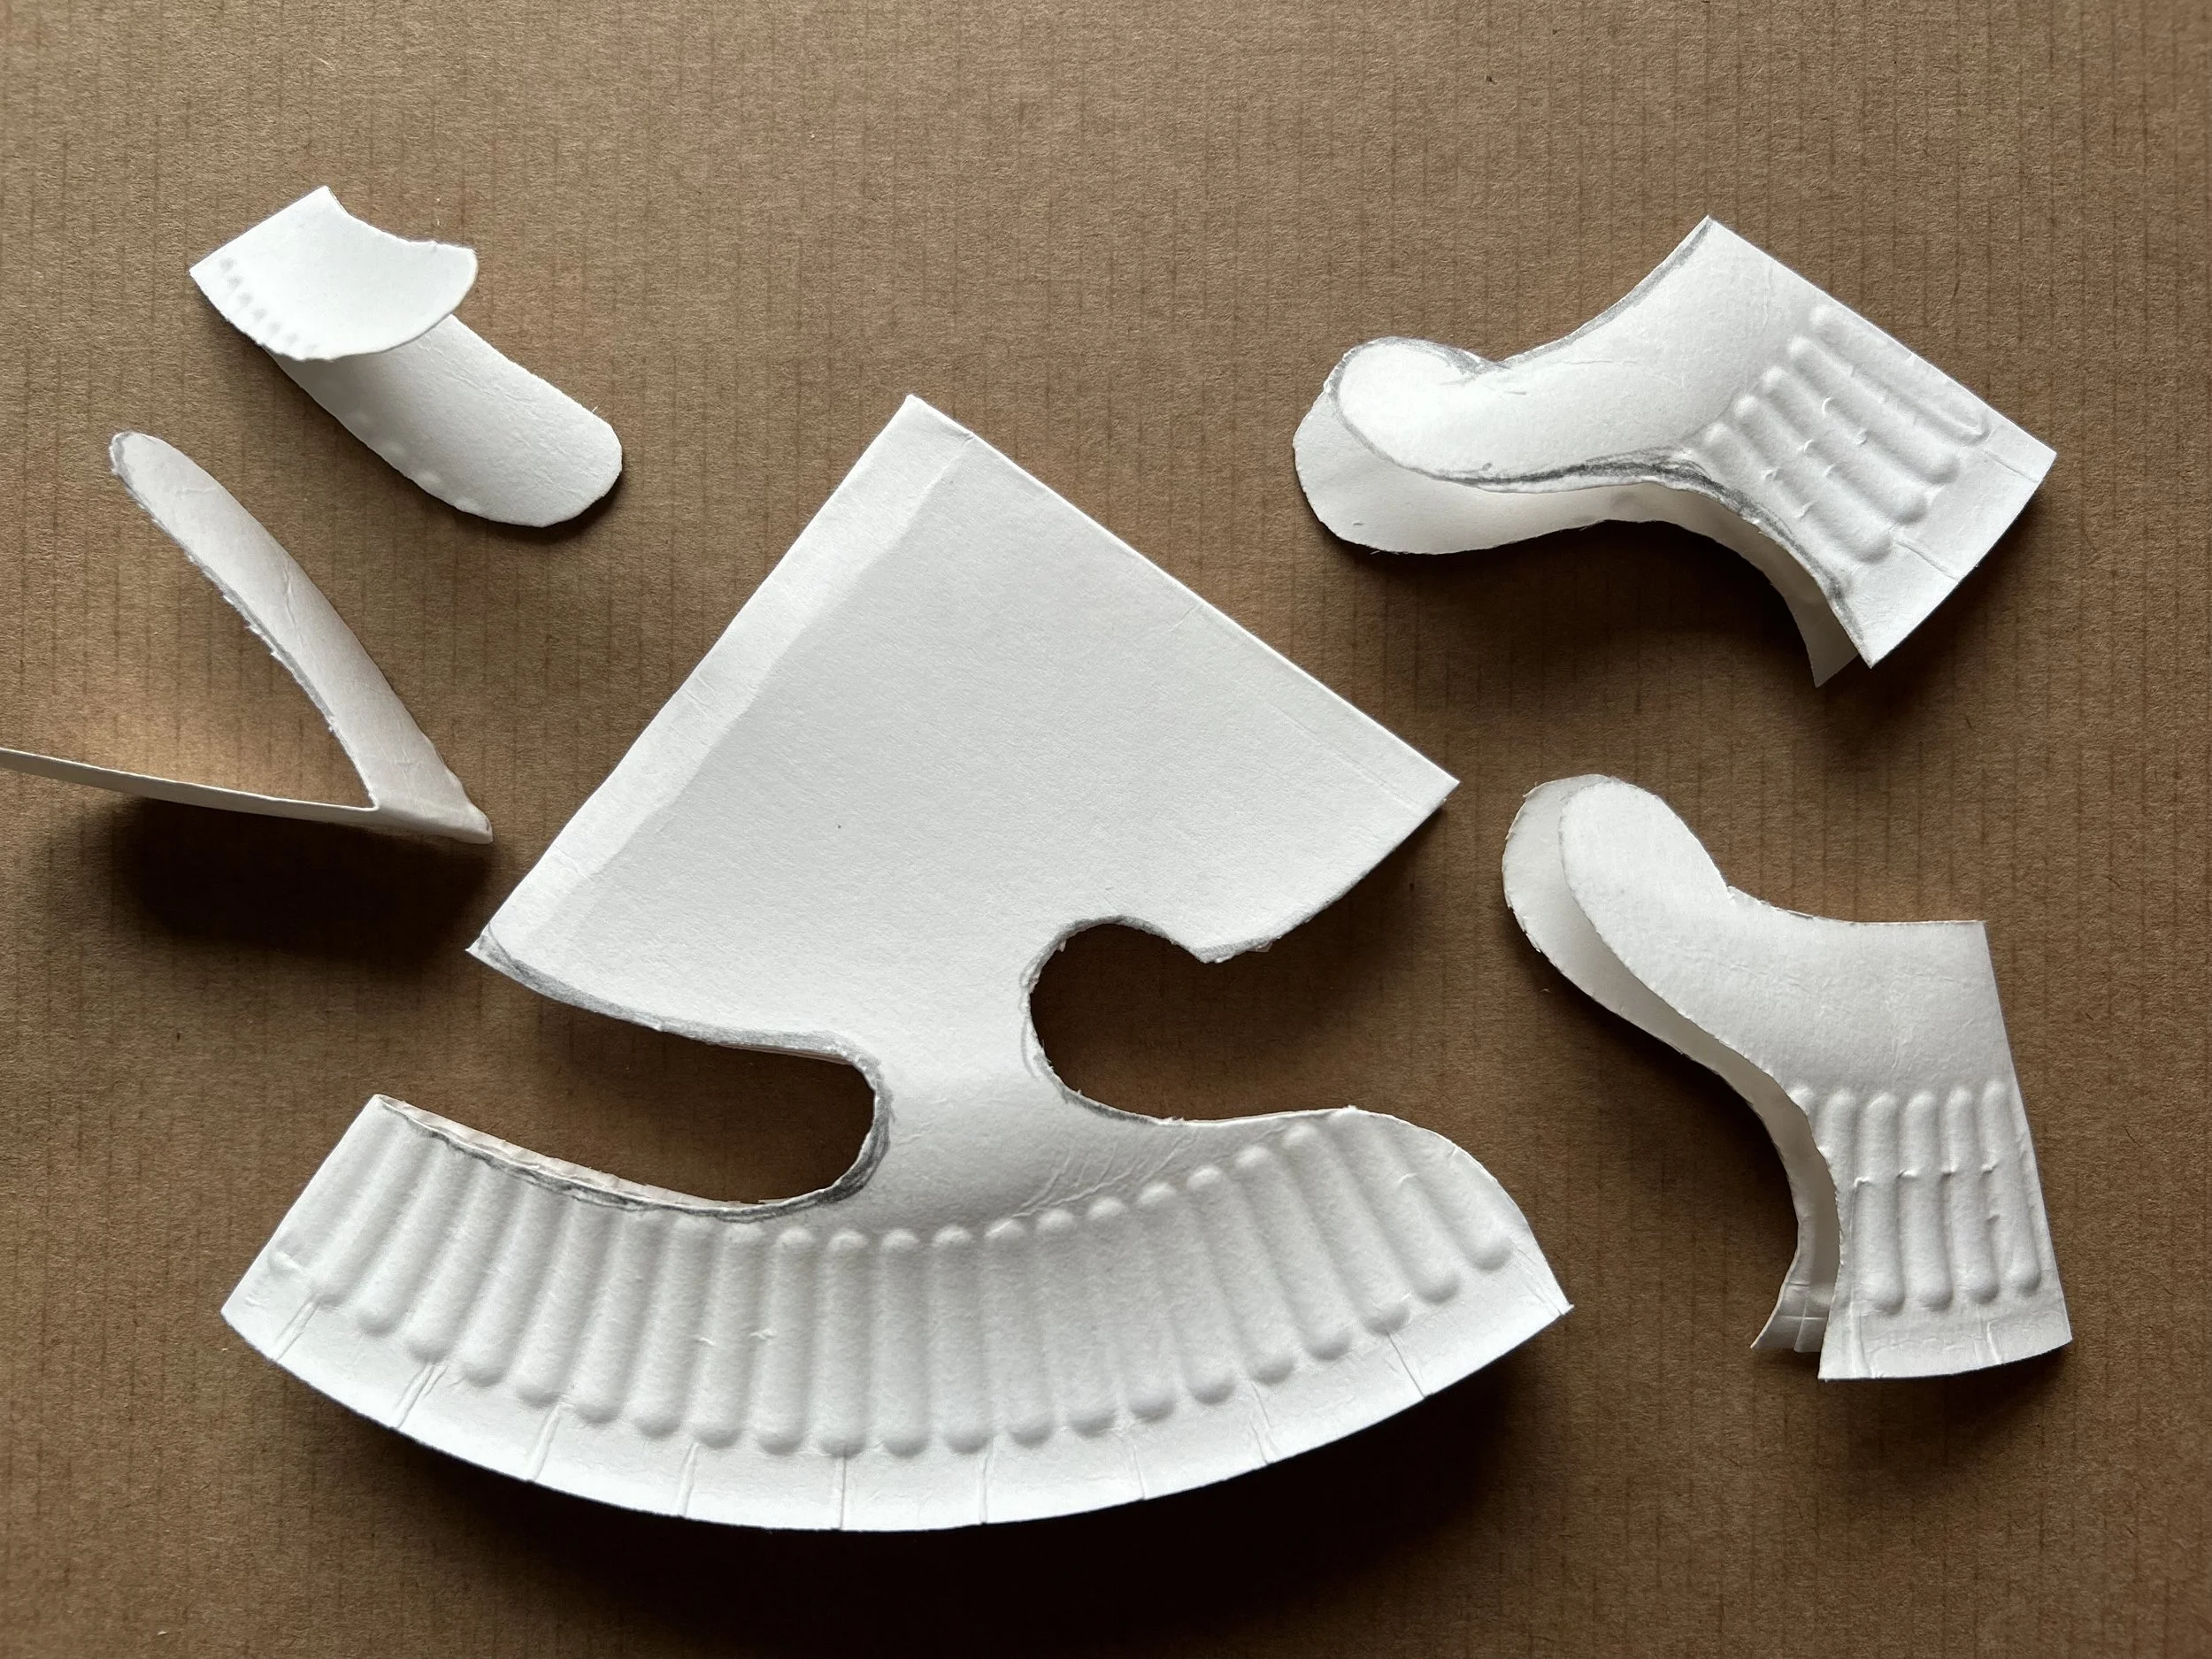
When cut out, the two shapes on the right make the head shape, and the first part of the antlers, the two ‘sausage’ shapes on the left provide the top piece of the antlers and the tail . . . see the two images below . . .
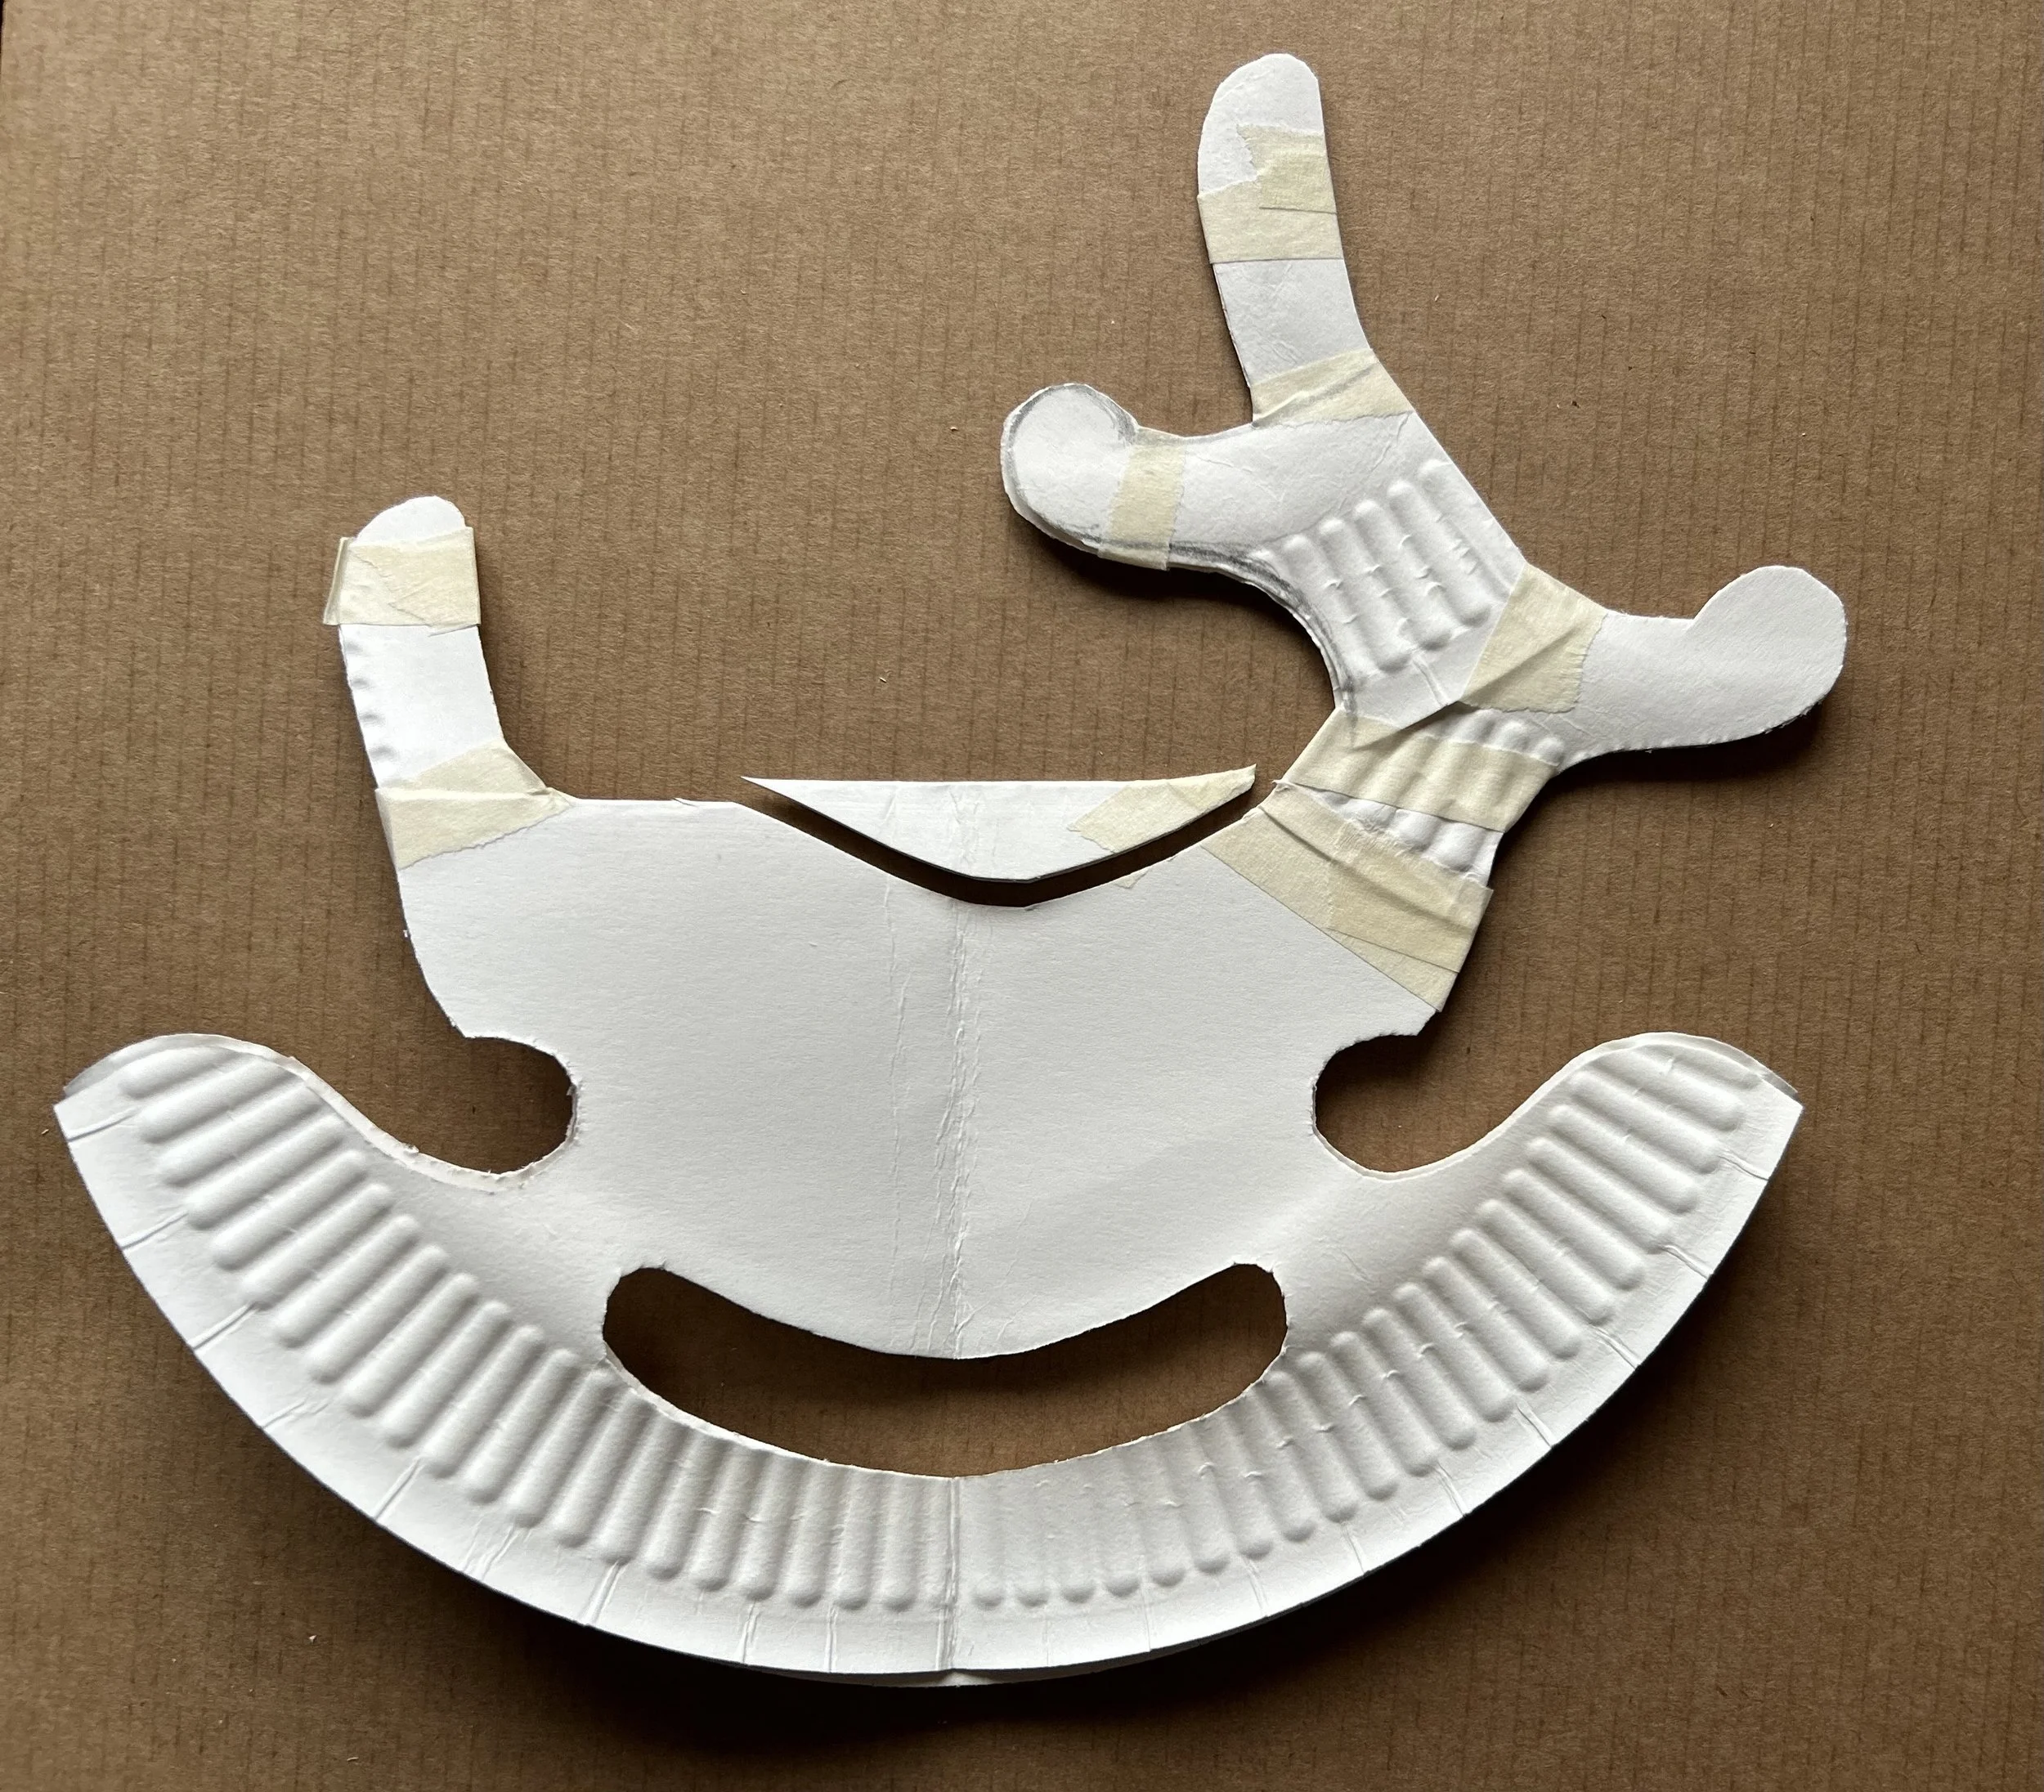
The head and the first part of the antlers.
The top of the antlers and the tail.
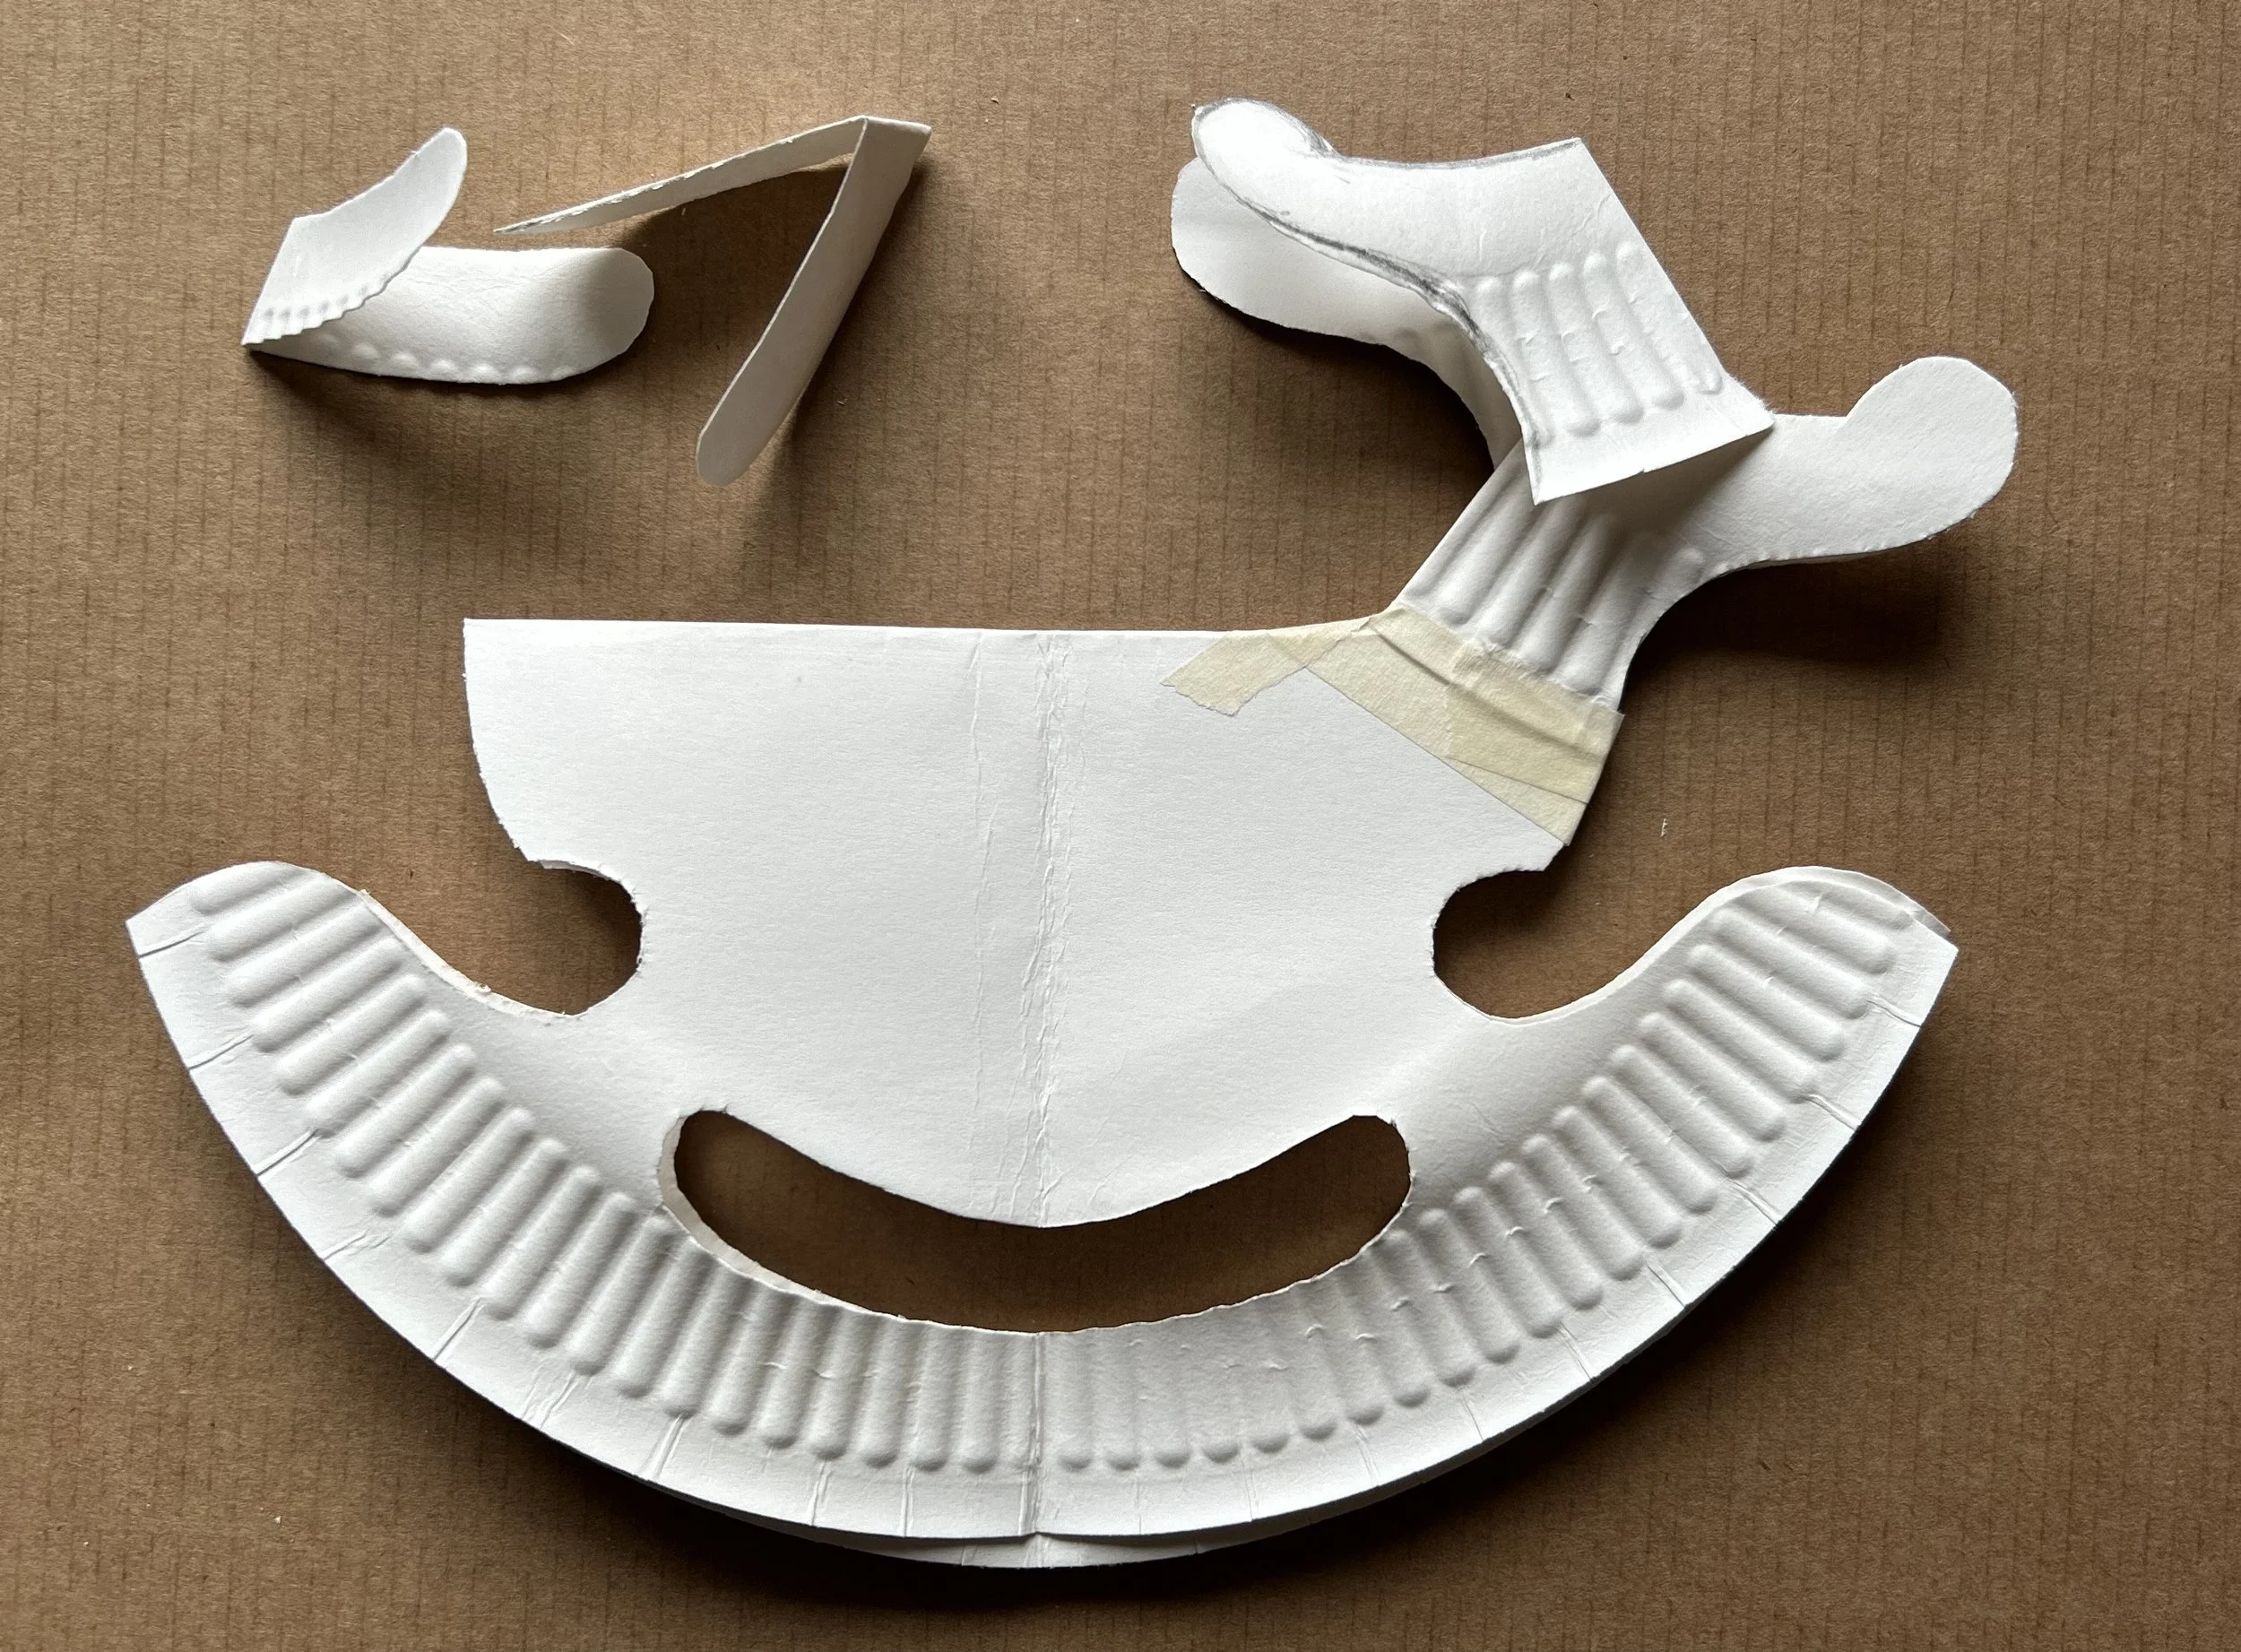
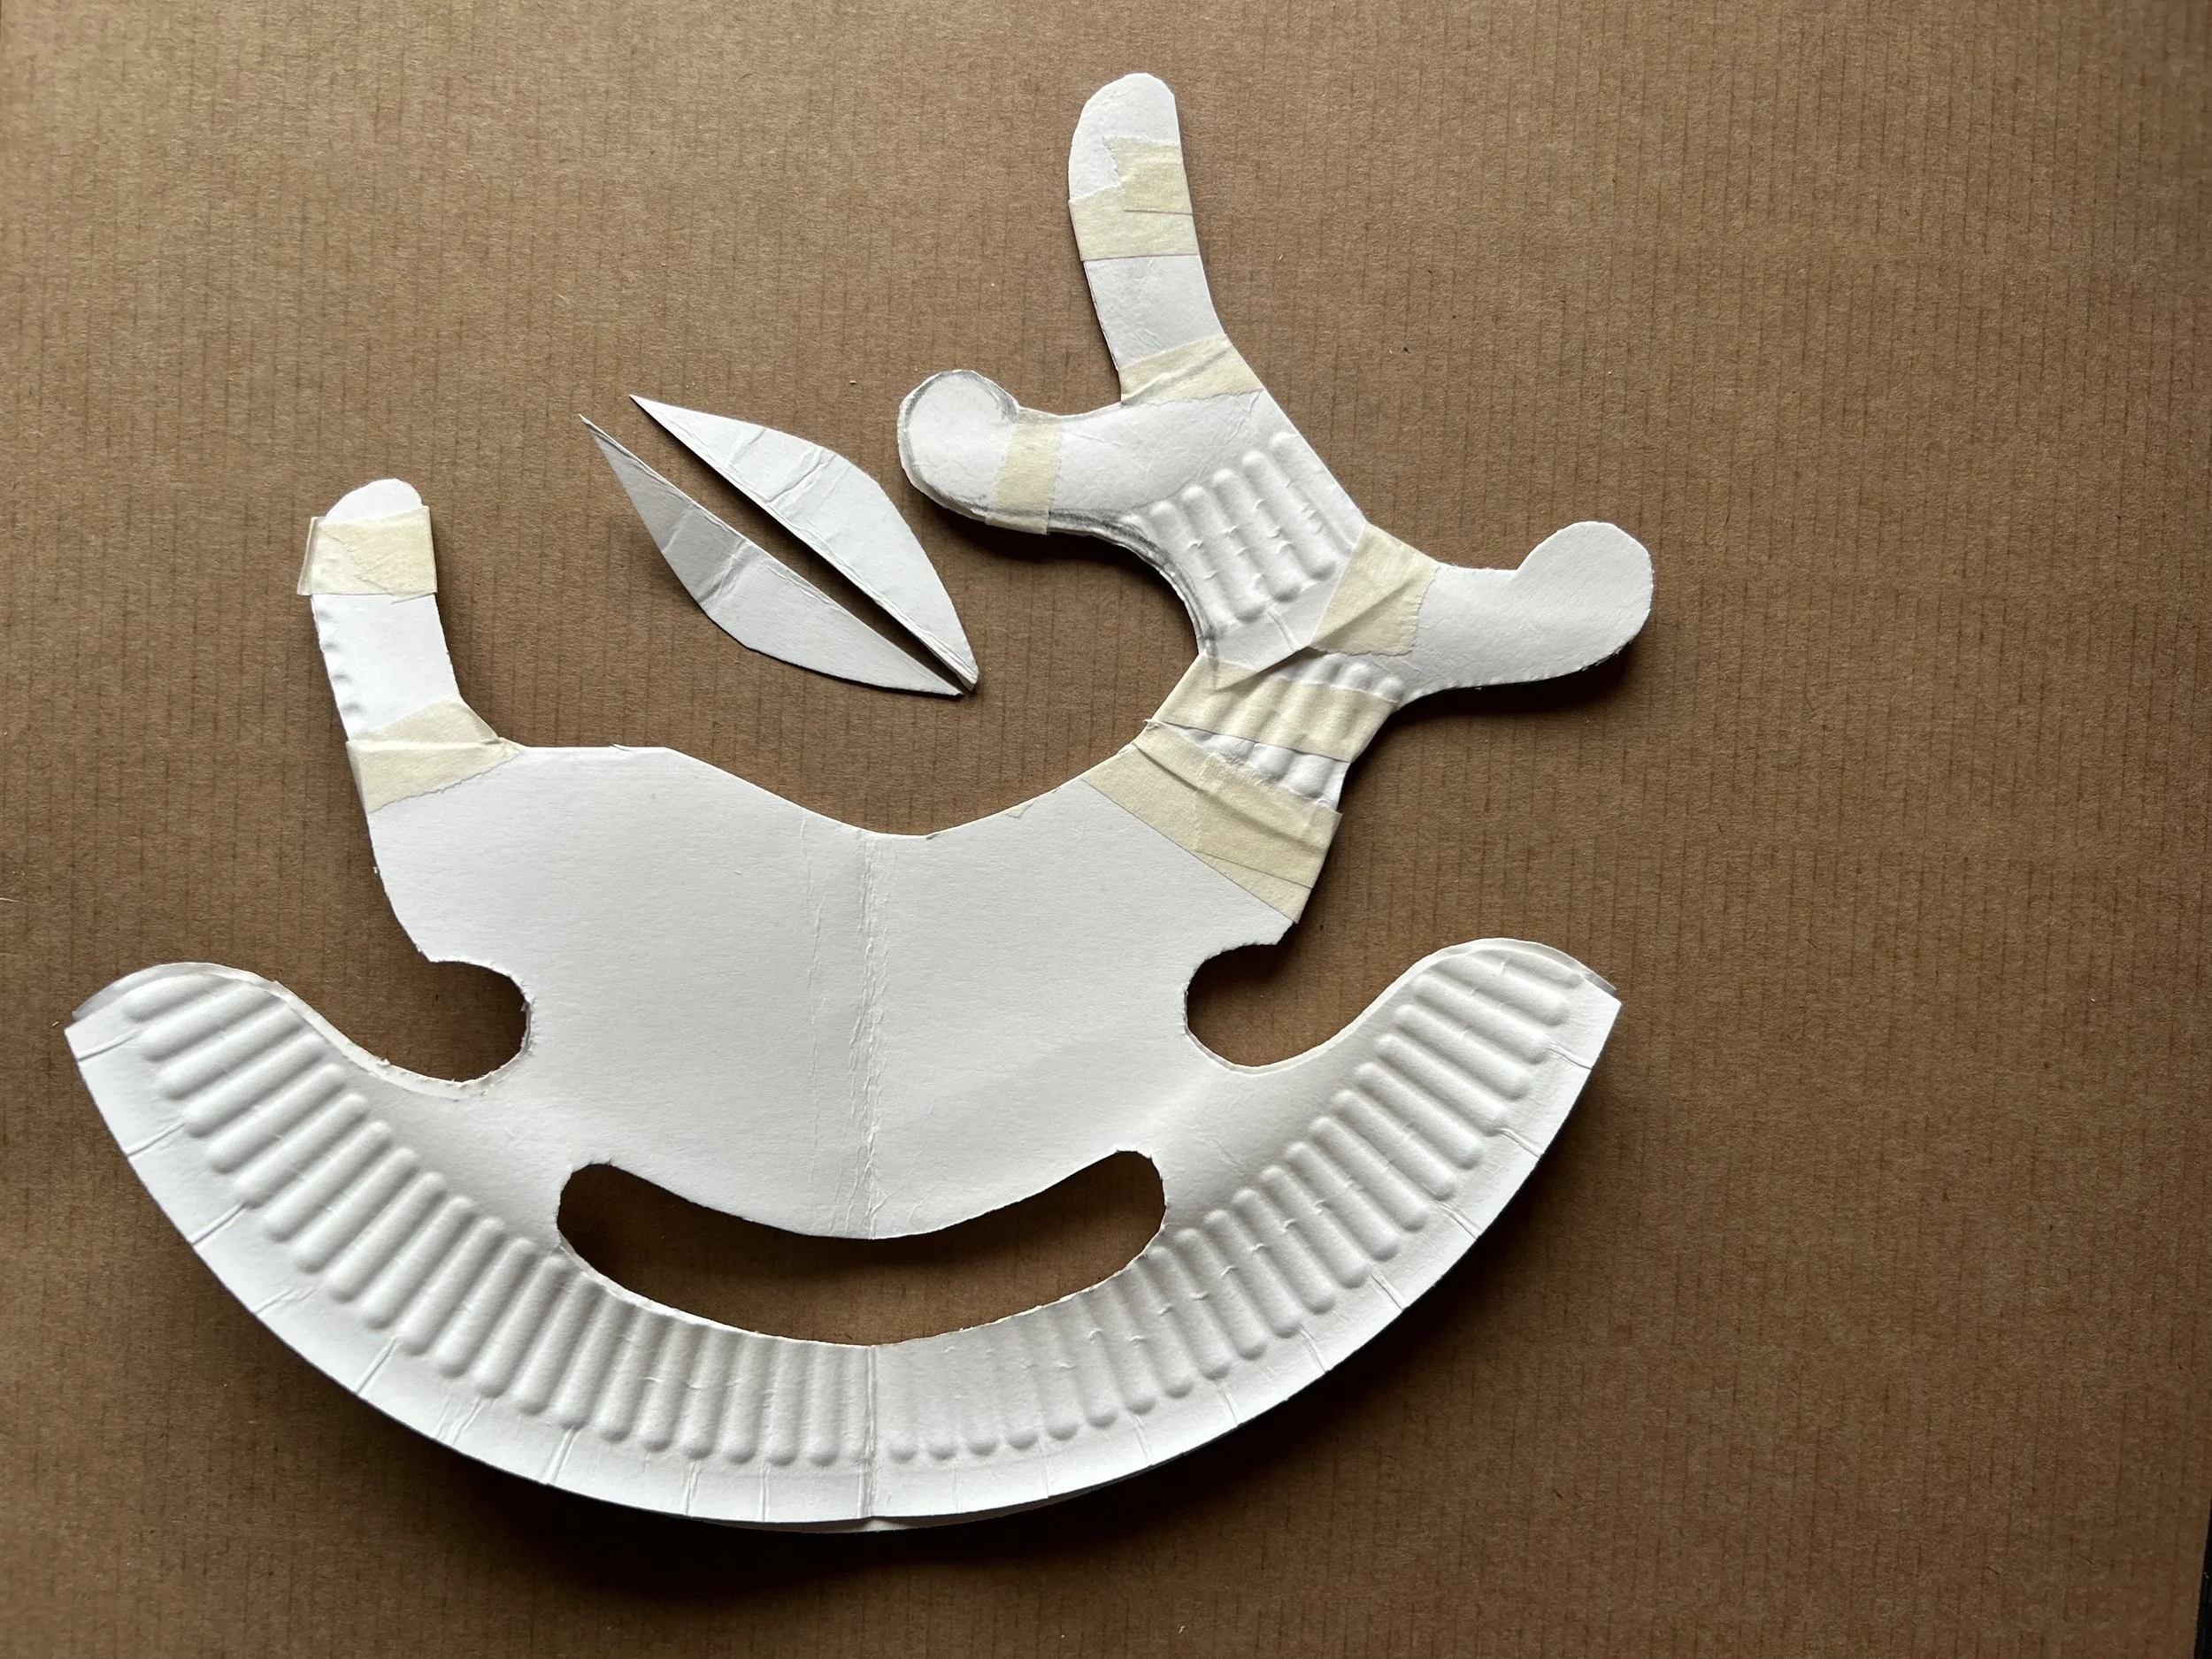
Cutting the ‘ear shapes’ from the back.
To make ear-shapes, I make another cut along the back of the reindeer, just a gentle curve like a banana shape. I then open this out, cut it along the fold into two halves, and then use them to make an ear on either side of the reindeer. See below . . .
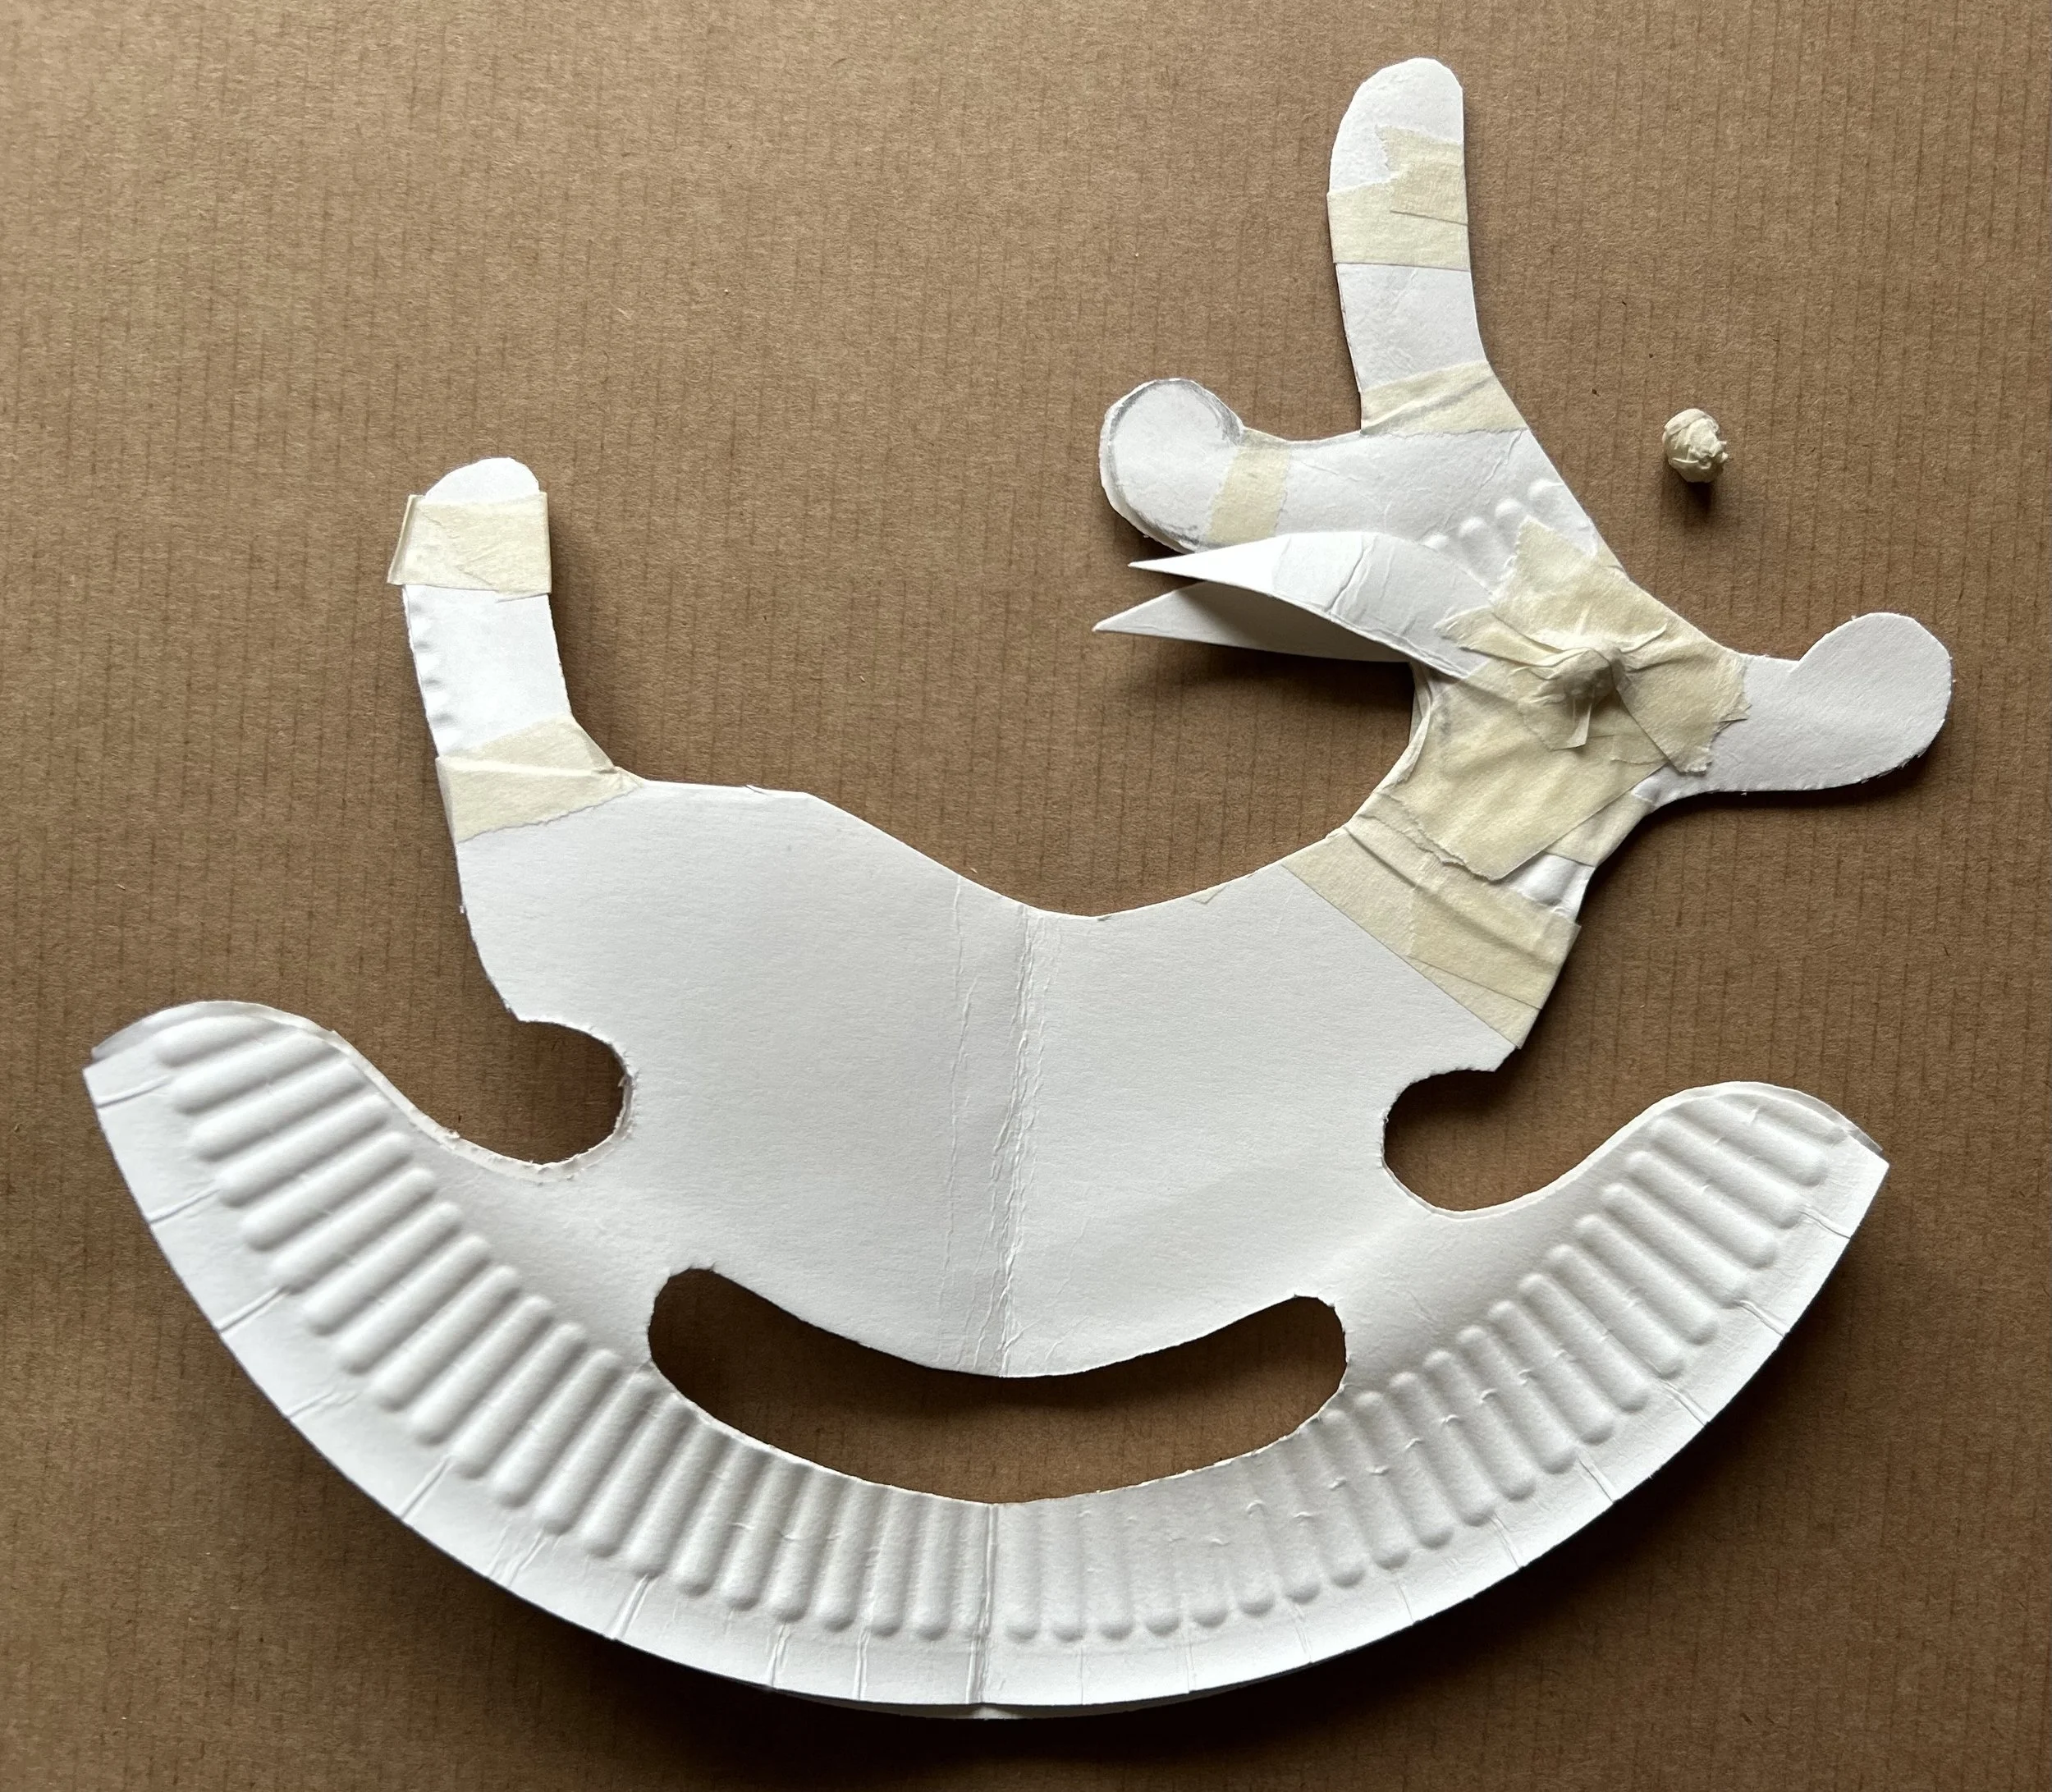
Finally, I’ve scrunched up a small piece of the tape to make an eye, a technique I often use if I don’t have any other materials. Obviously you could do this differently, you could punch out cardboard eyes with a hole-punch, you could glue on small buttons, or sequins, or just draw them on with a marker pen.

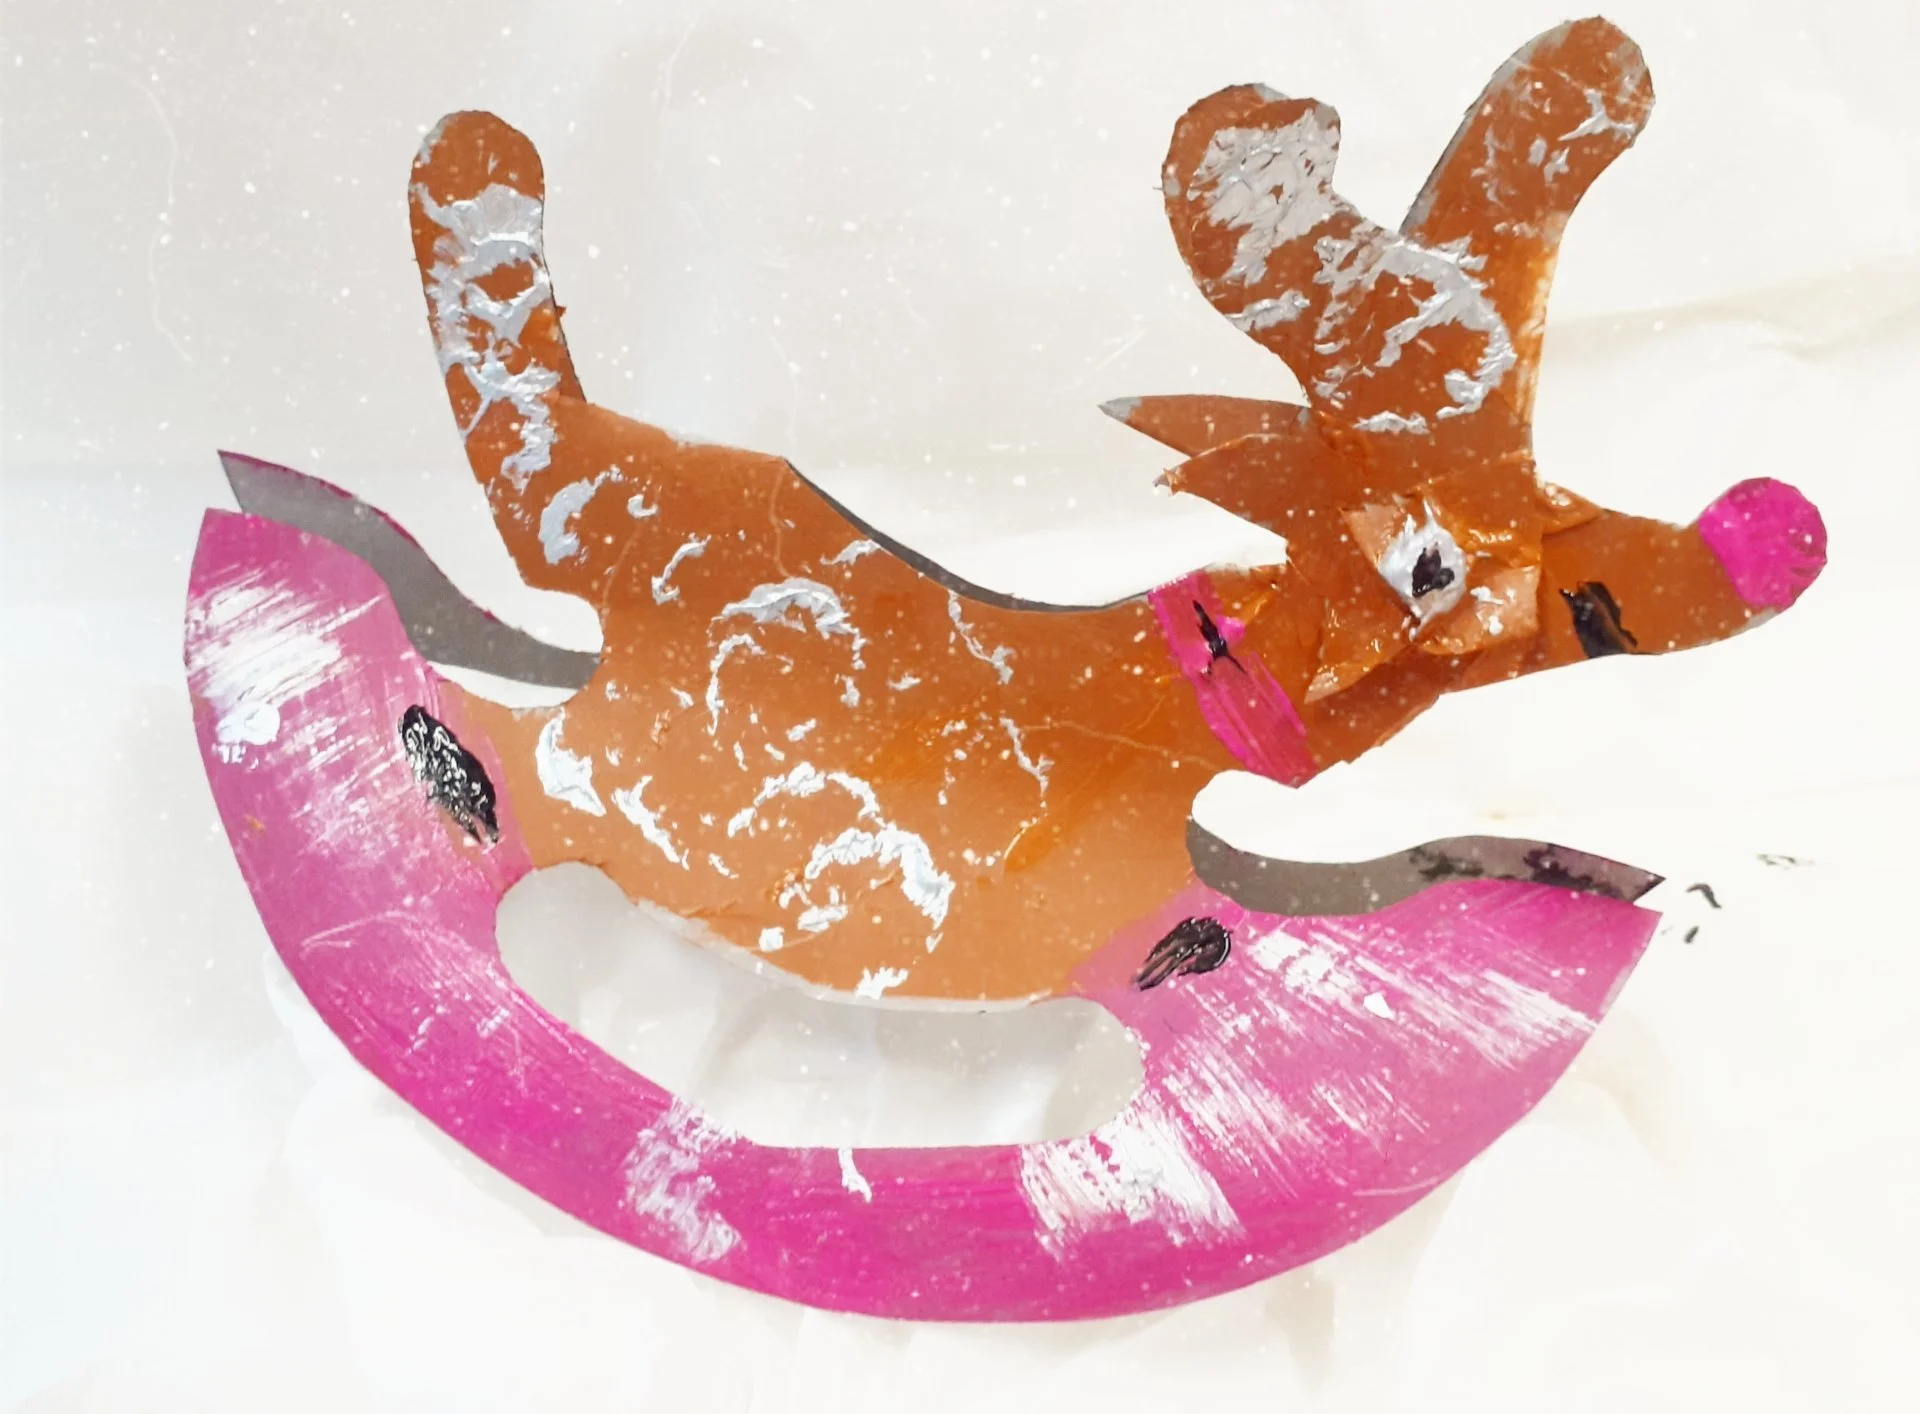
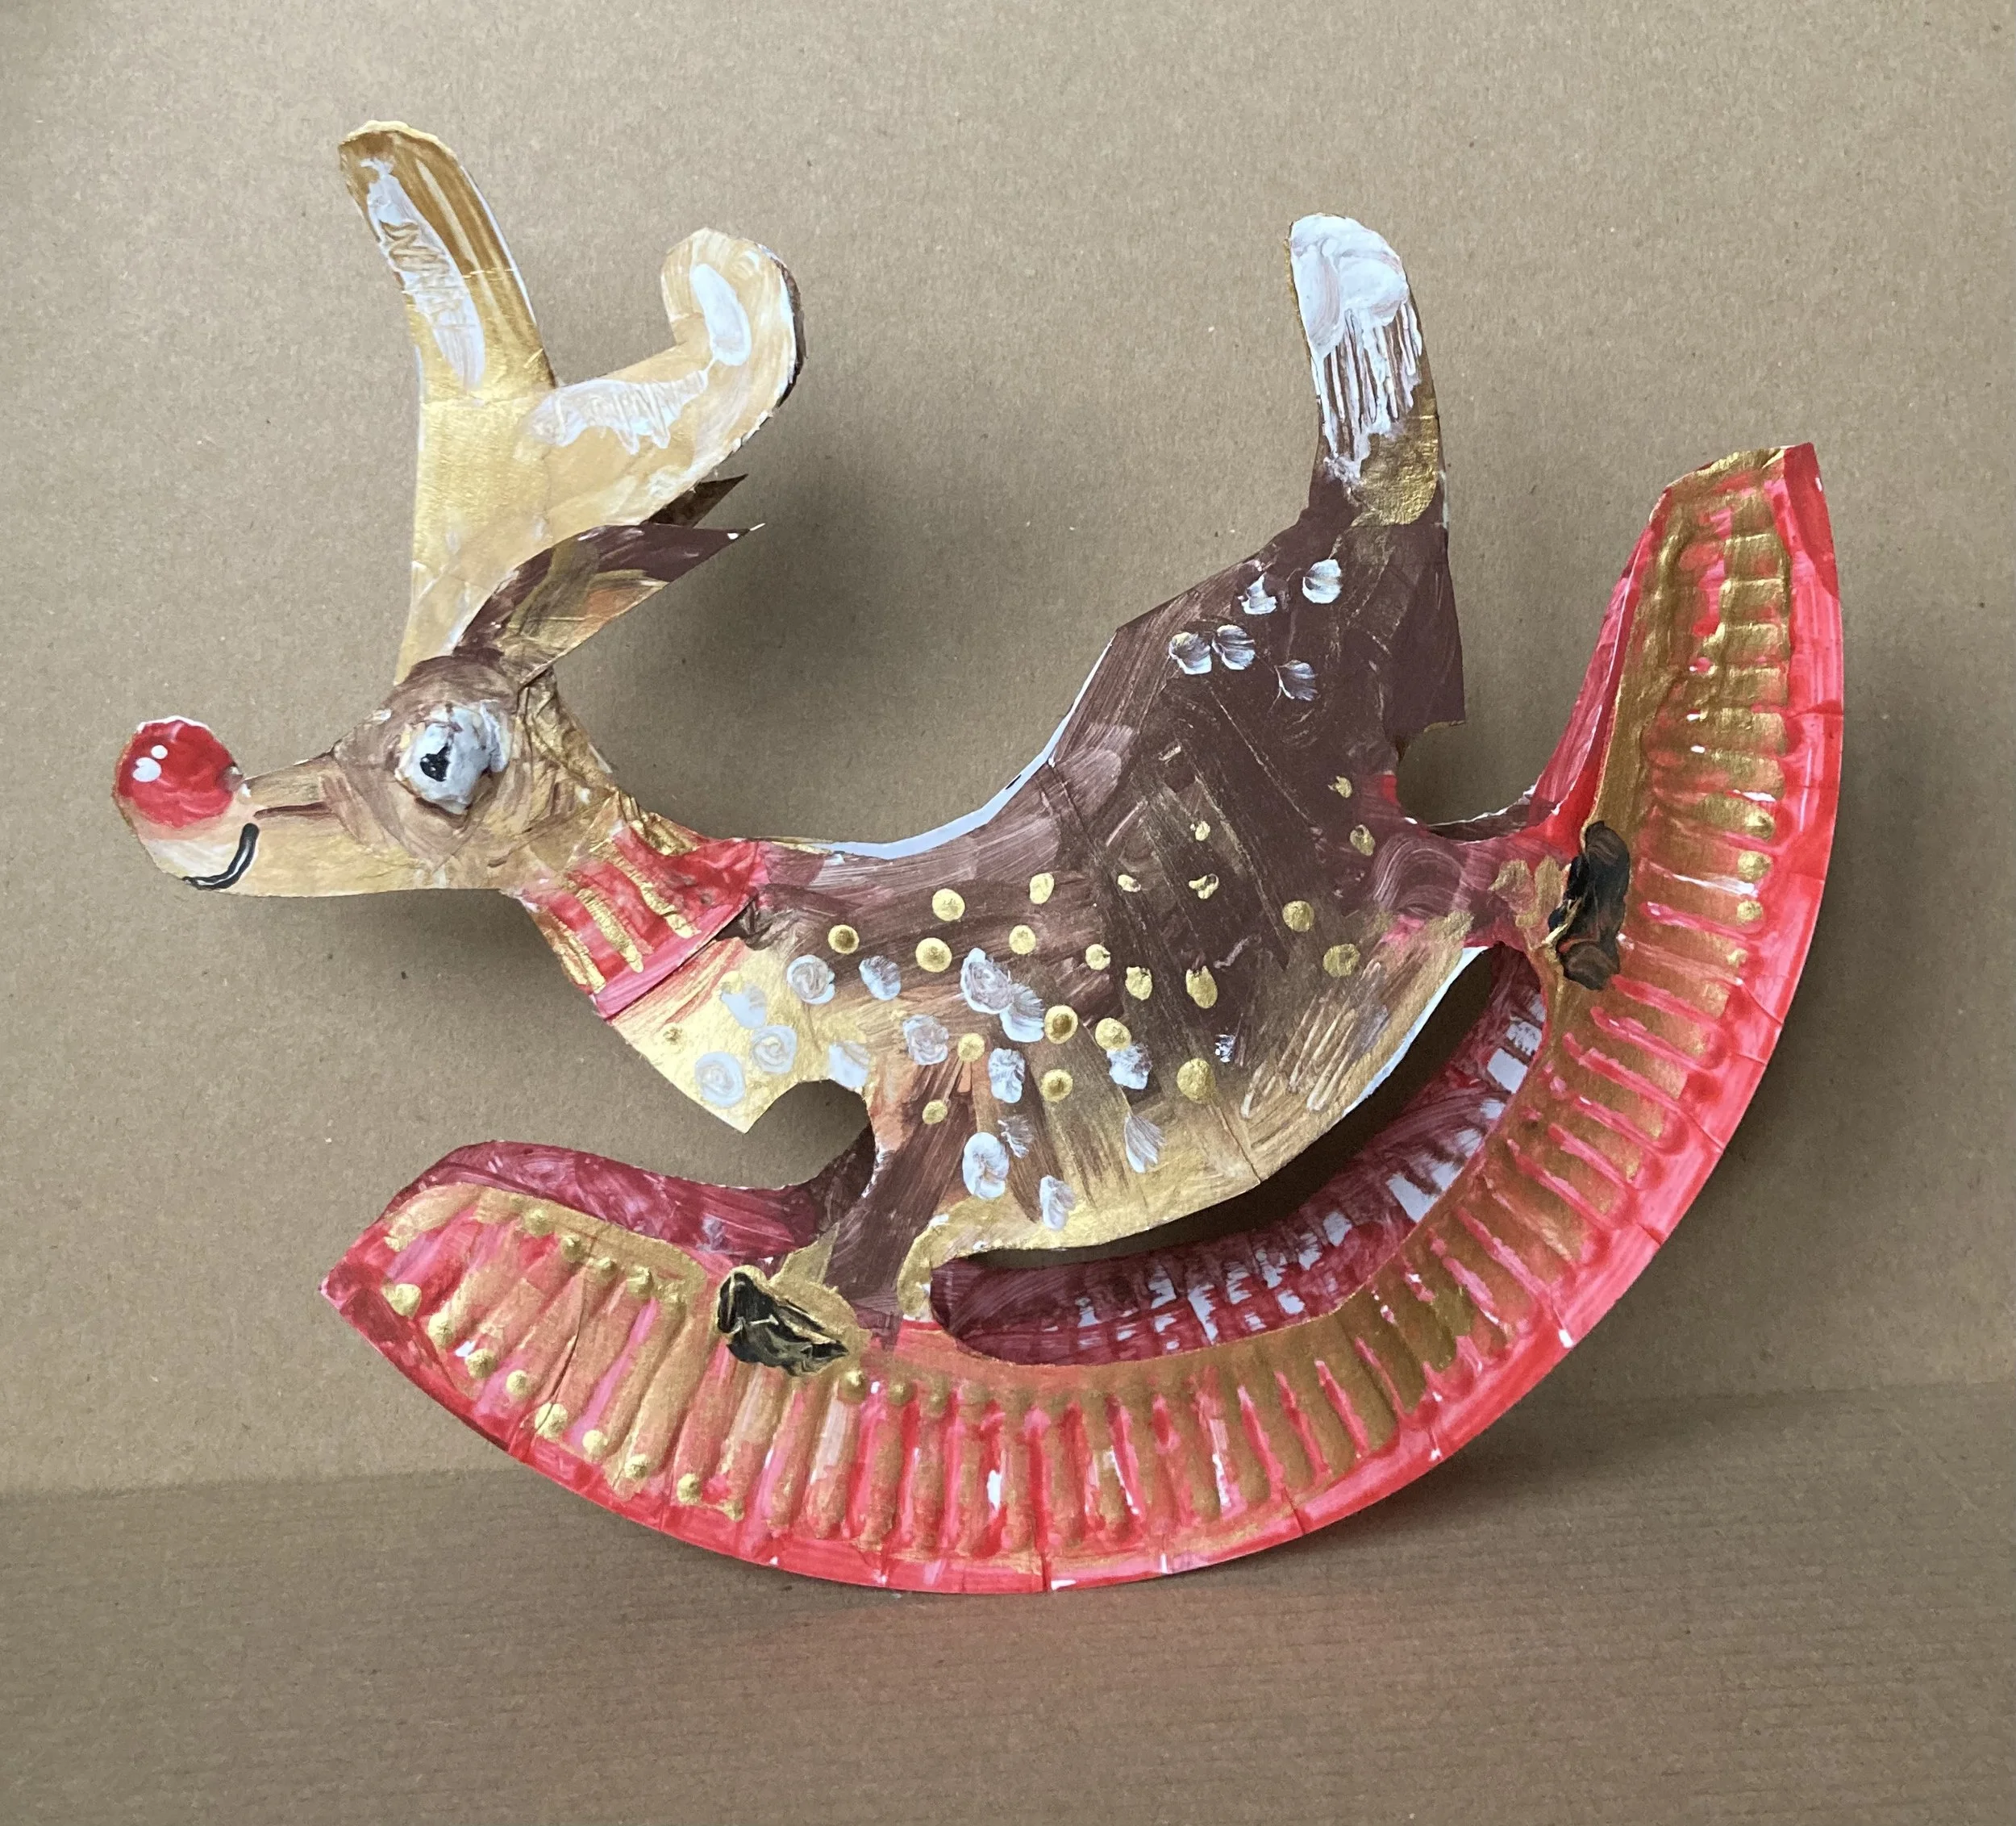
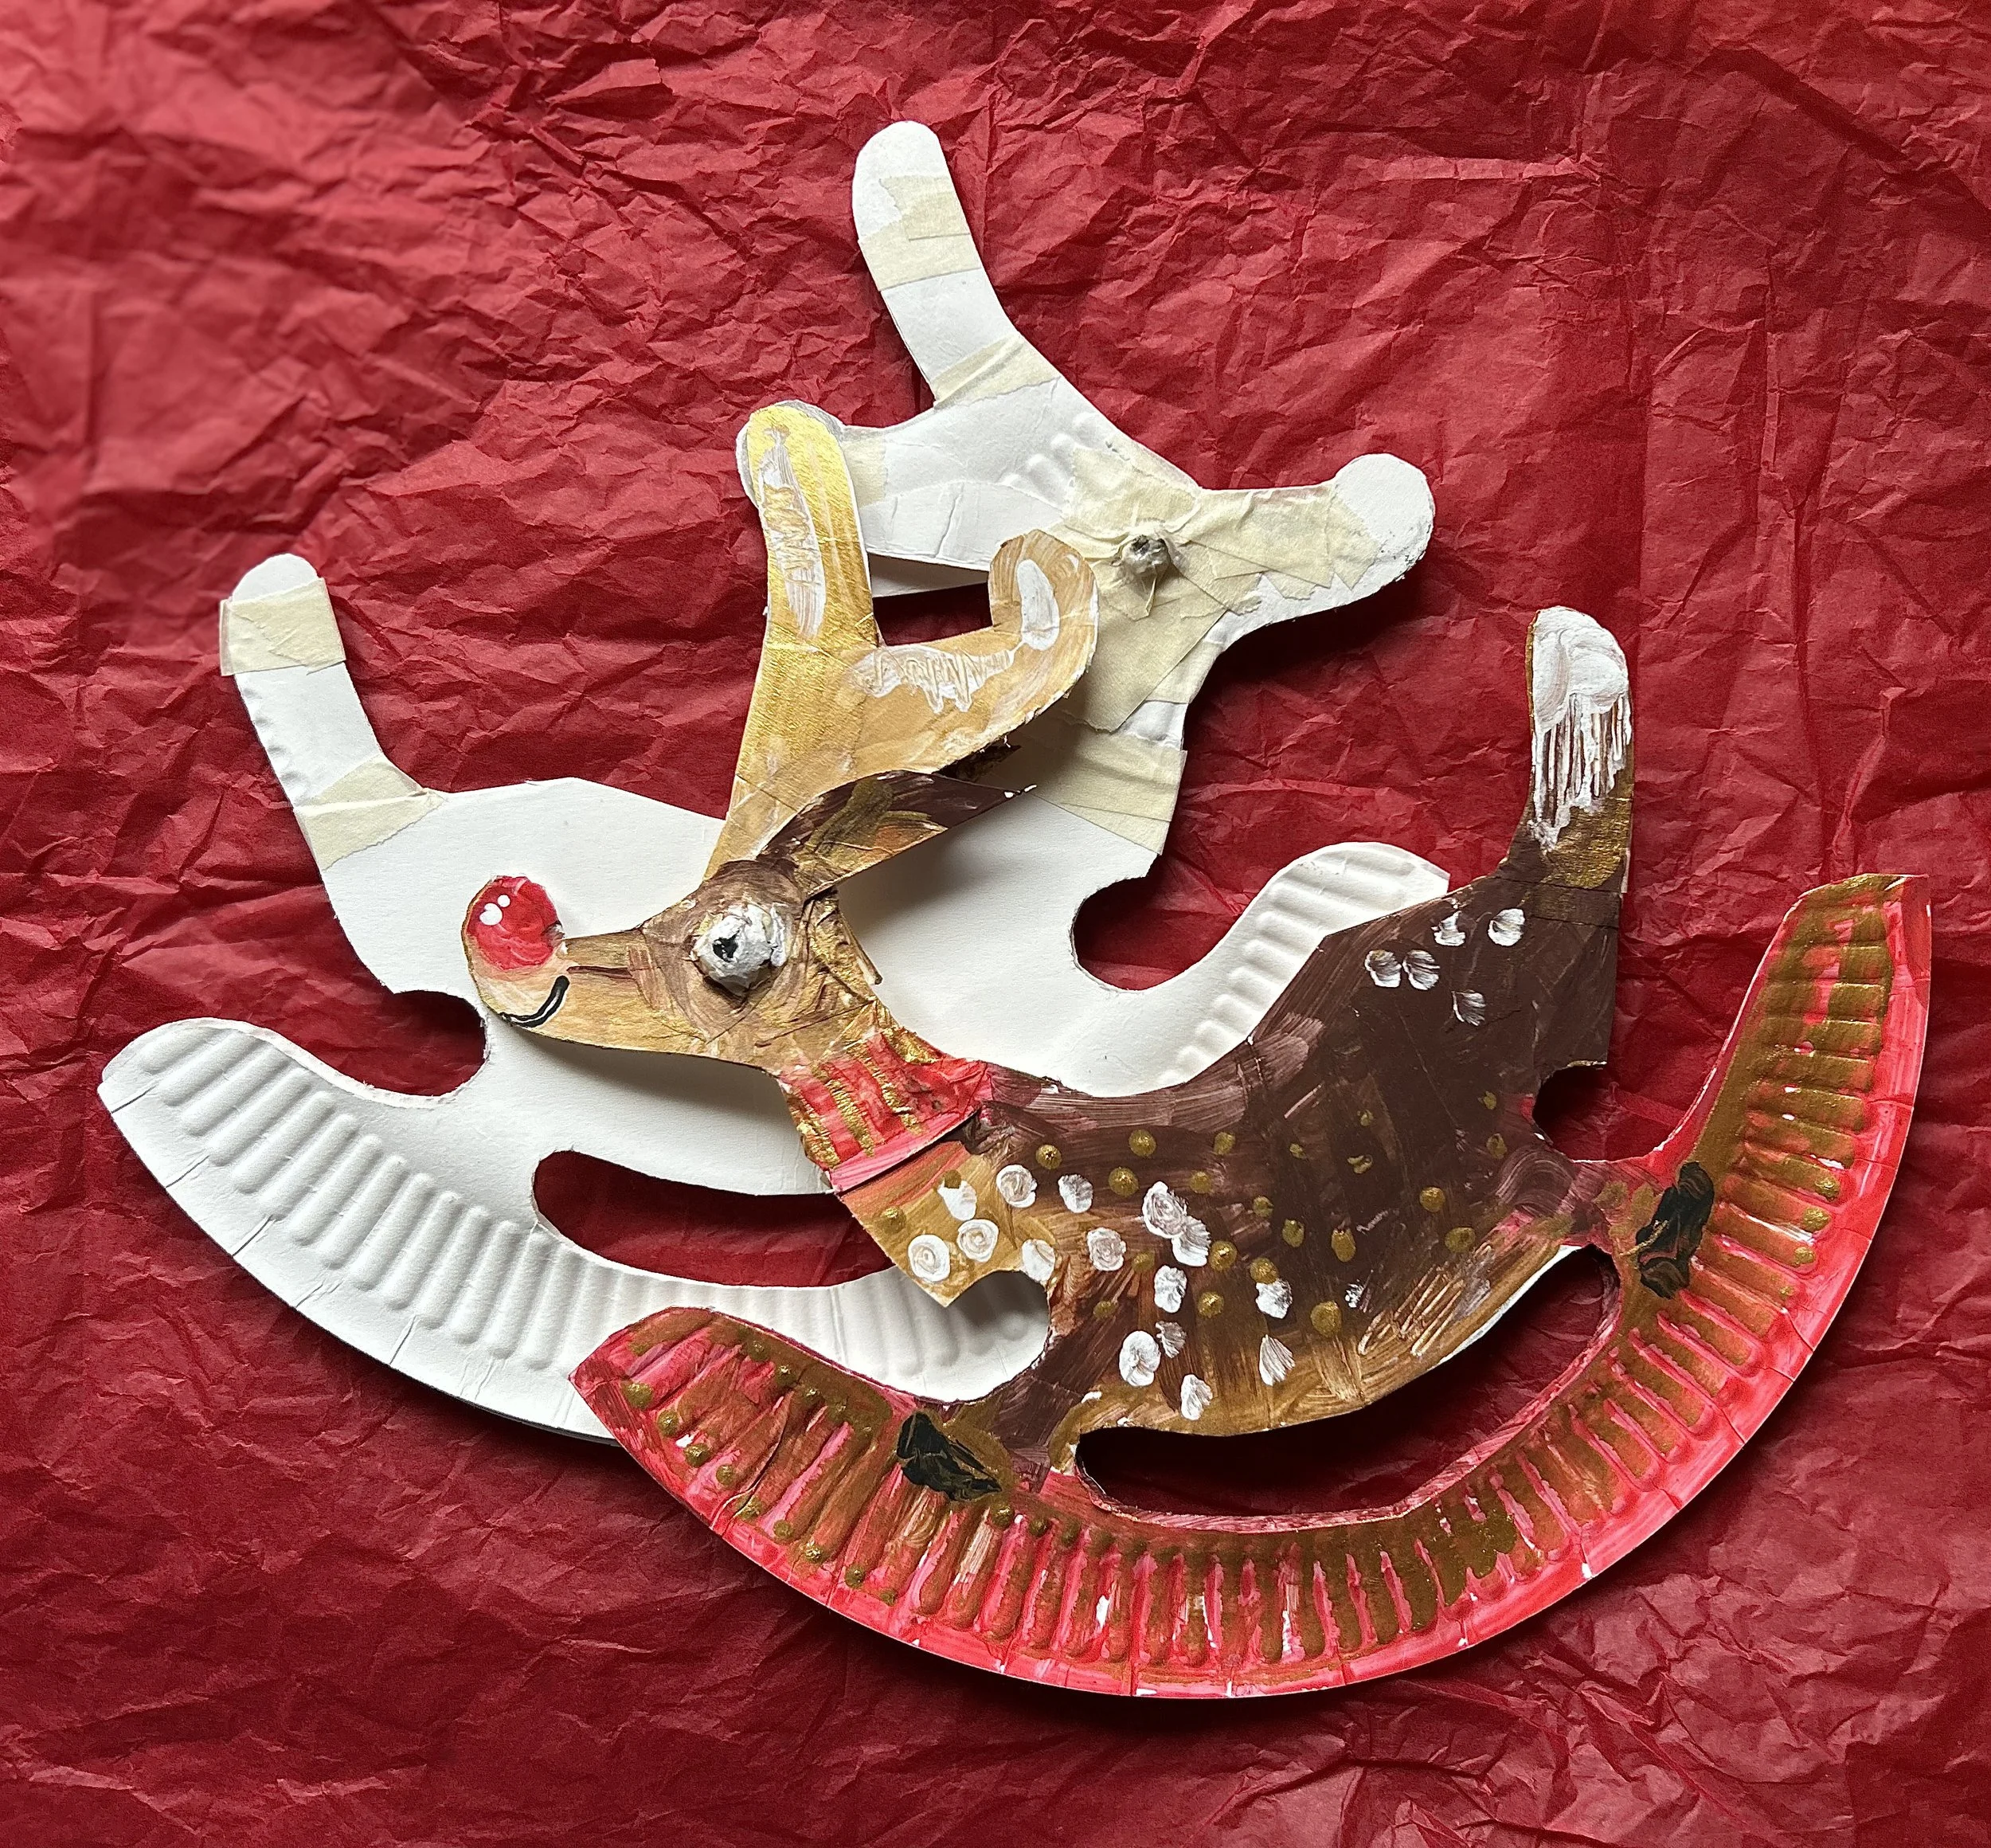
The finished, painted reindeer.
Last but not least, you can add some colour, I’ve used regular children’s paints, and a little metallic gold to make it a bit more festive.
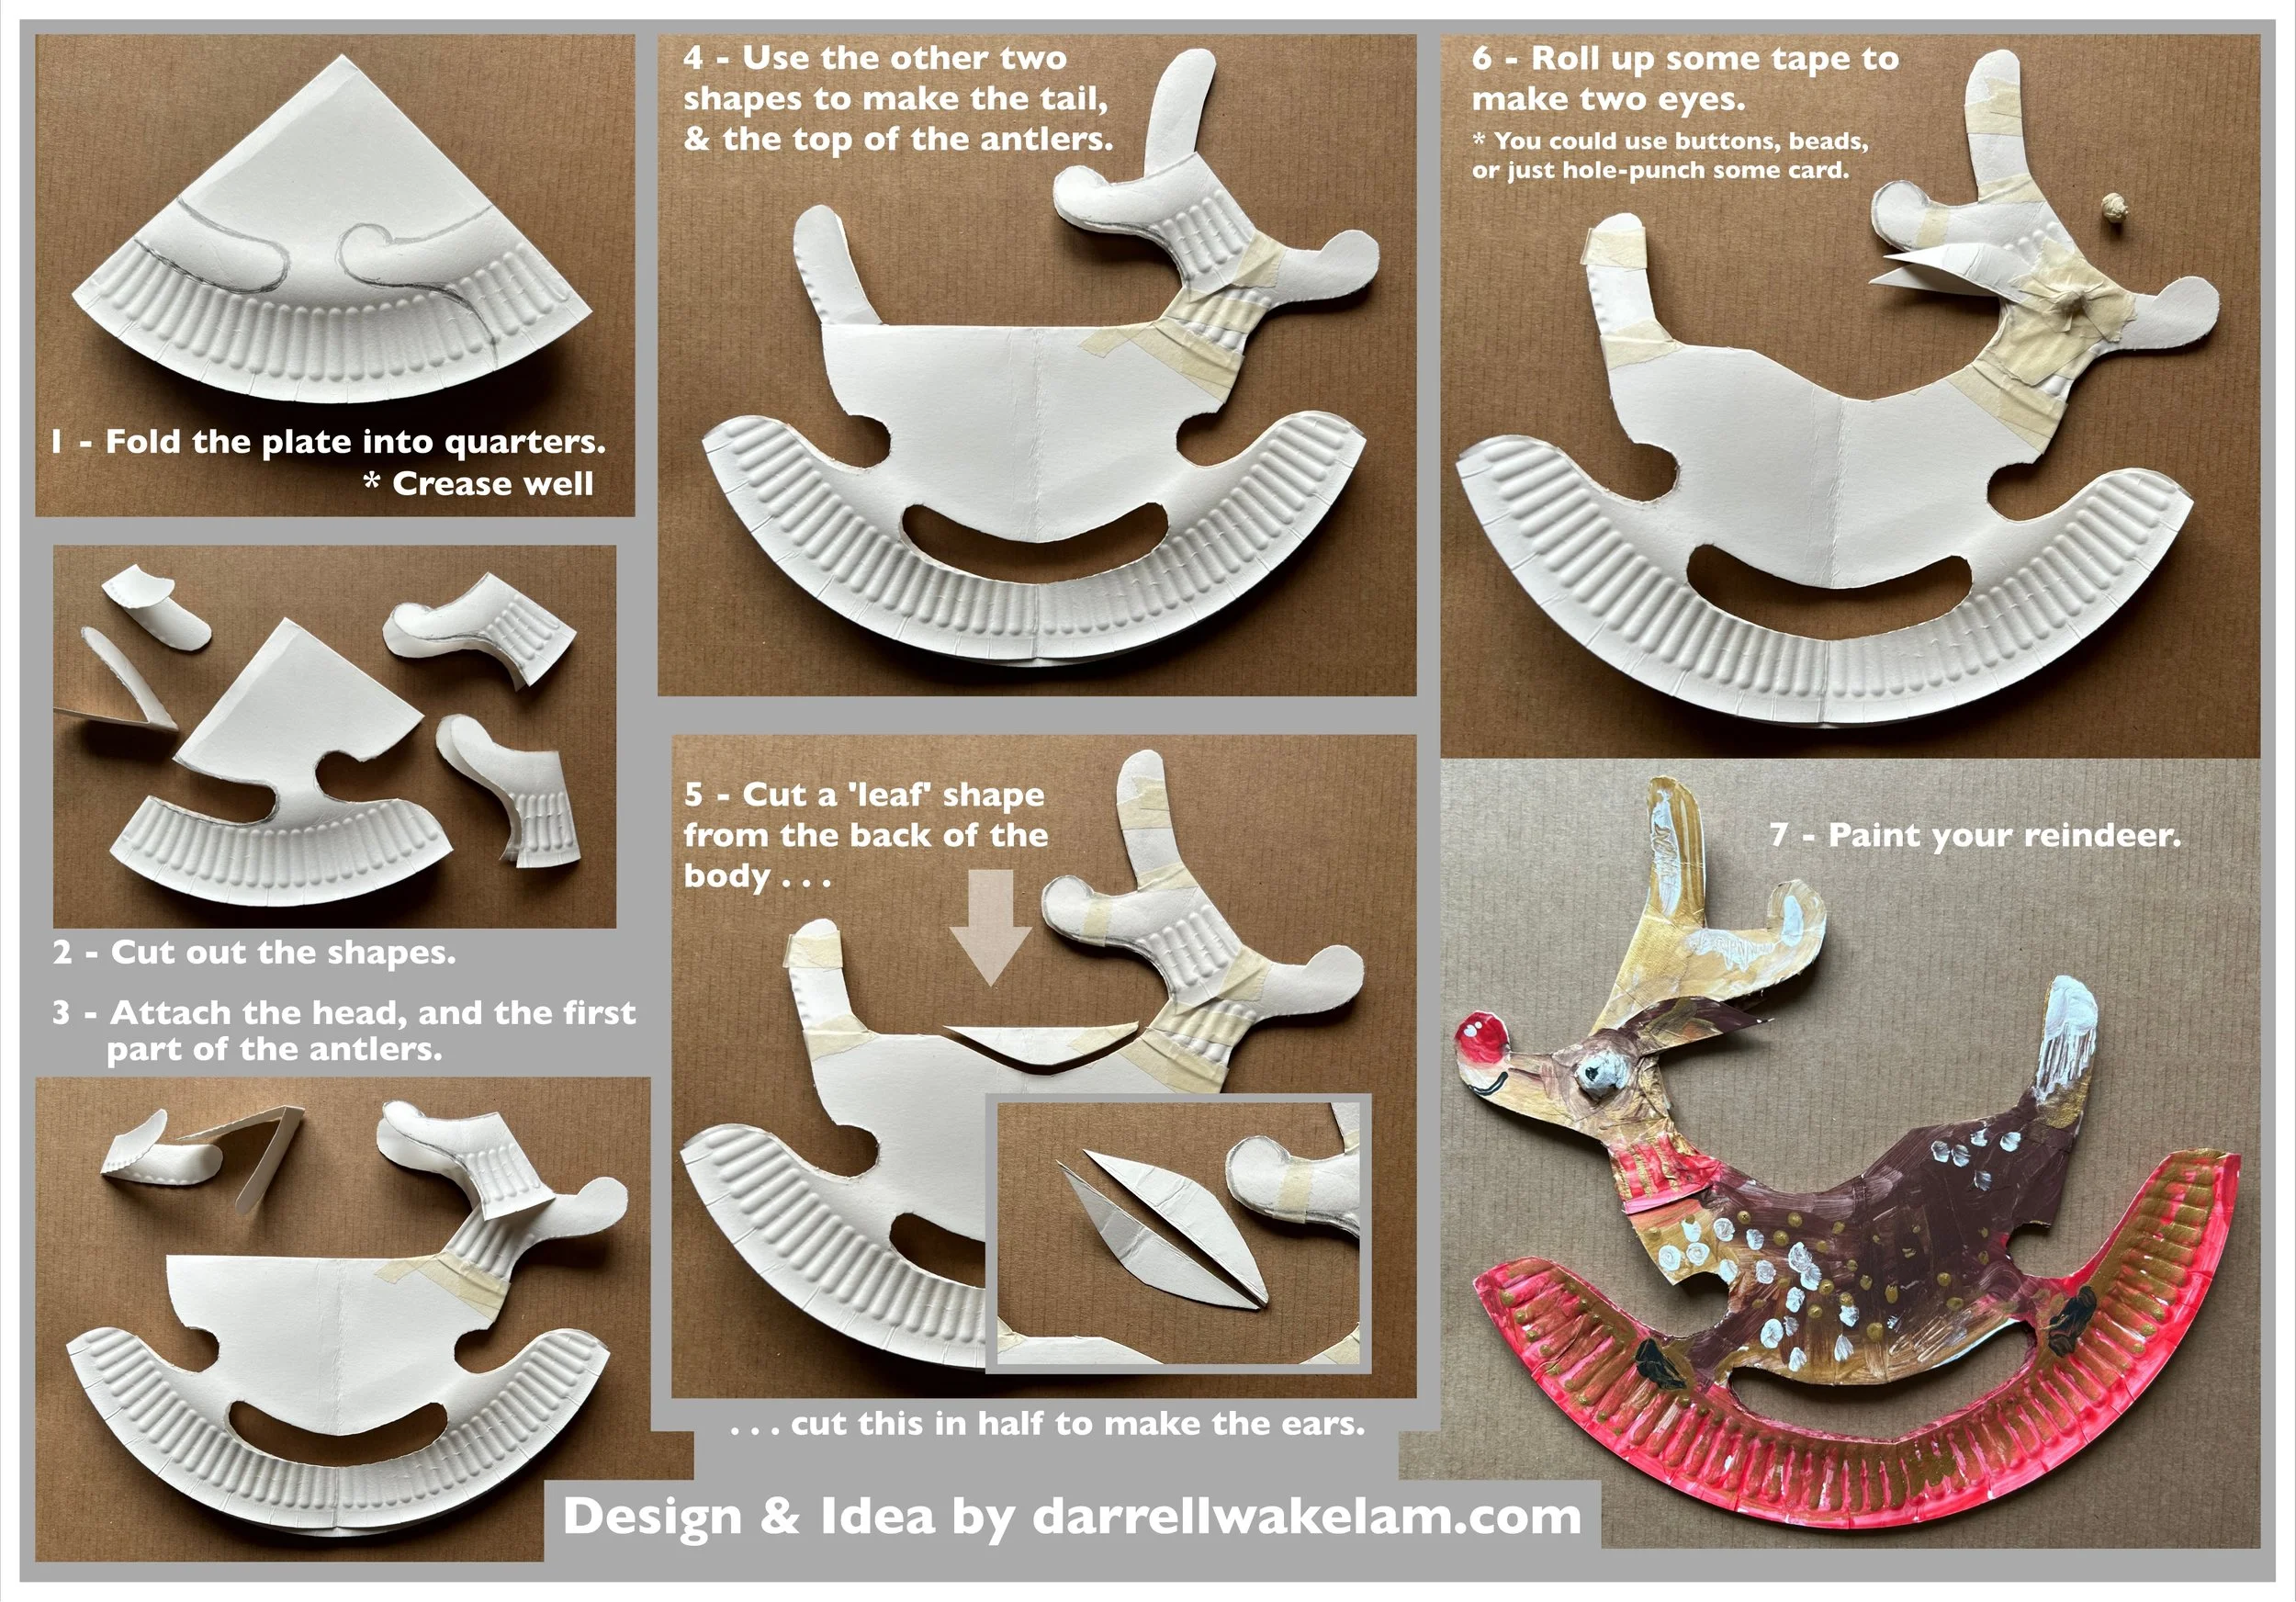
I put these instructions into a simple ‘recipe’ format too a couple of years ago, so here it is below.
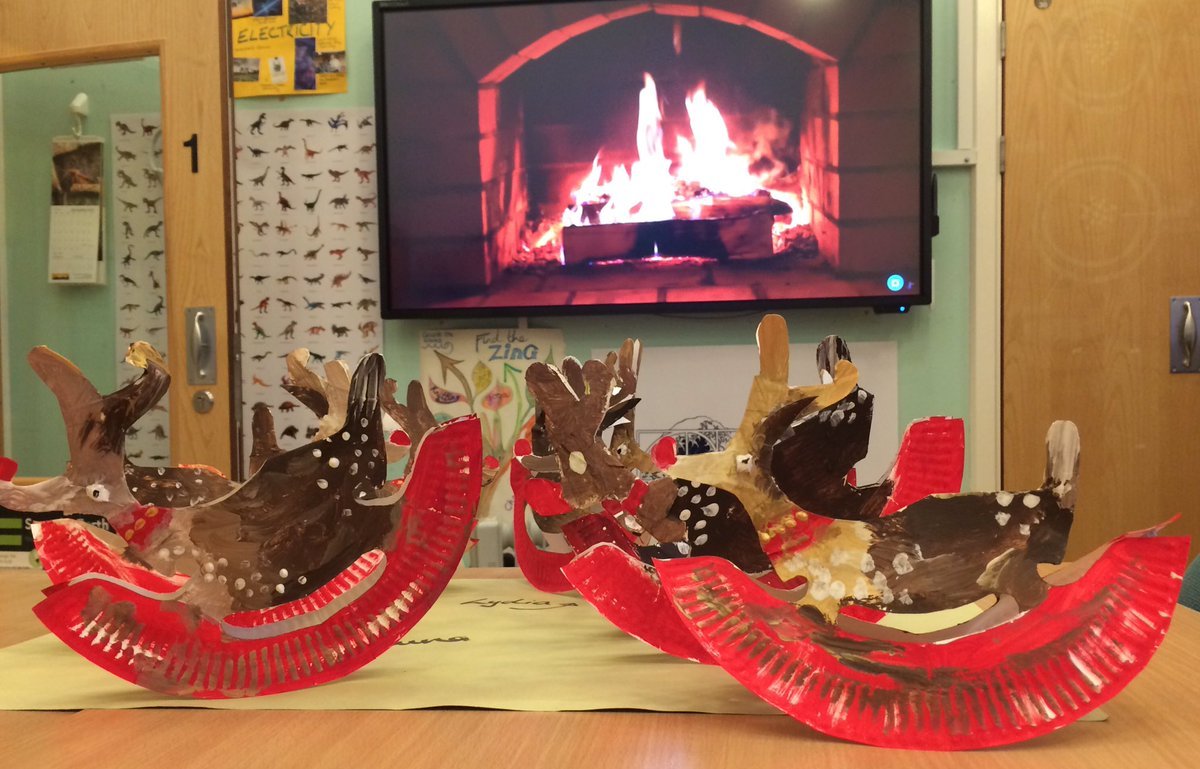
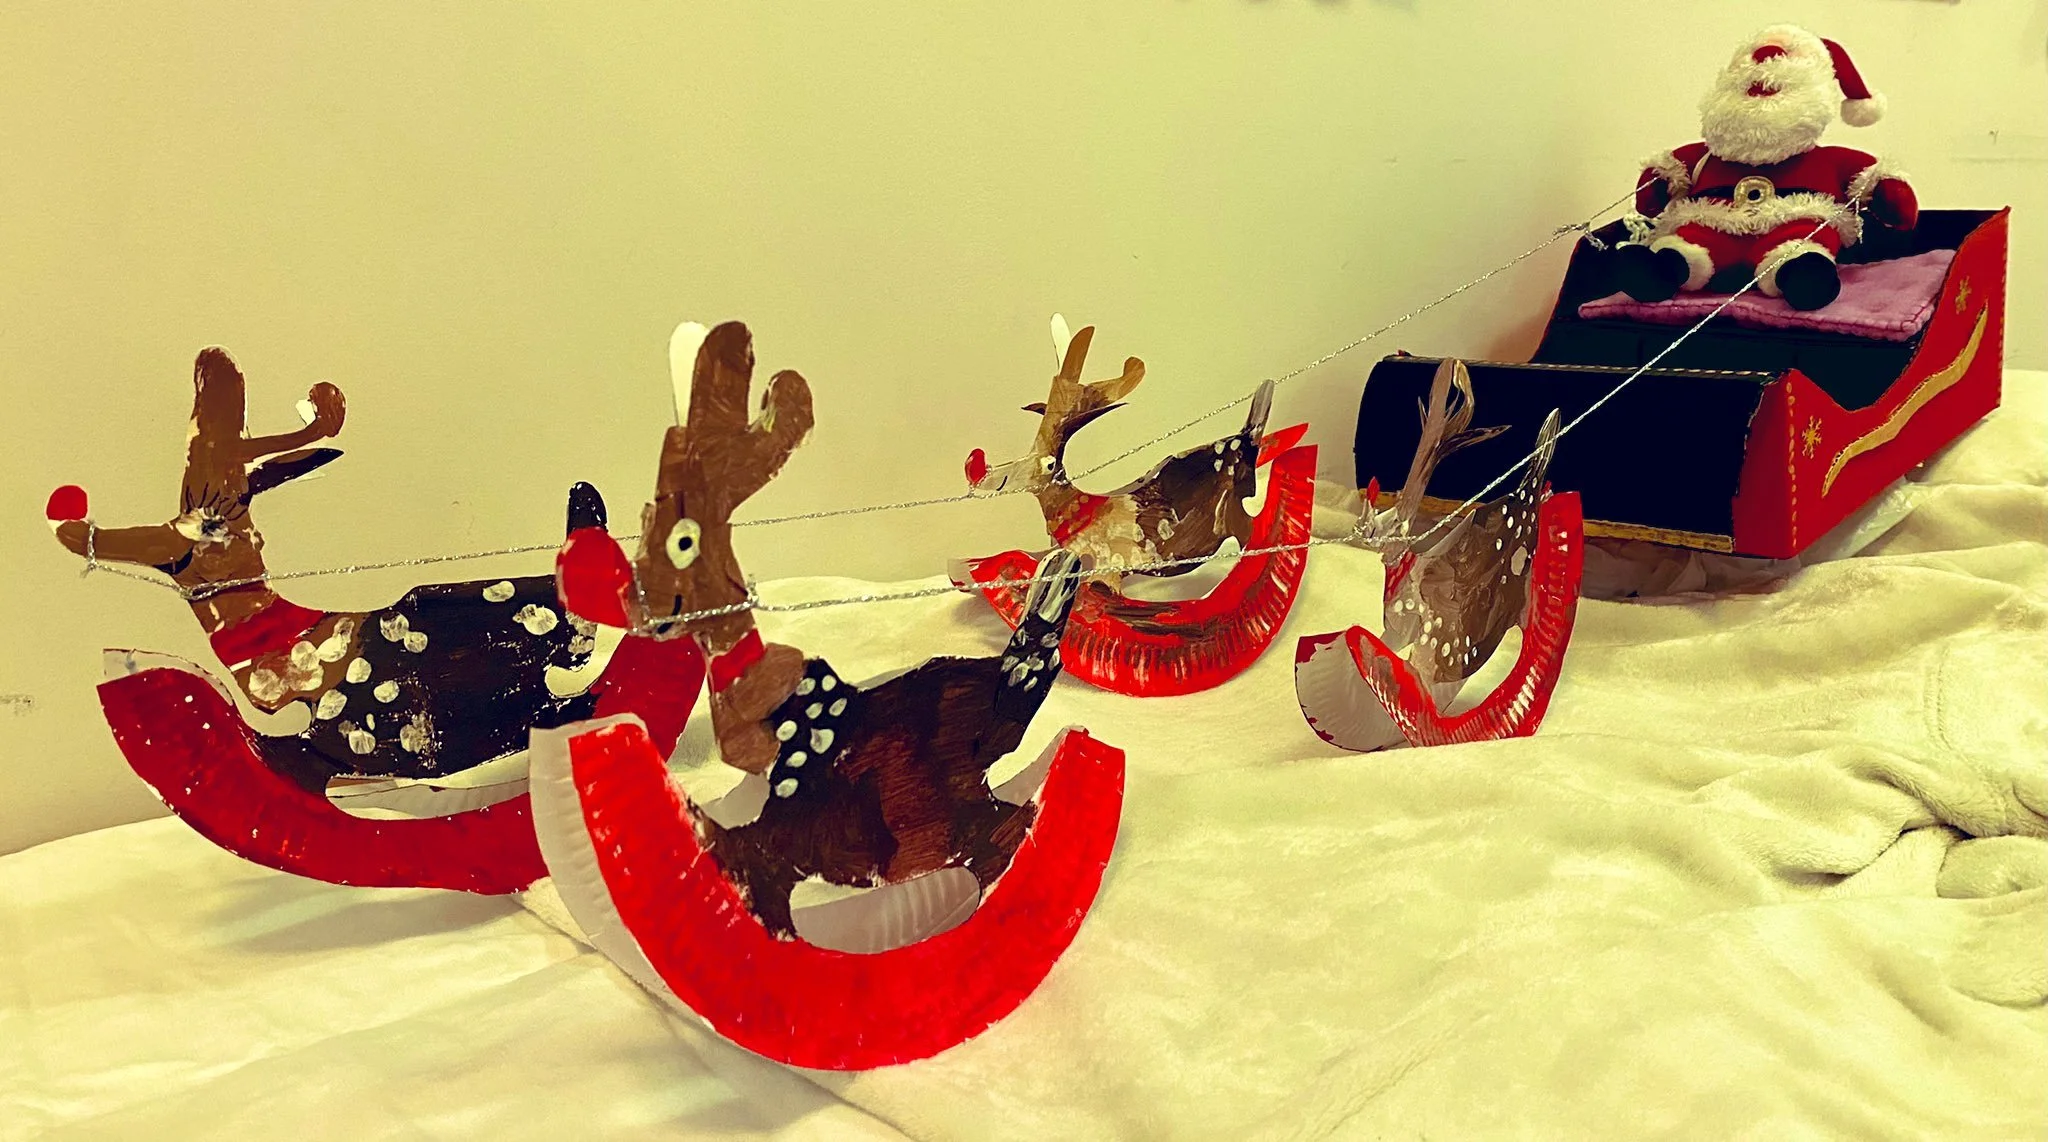
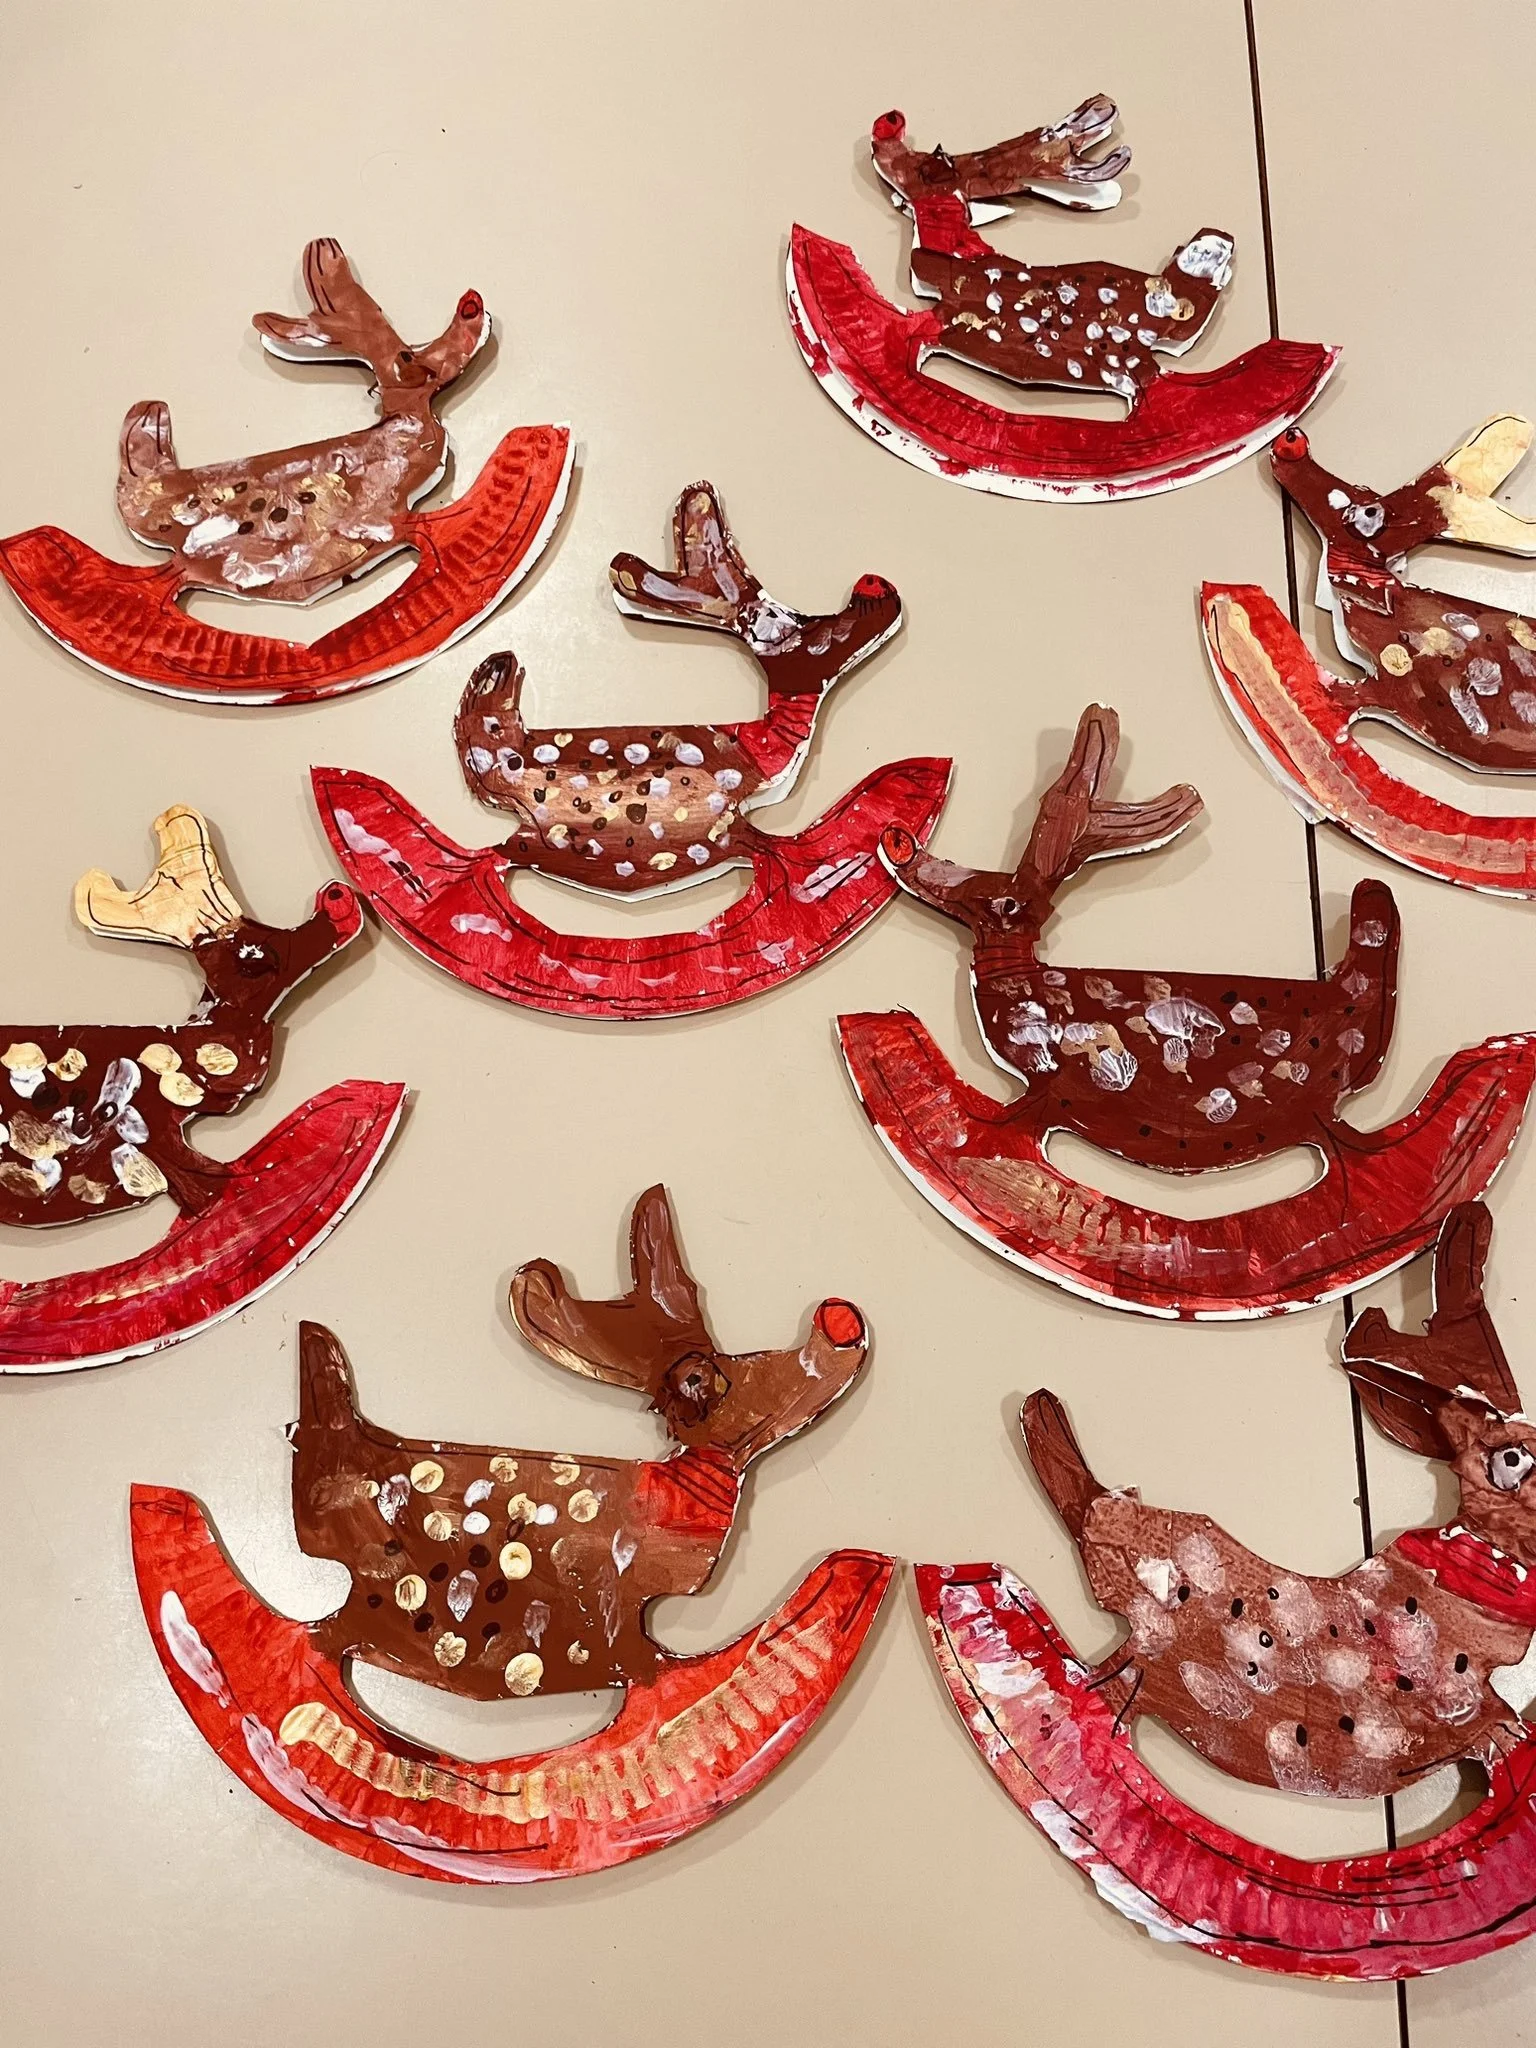
Here are a few versions made by other people, and children, who kindly sent me photos of their own versions . . .