Corrugated Card Seahorse
With my work, the materials themselves often suggest the subject matter, and this is a good example. What better material is there to create the texture of a seahorse than this humble corrugated cardboard packaging. I've made seahorses many times before, either using scrap cardboard, or paper plates, or recycled tubes, but I think this is my favourite so far.

The short video below gives you an idea of the stages, but this is definitely something you can go your own way with, you could make the model larger, or more complex, I’ve kept the basic shape fairly simple, and then spent more time making the surface textures more complex. There’s more detailed information about each stage
To begin with, I’ve simply drawn the outline of the seahorse, making it slightly broader than the finished piece will be (because it will be scored, and pushed together, so will be thinner) I’ve also cut some slits around the outside edge so that the shapes overlap and push into position more easily. If you think you’d struggle with the drawing, you could always print out a photograph and cut around it as a guide.
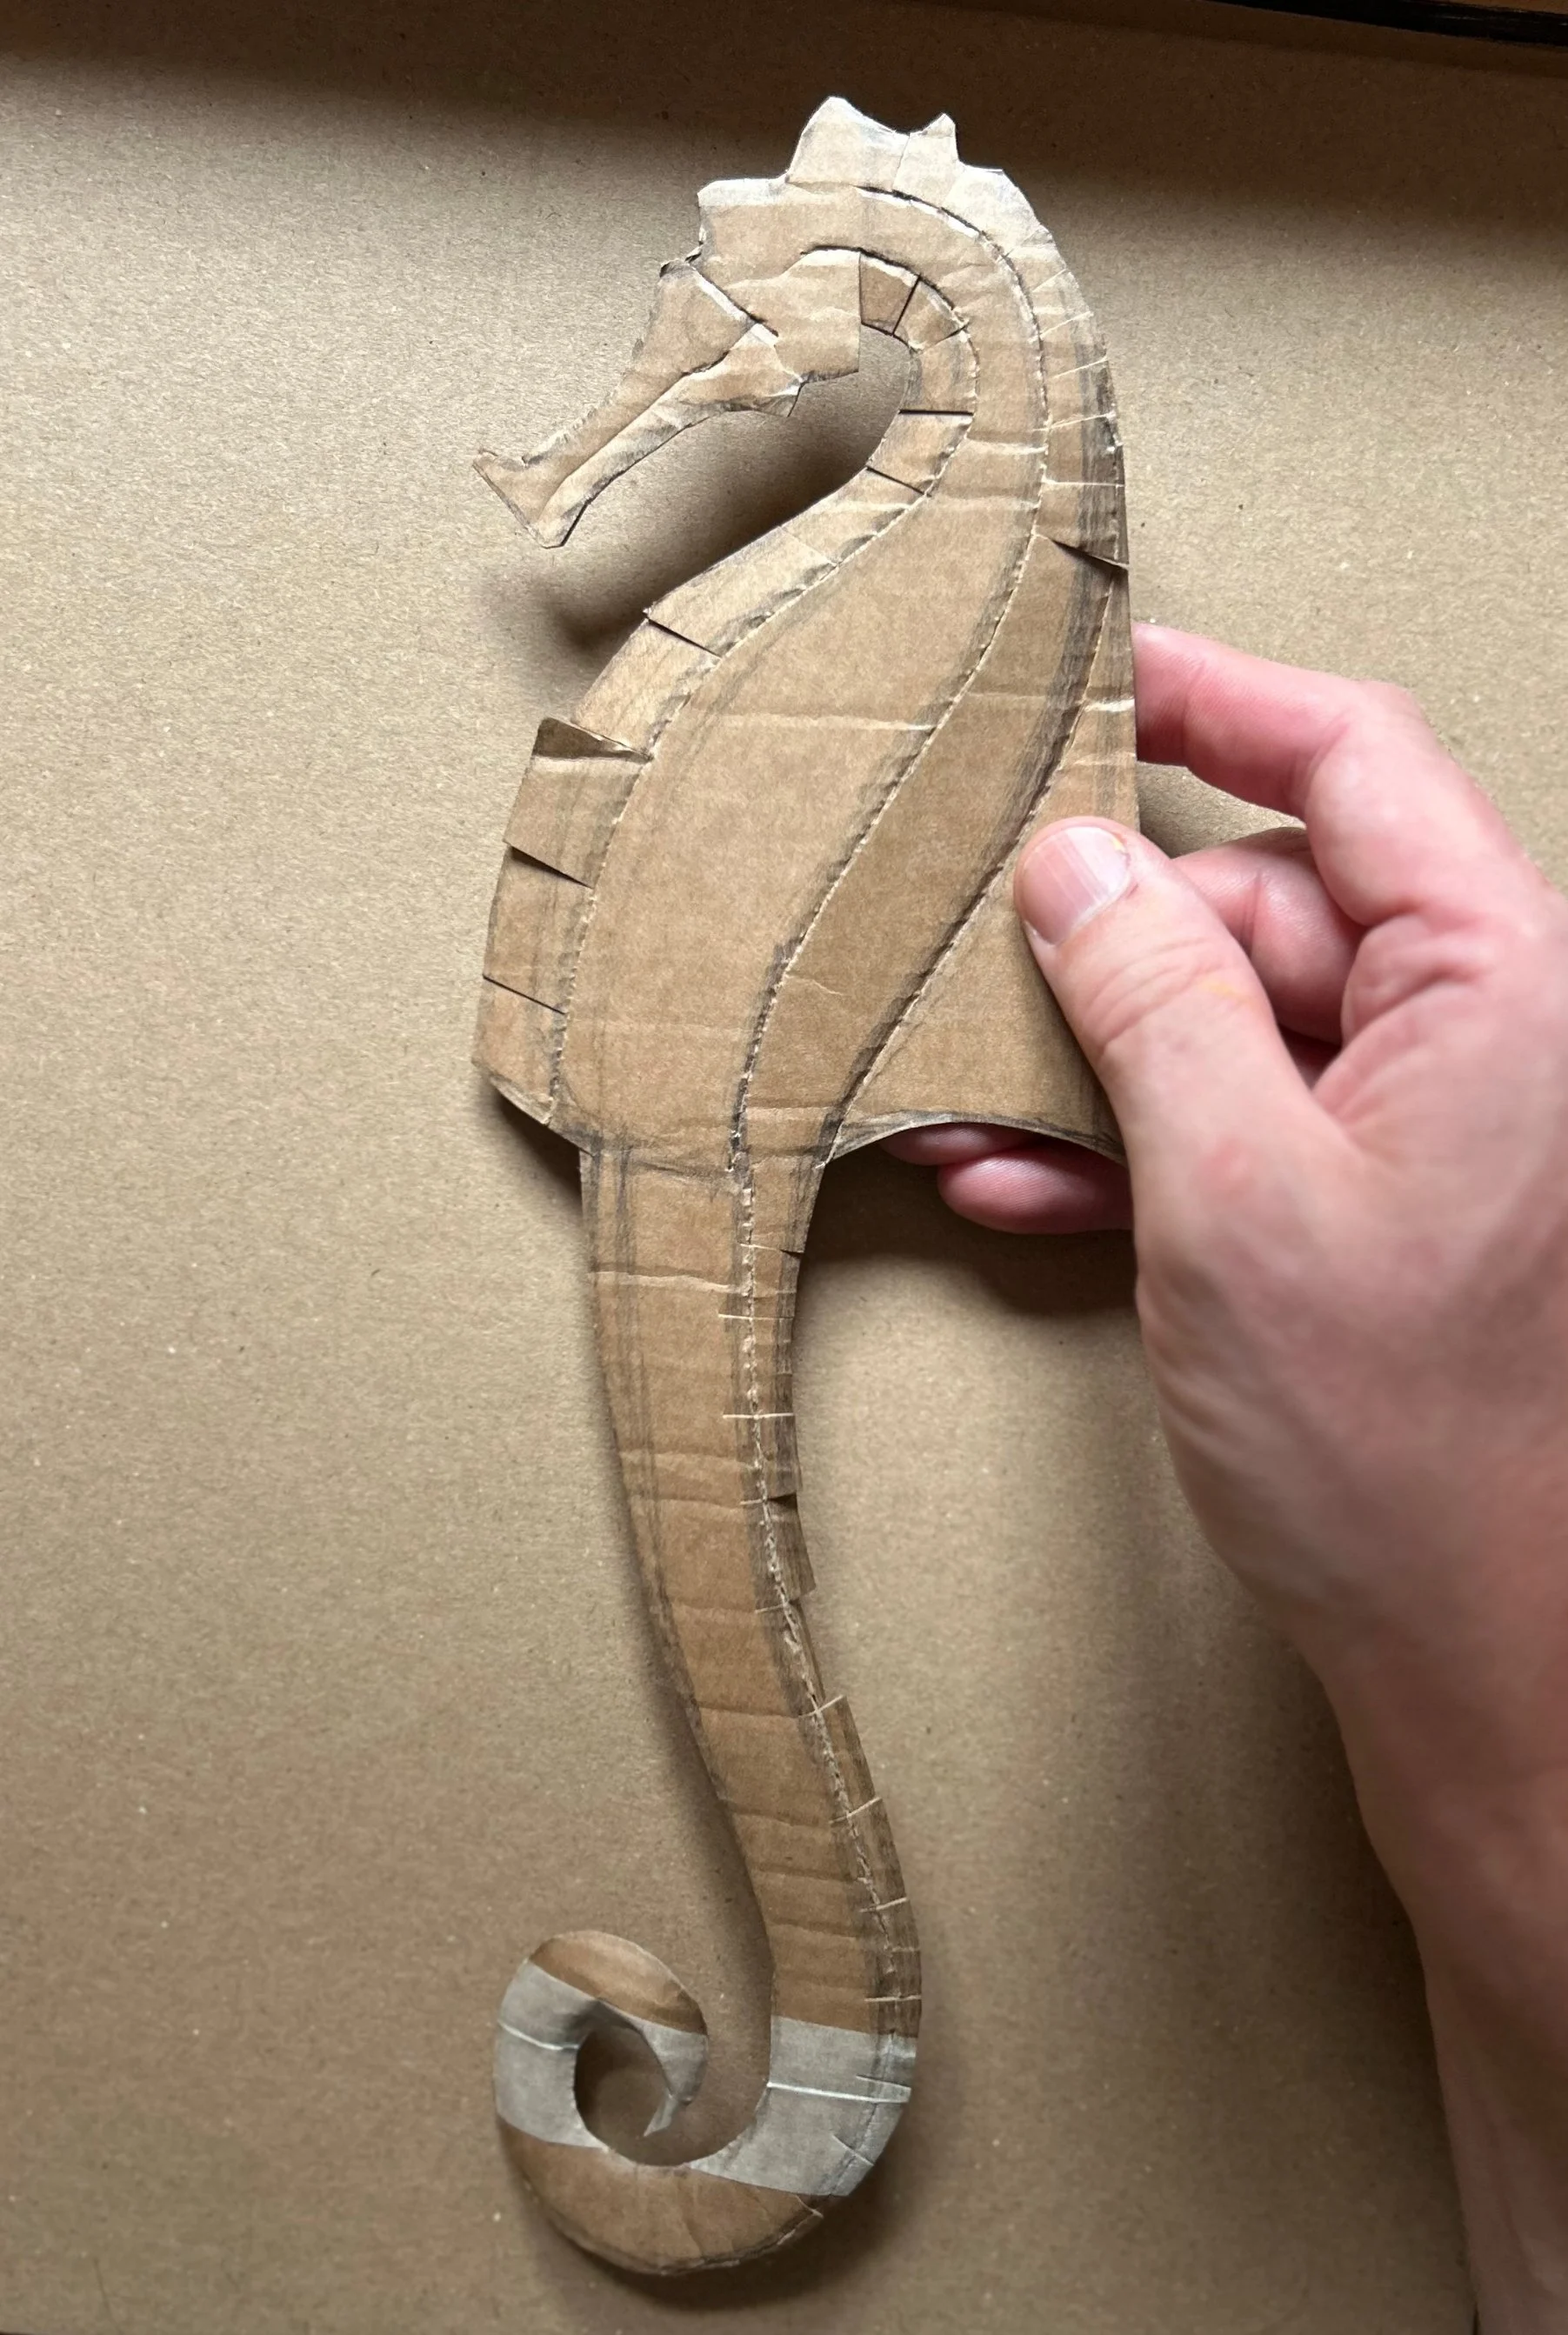
You can see where this flat card shape has been scored and cut. The cuts are there just to help to push the sides down, if you don’t do this, they will sometimes buckle and fold in the wrong places.

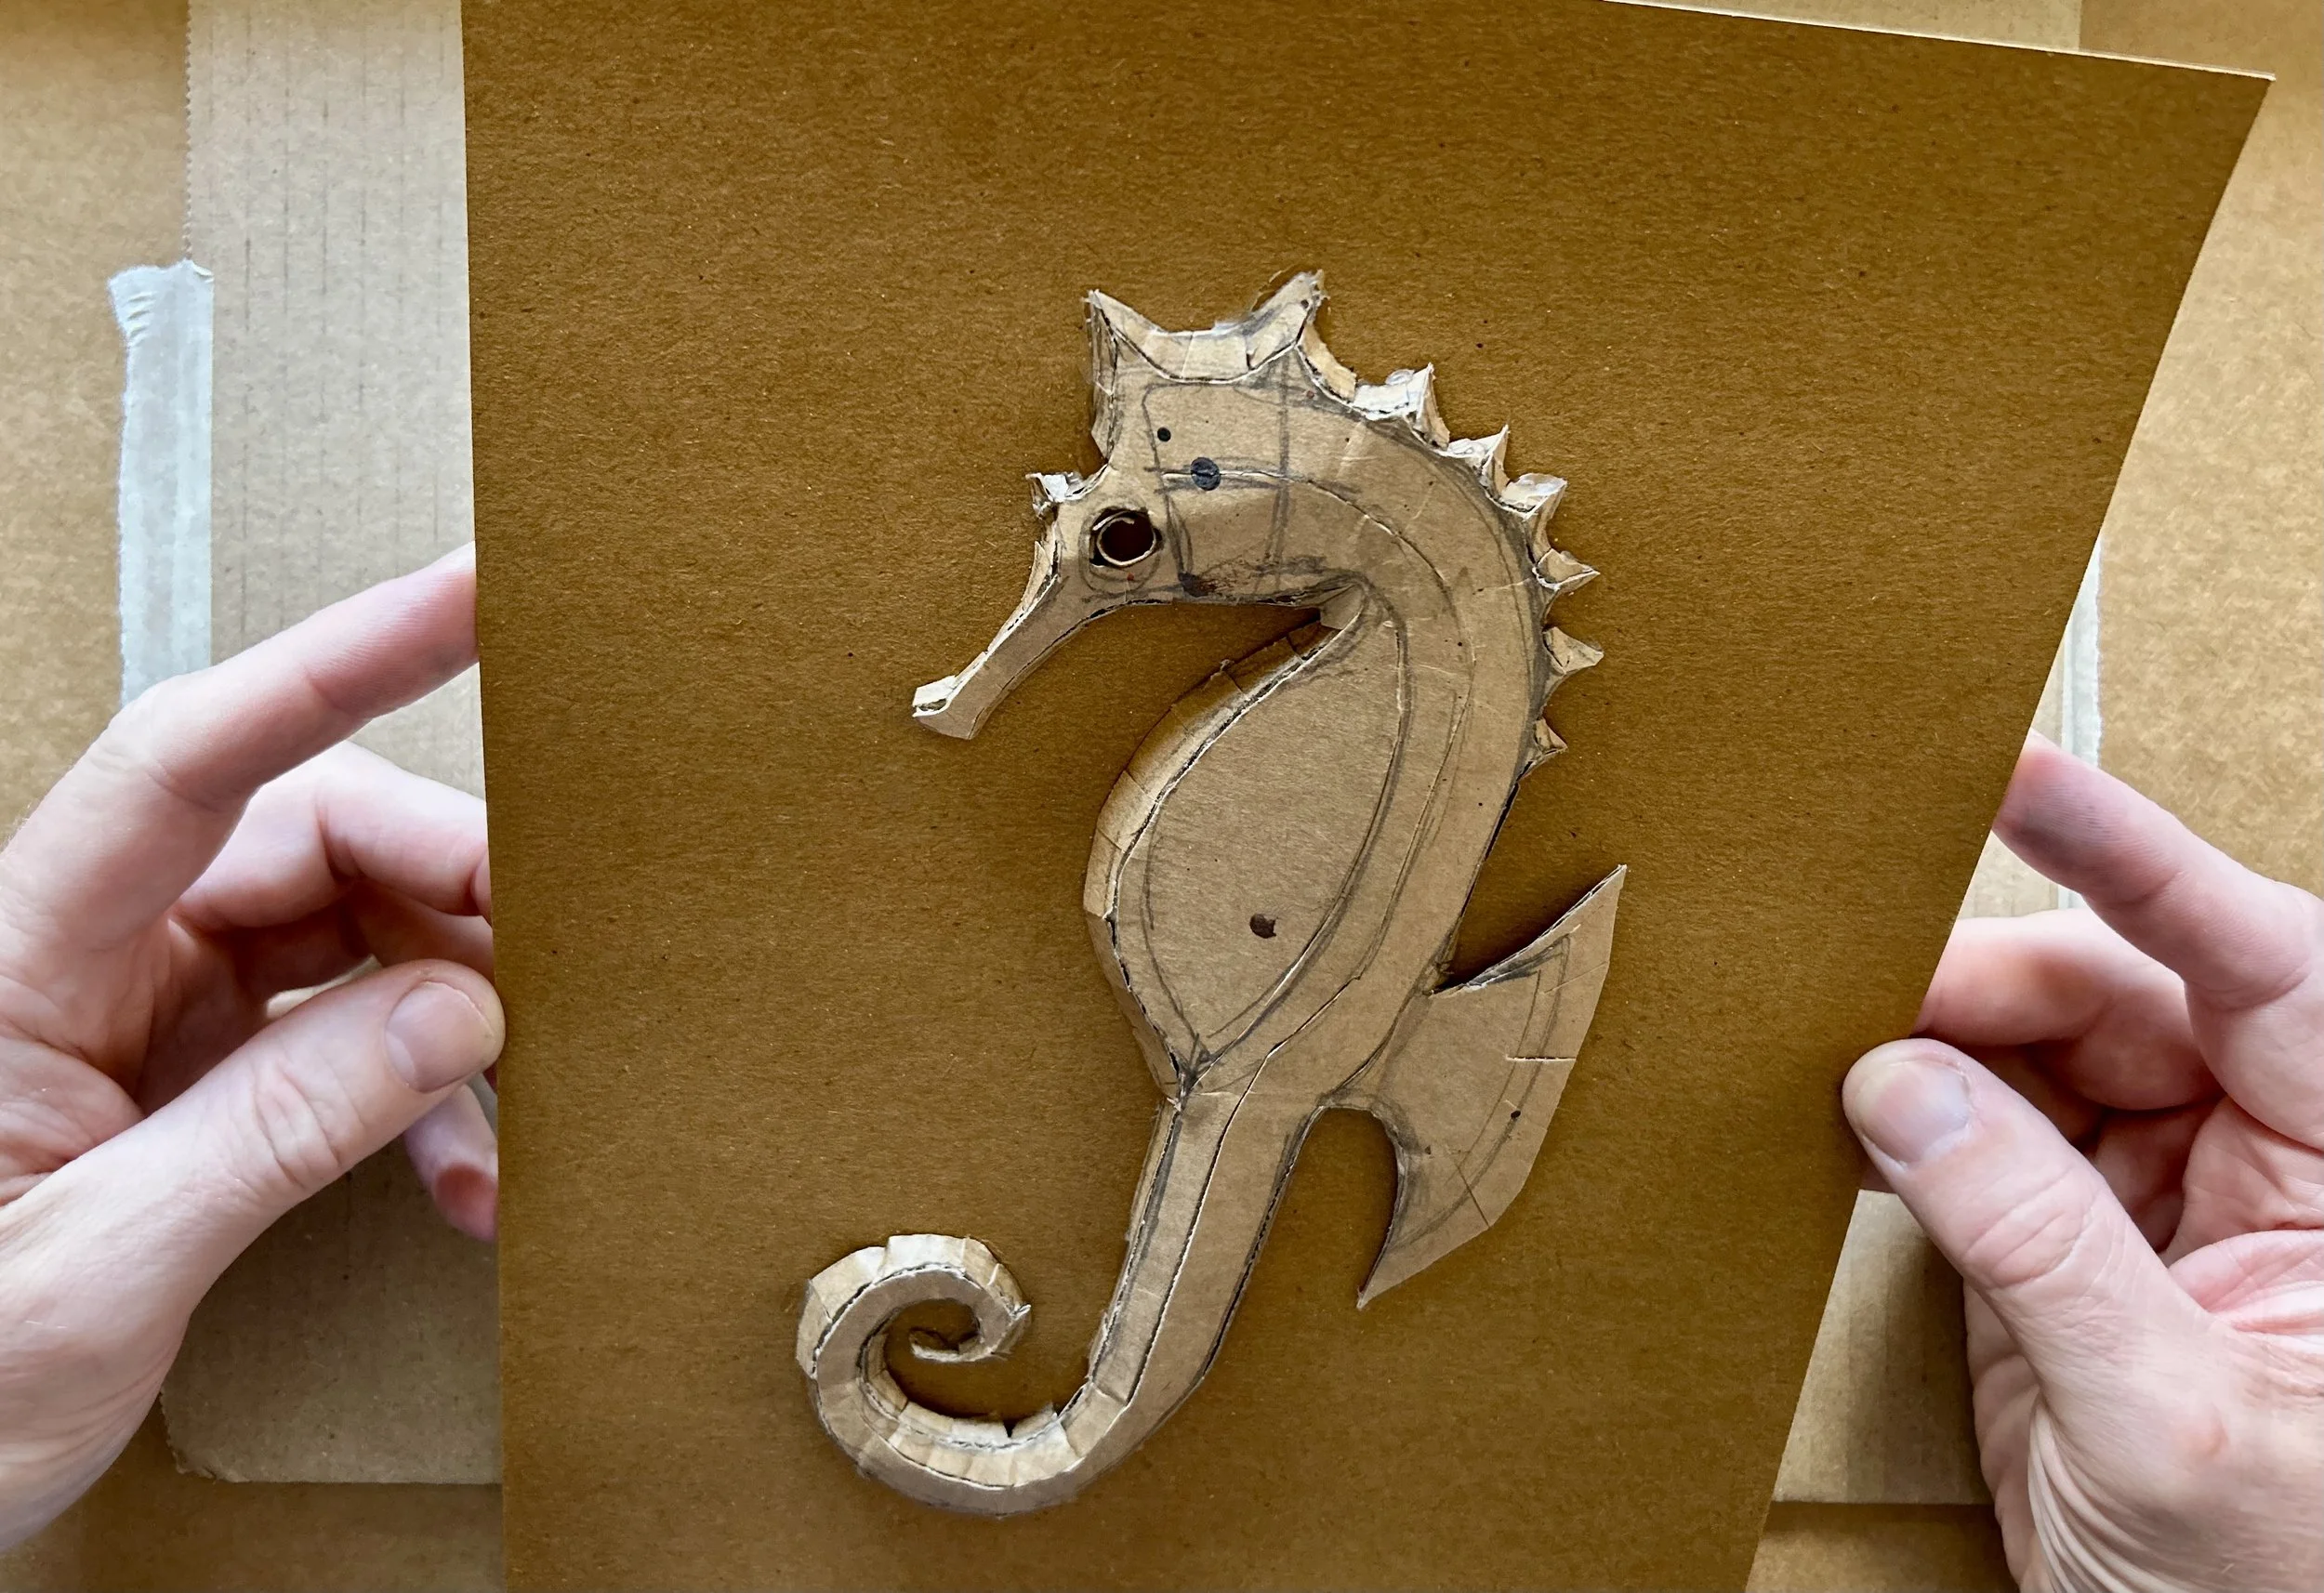
The basic shape, covered with a thin layer of tissue paper (the colour doesn’t matter)
In the video clip, you’ll see that I’ve added a layer of tissue paper over the basic shape. This is purely to make it stronger and you don’t need to do that if you don’t want to. You could just glue the corrugated card shapes onto the base when it was just taped together.
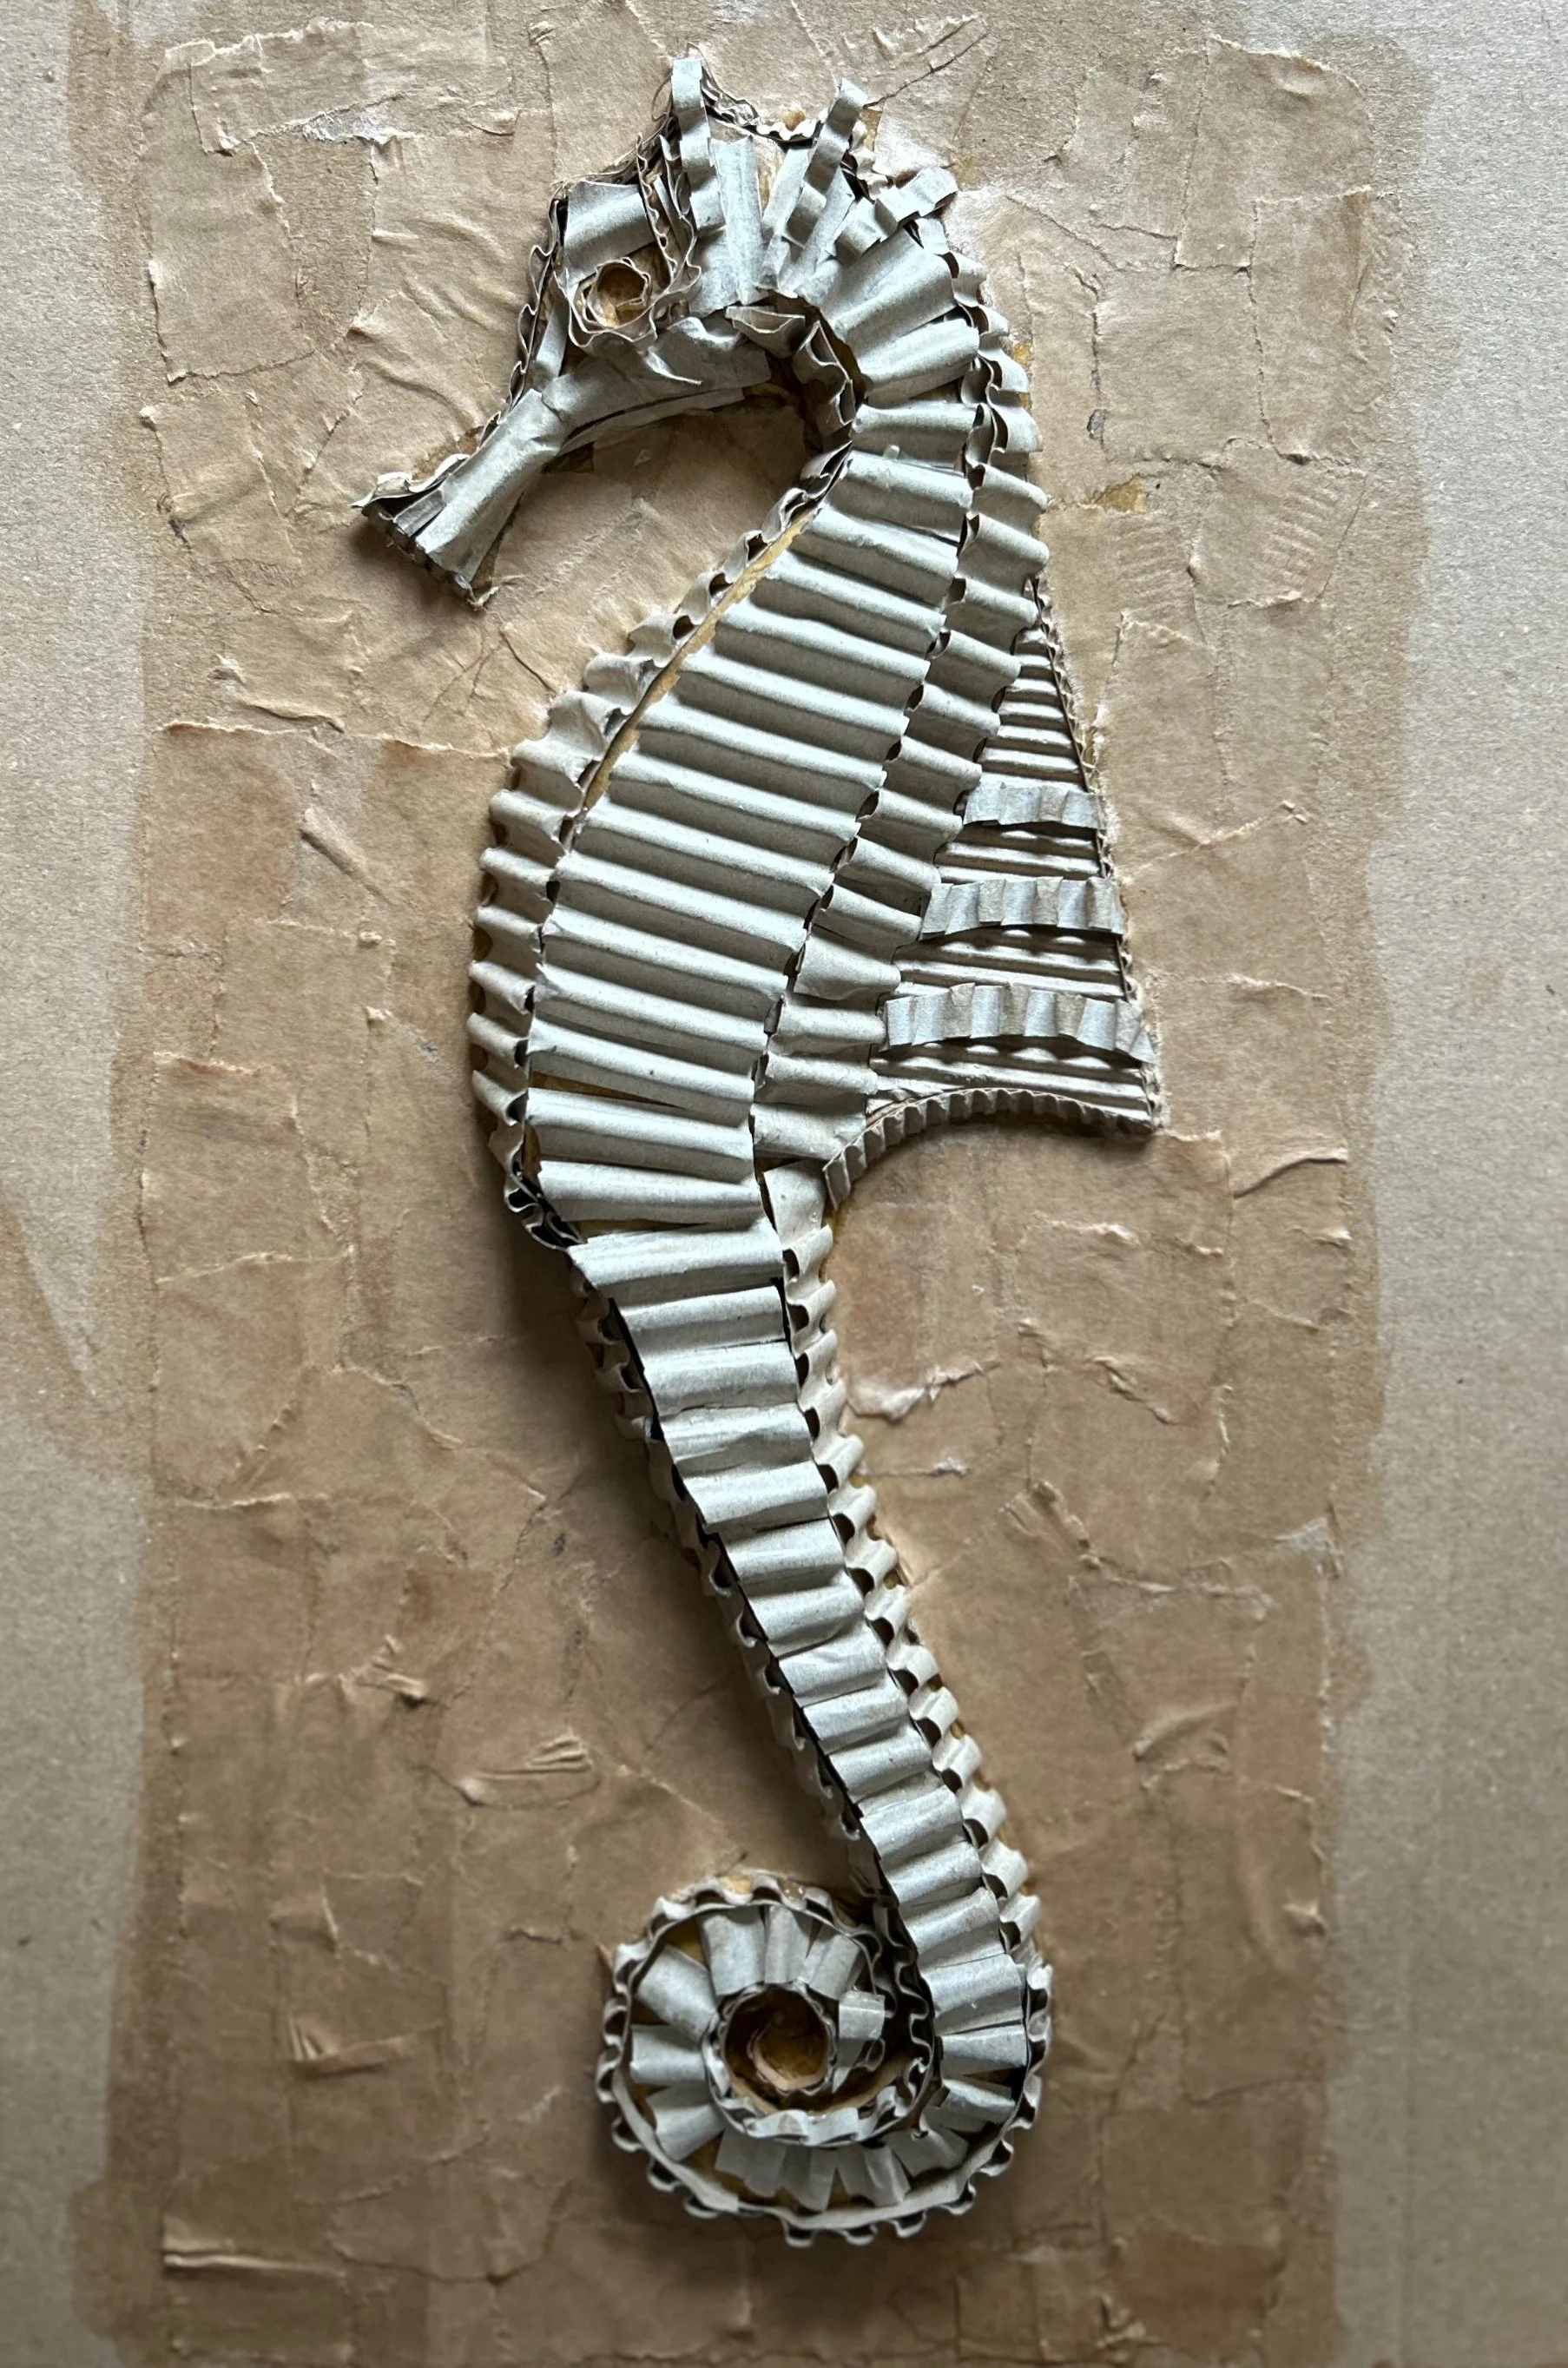
The corrugated card surface textures.
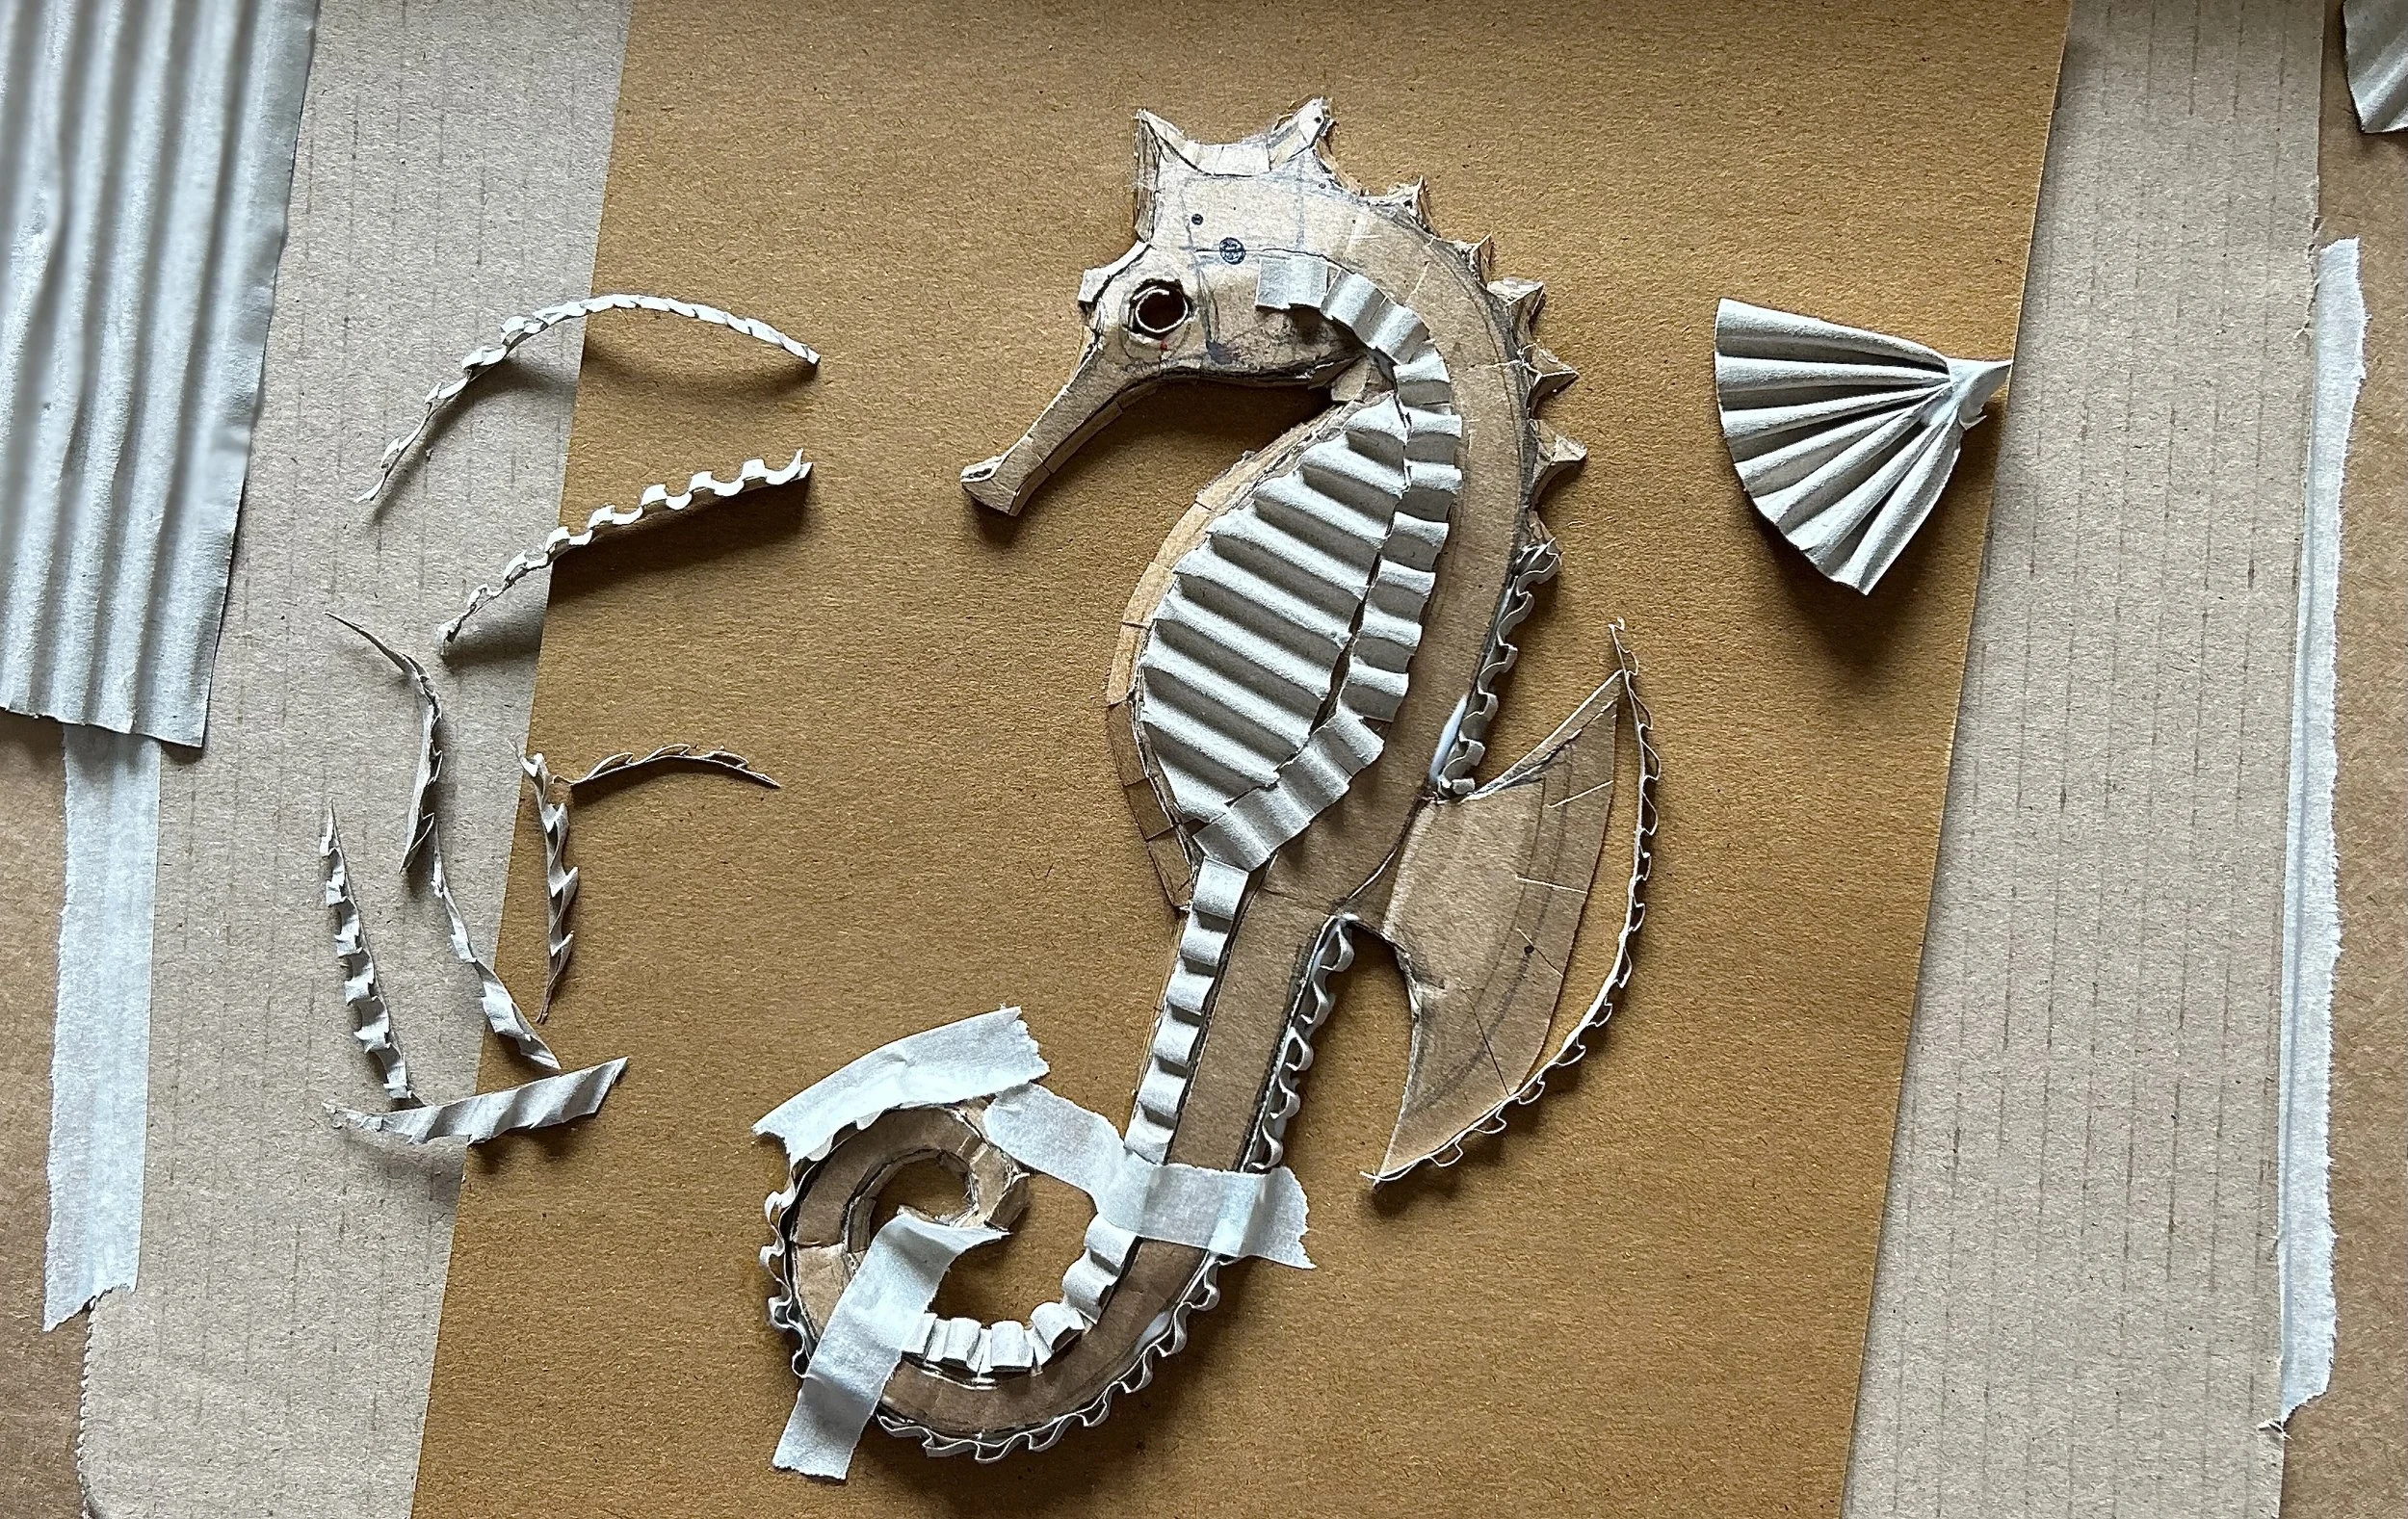
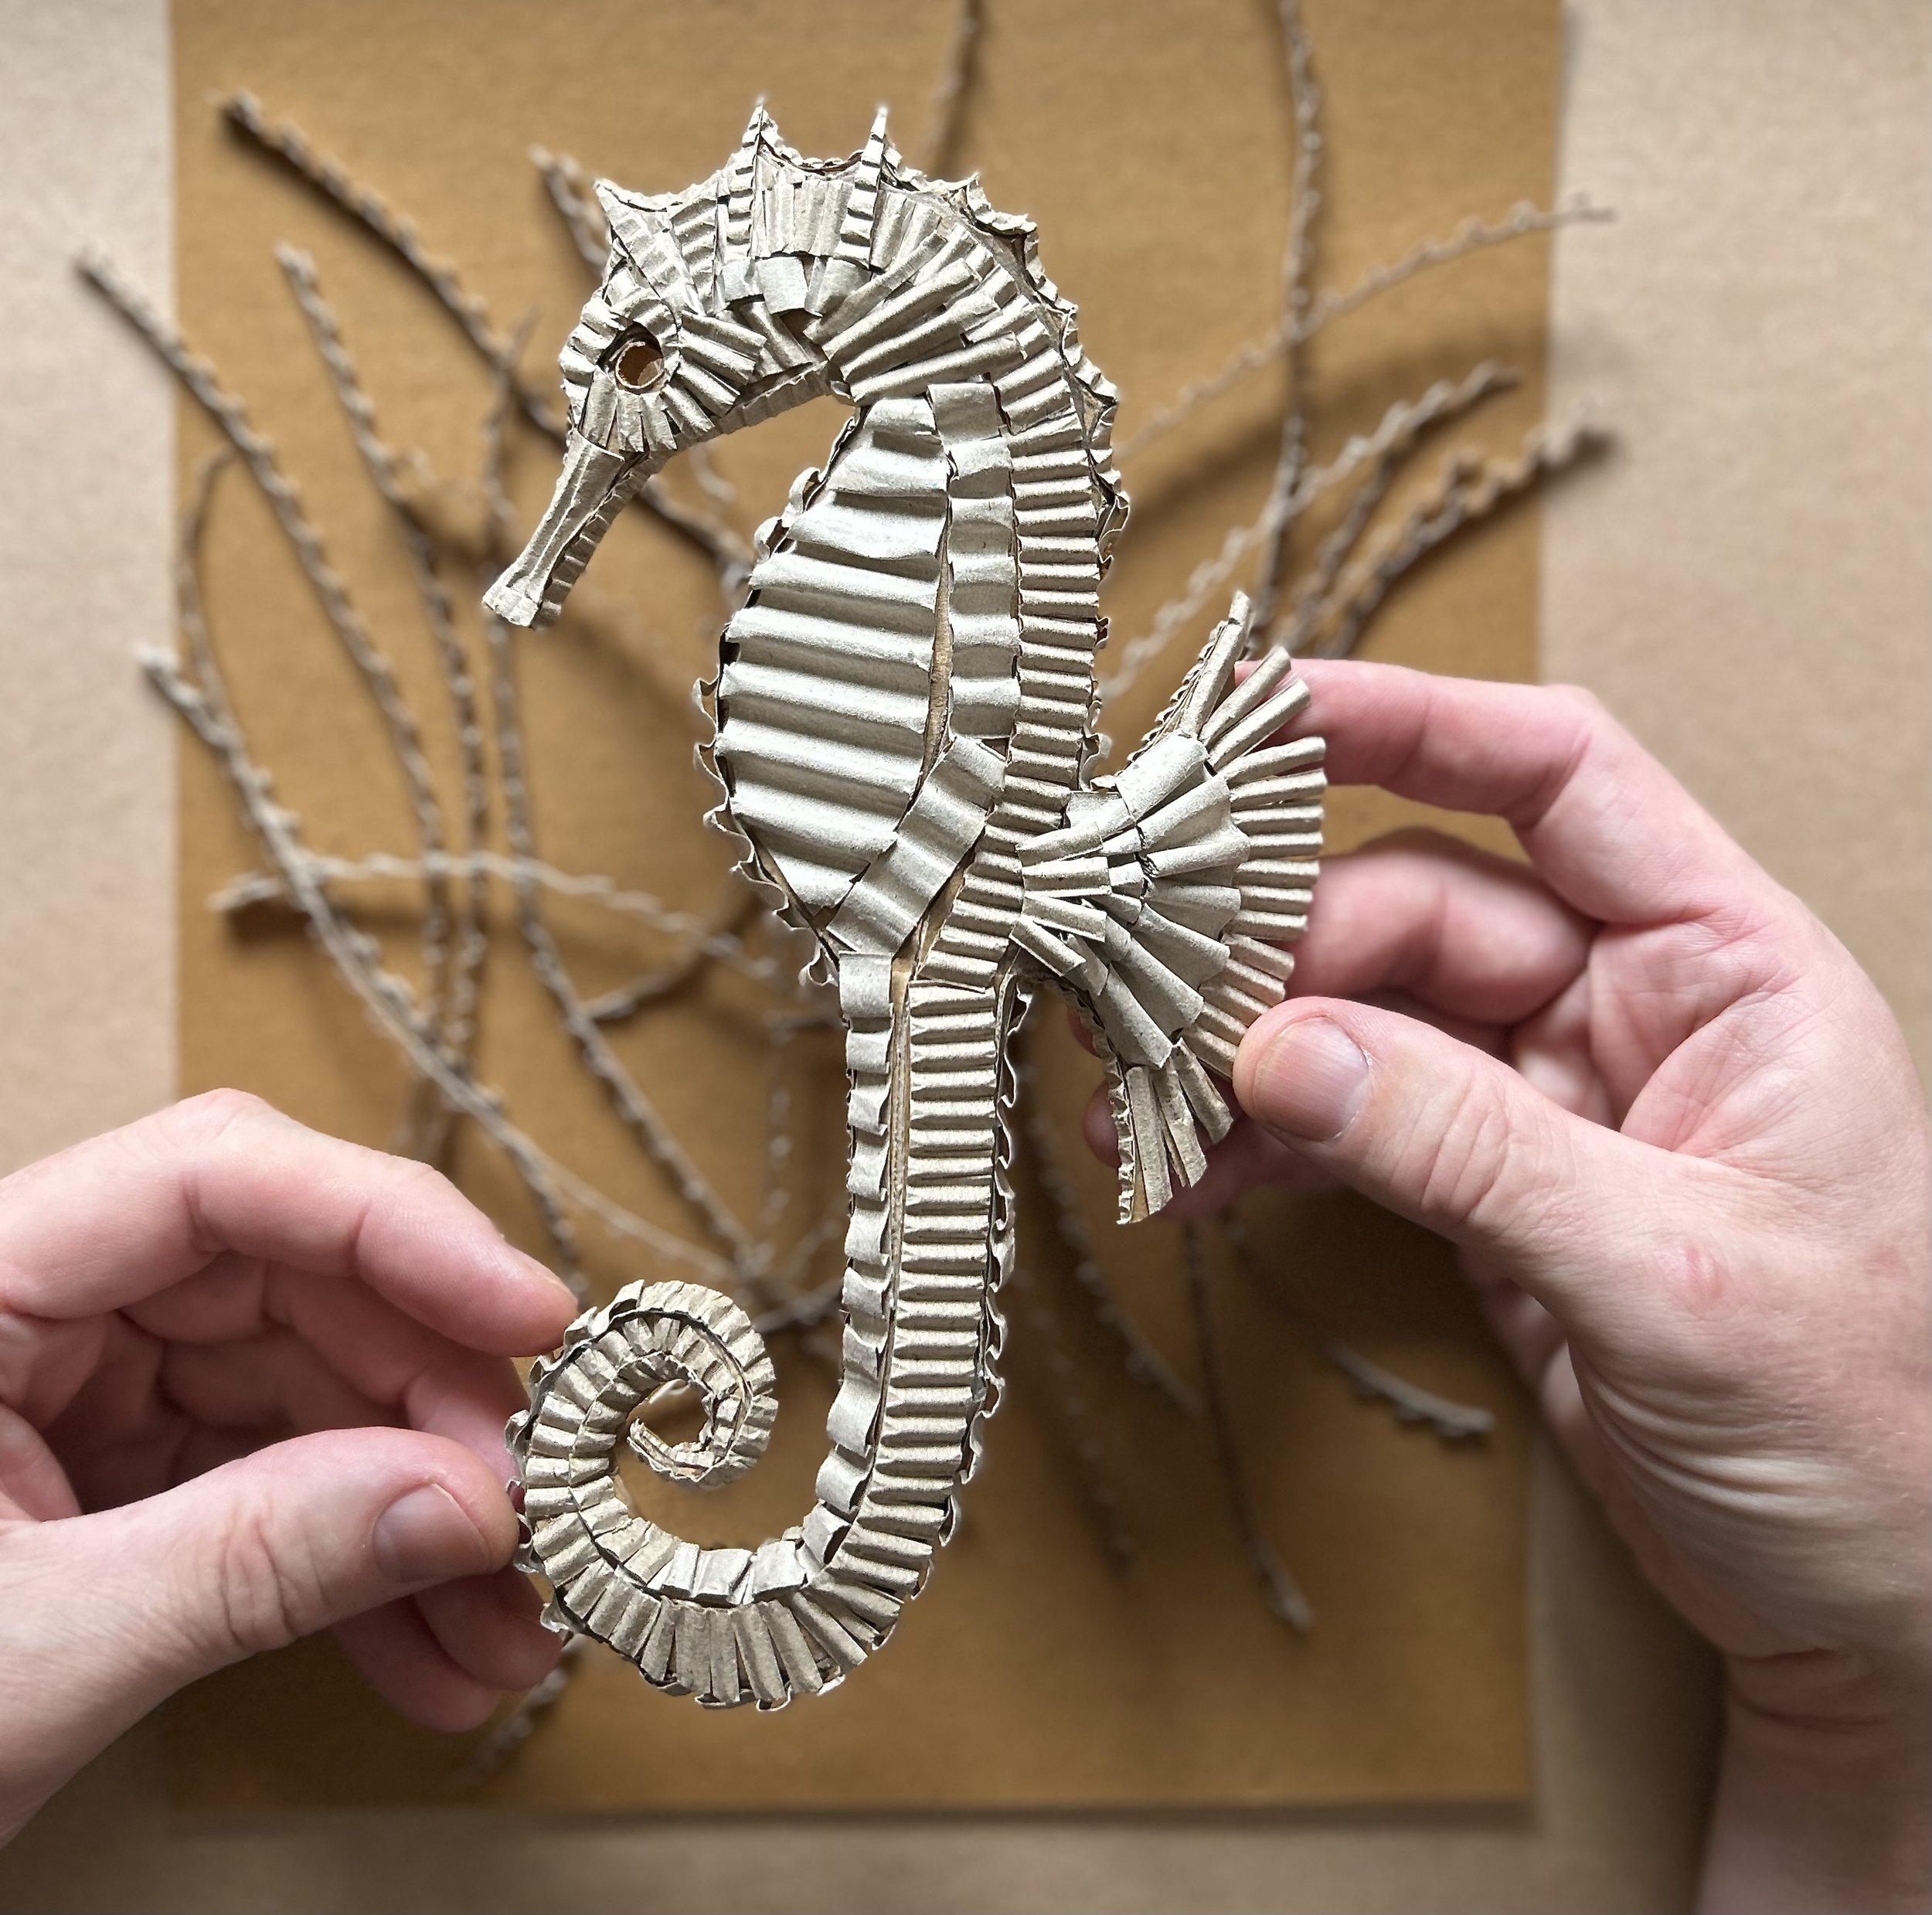
Once my seahorse was dry, I cut out pieces of corrugated card to add the surface textures. Some were just regular strips, others I had to cut specifically to fit certain areas, so there’s a bit of guesswork but that’s okay, playing around with the materials makes you try things, so you can be inventive and try different ideas. You can clearly see on the head and the back fin where I’ve used the cardboard in different ways to create different textures or shapes.

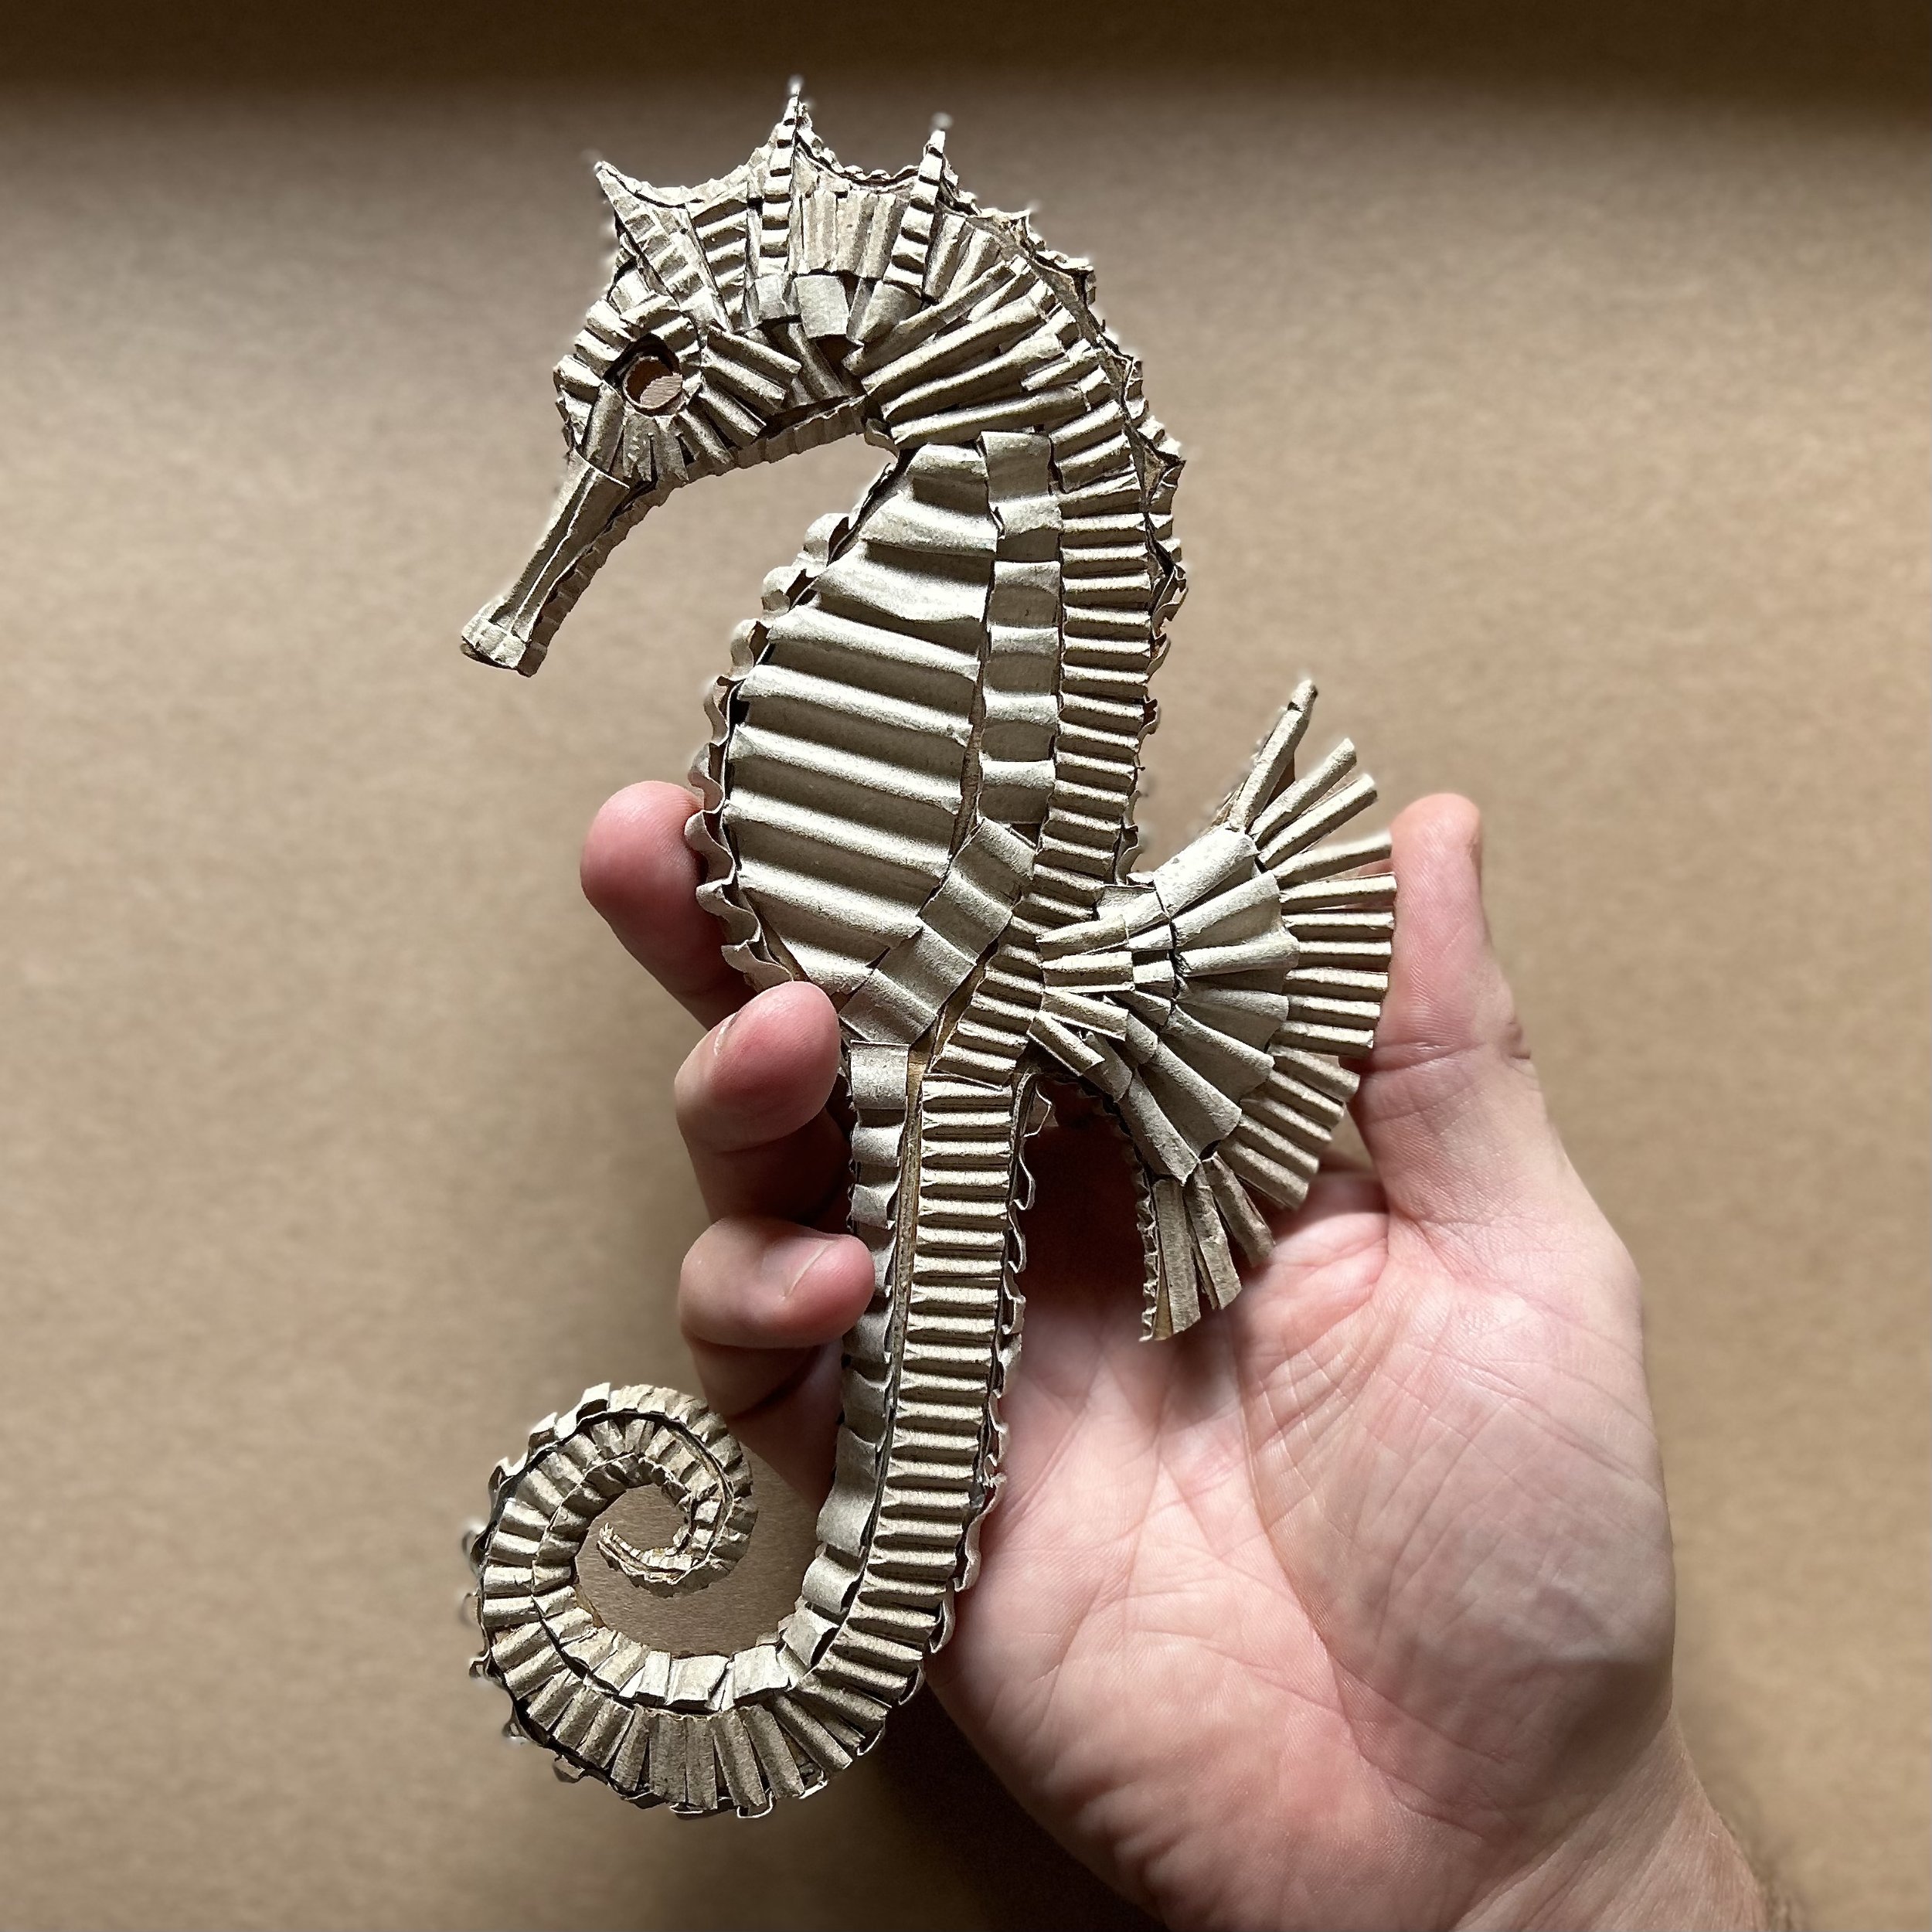
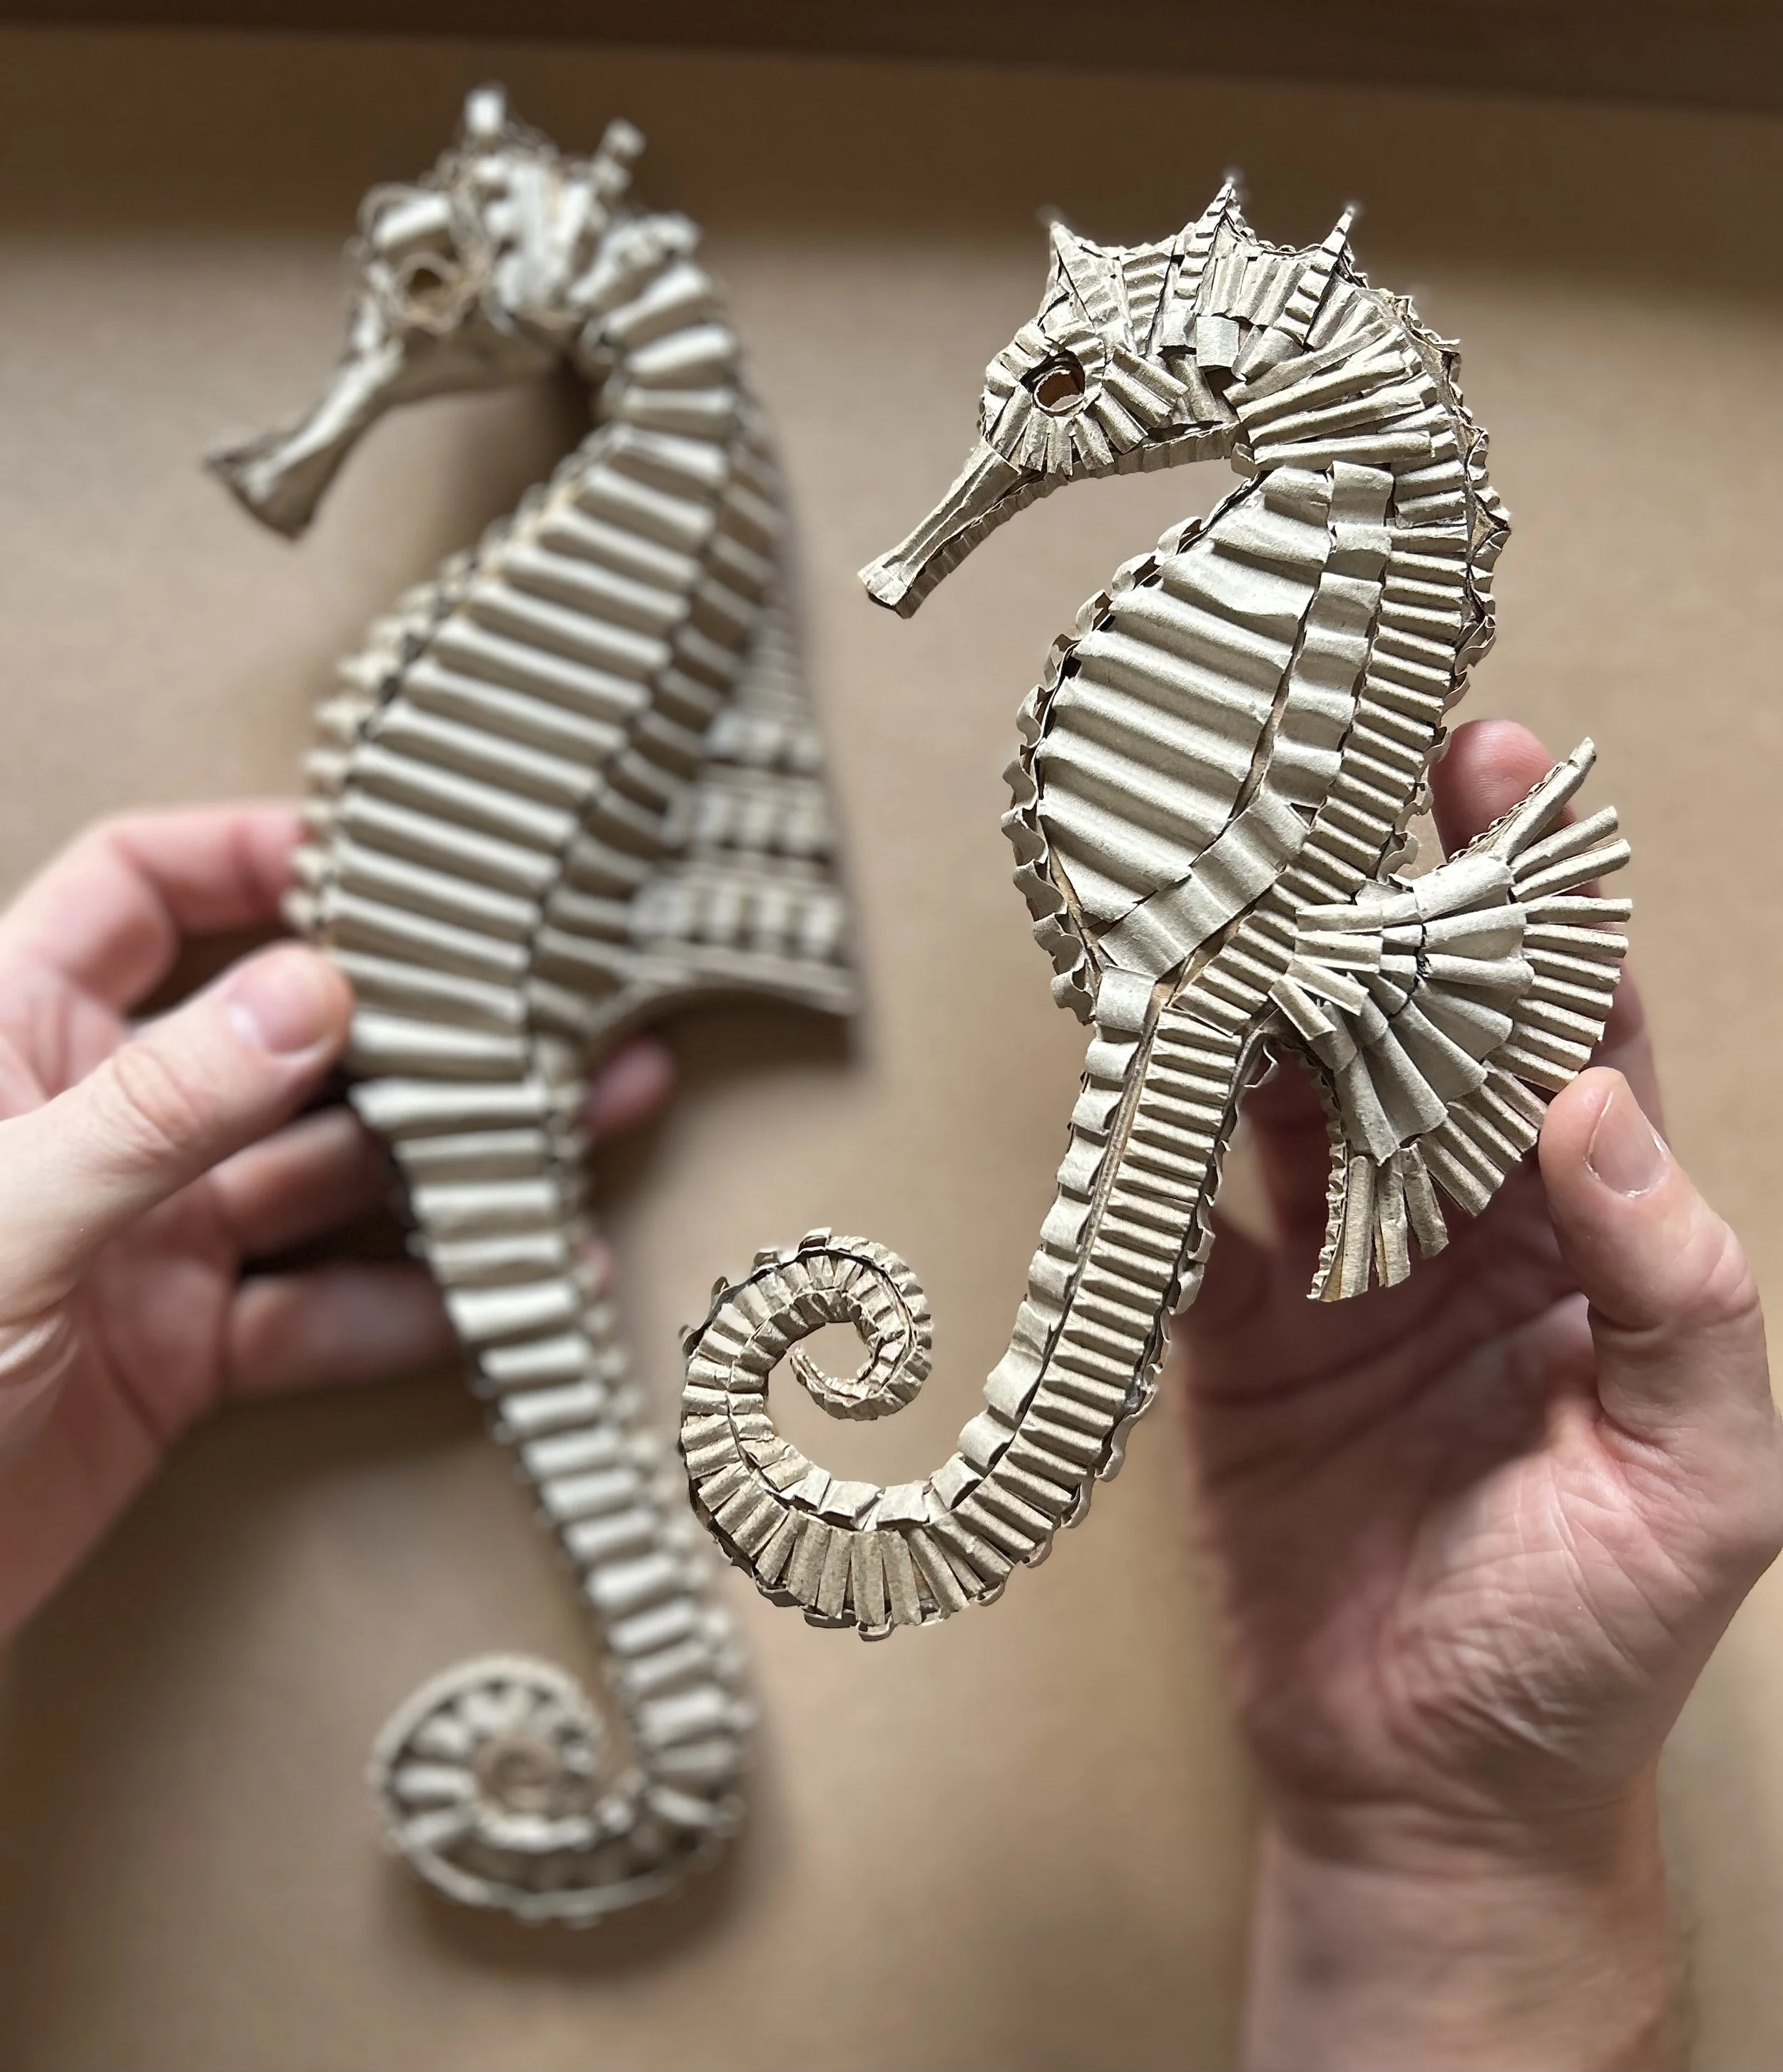
The finished sculpture.
. . . here’s another version, I enjoyed the first one so much I made another.
The scored and folded base, just made from one flat piece of card.
For this version I didn’t paper mache the base, I just immediately started to glue on the corrugated card pieces.
I’m guessing I’ll be back with more of these, hopefully a painted one at some point too. Watch this space.