Paper Plate Skulls - 2026
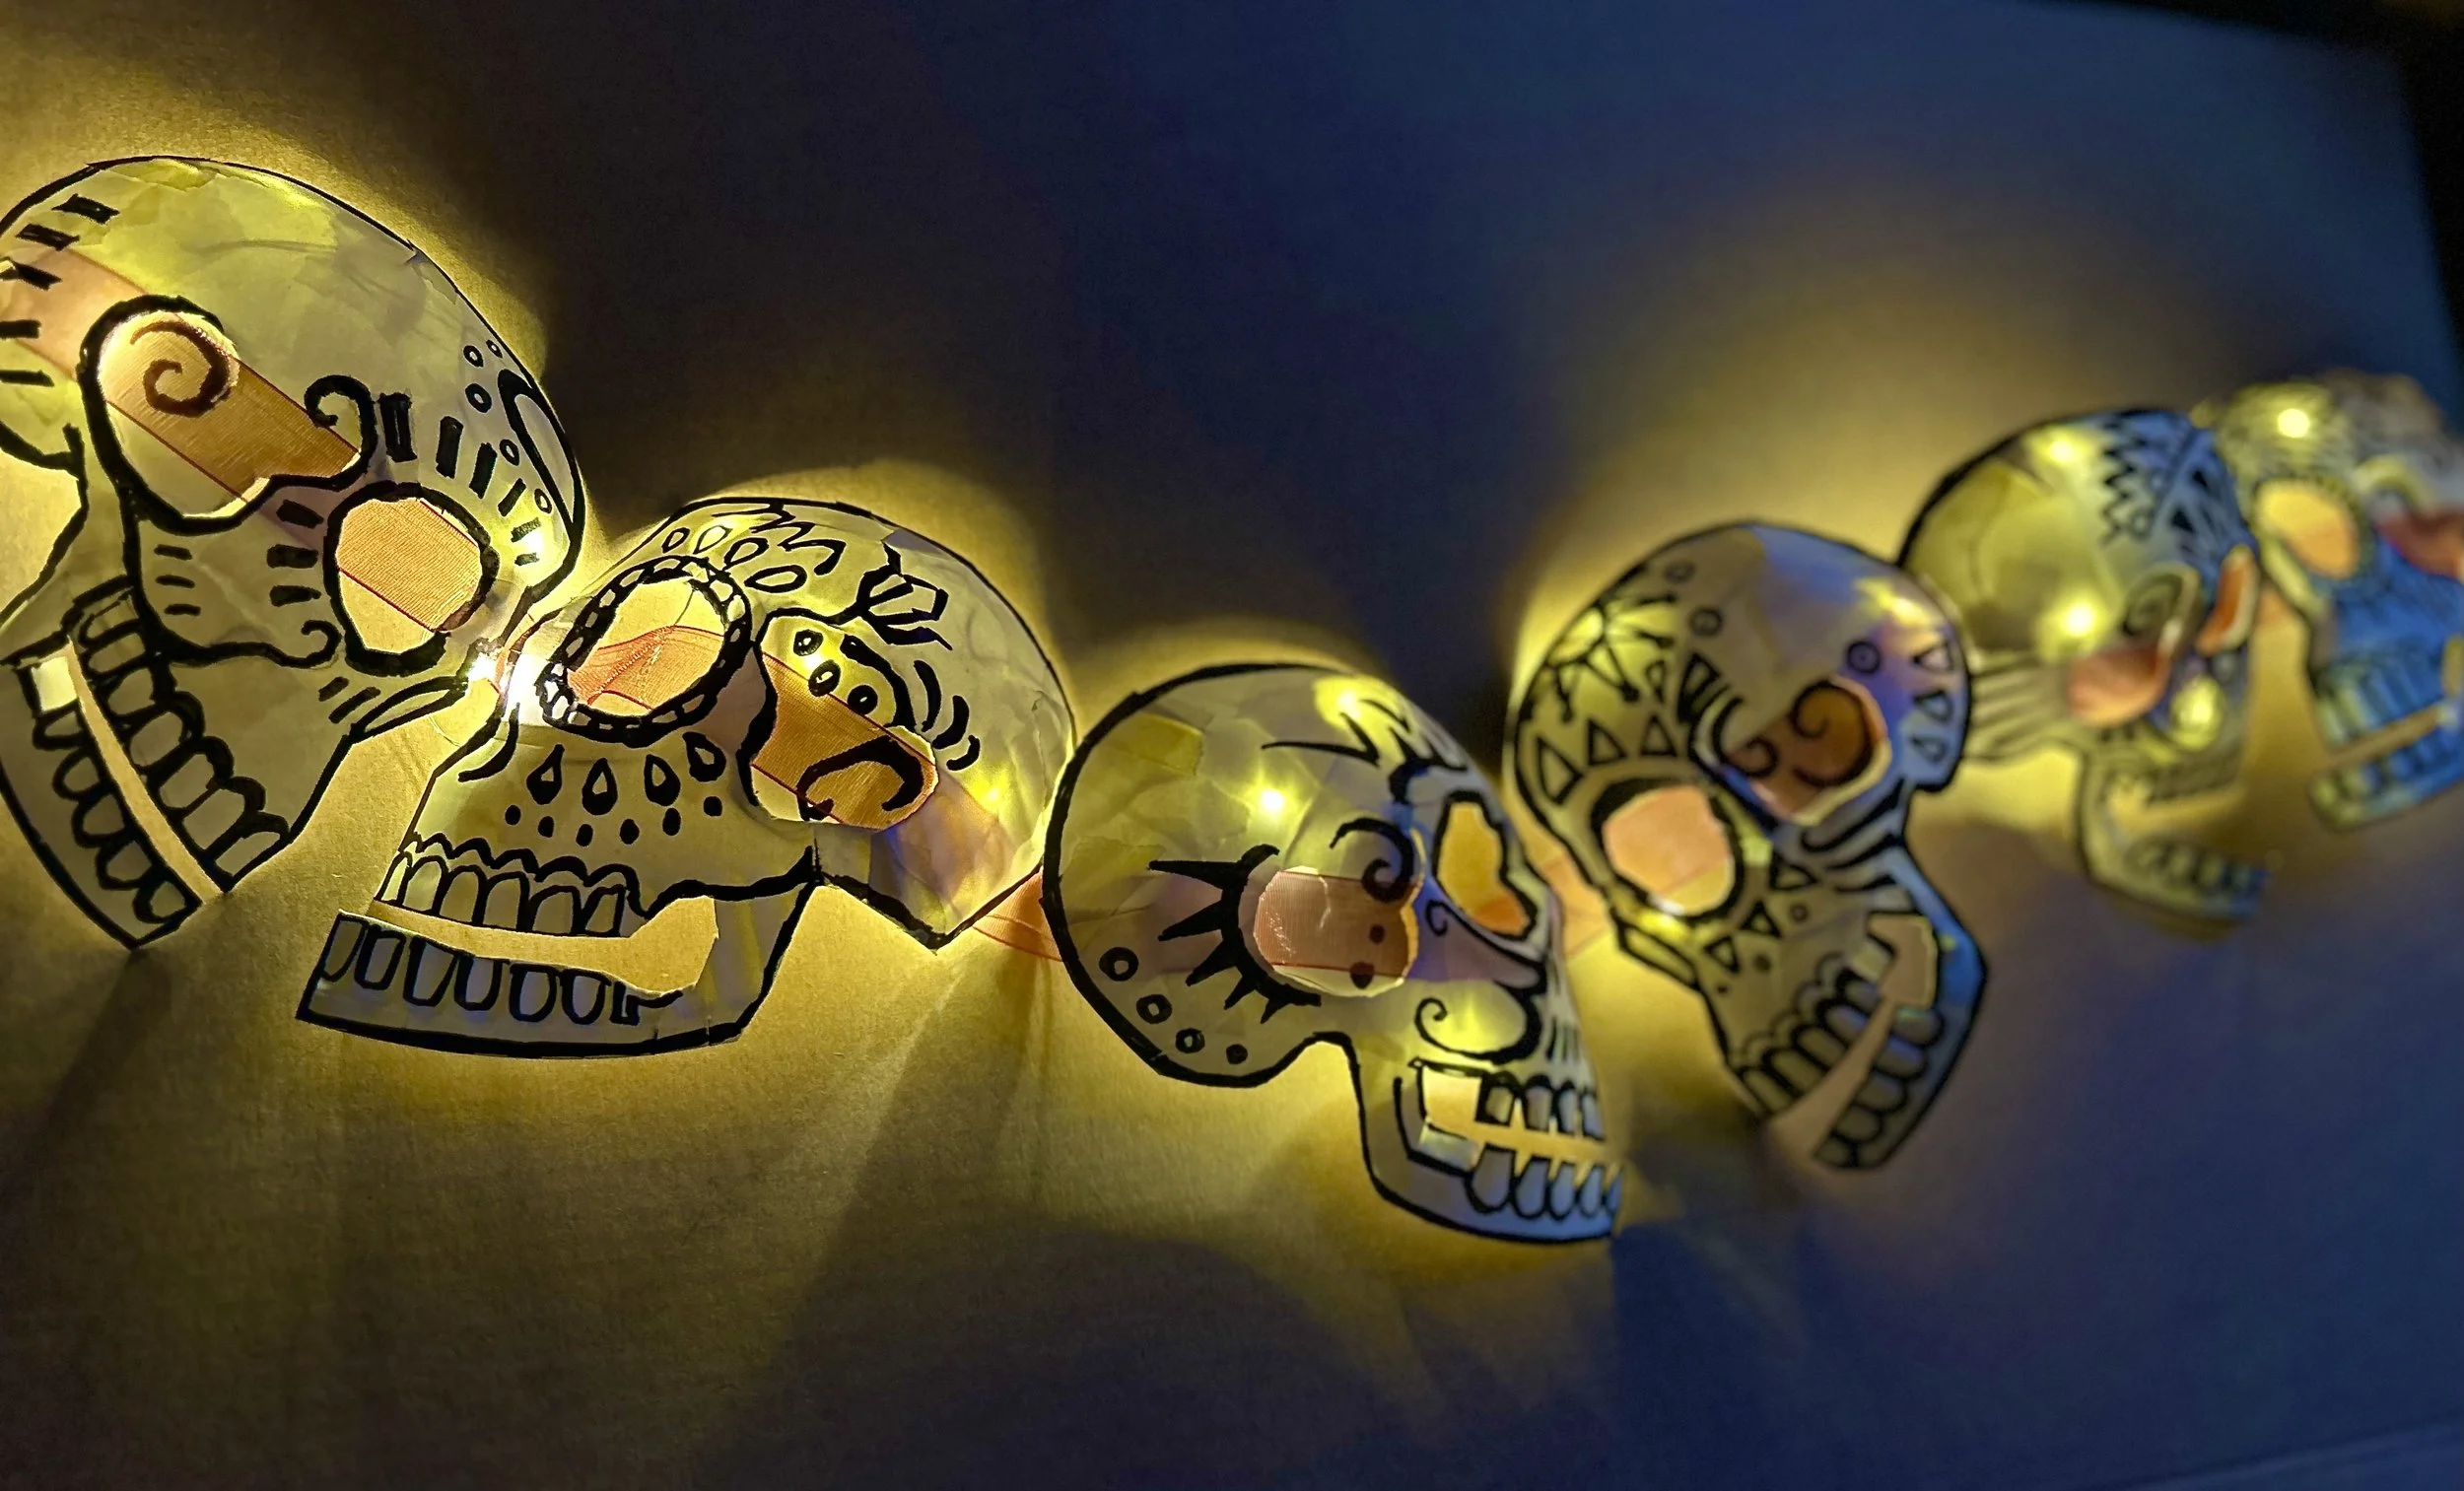
So, a few years back I created some little skulls using paper plates, I’ve used the technique a few times and it’s been on the website for a while (if you scroll back, you’ll find it) . . . but, I suddenly had an idea the other day, why not make some in profile, side-on . . . I thought this might create a different effect. So, here we are. One paper plate becomes four skulls. I’ve continued adding to mine, drawn on some designs and even added a bit of ribbon, but they could be just left plain. You could hang them up, make some ‘bunting’ like I have, or use them individually as place-settings or table decorations for Halloween.
Anyway, here’s the process . . .
So, you could just draw a skull yourself from a photo, but I’m going to share a photo of my drawing below to help.
If you’re doing this with kids then you could always make a stronger cardboard template of the outer shape and get them to draw around that. You could also cut the plate into halves, or quarters, to make it easier for younger kids to cut, you obviously don’t have to keep it whole.
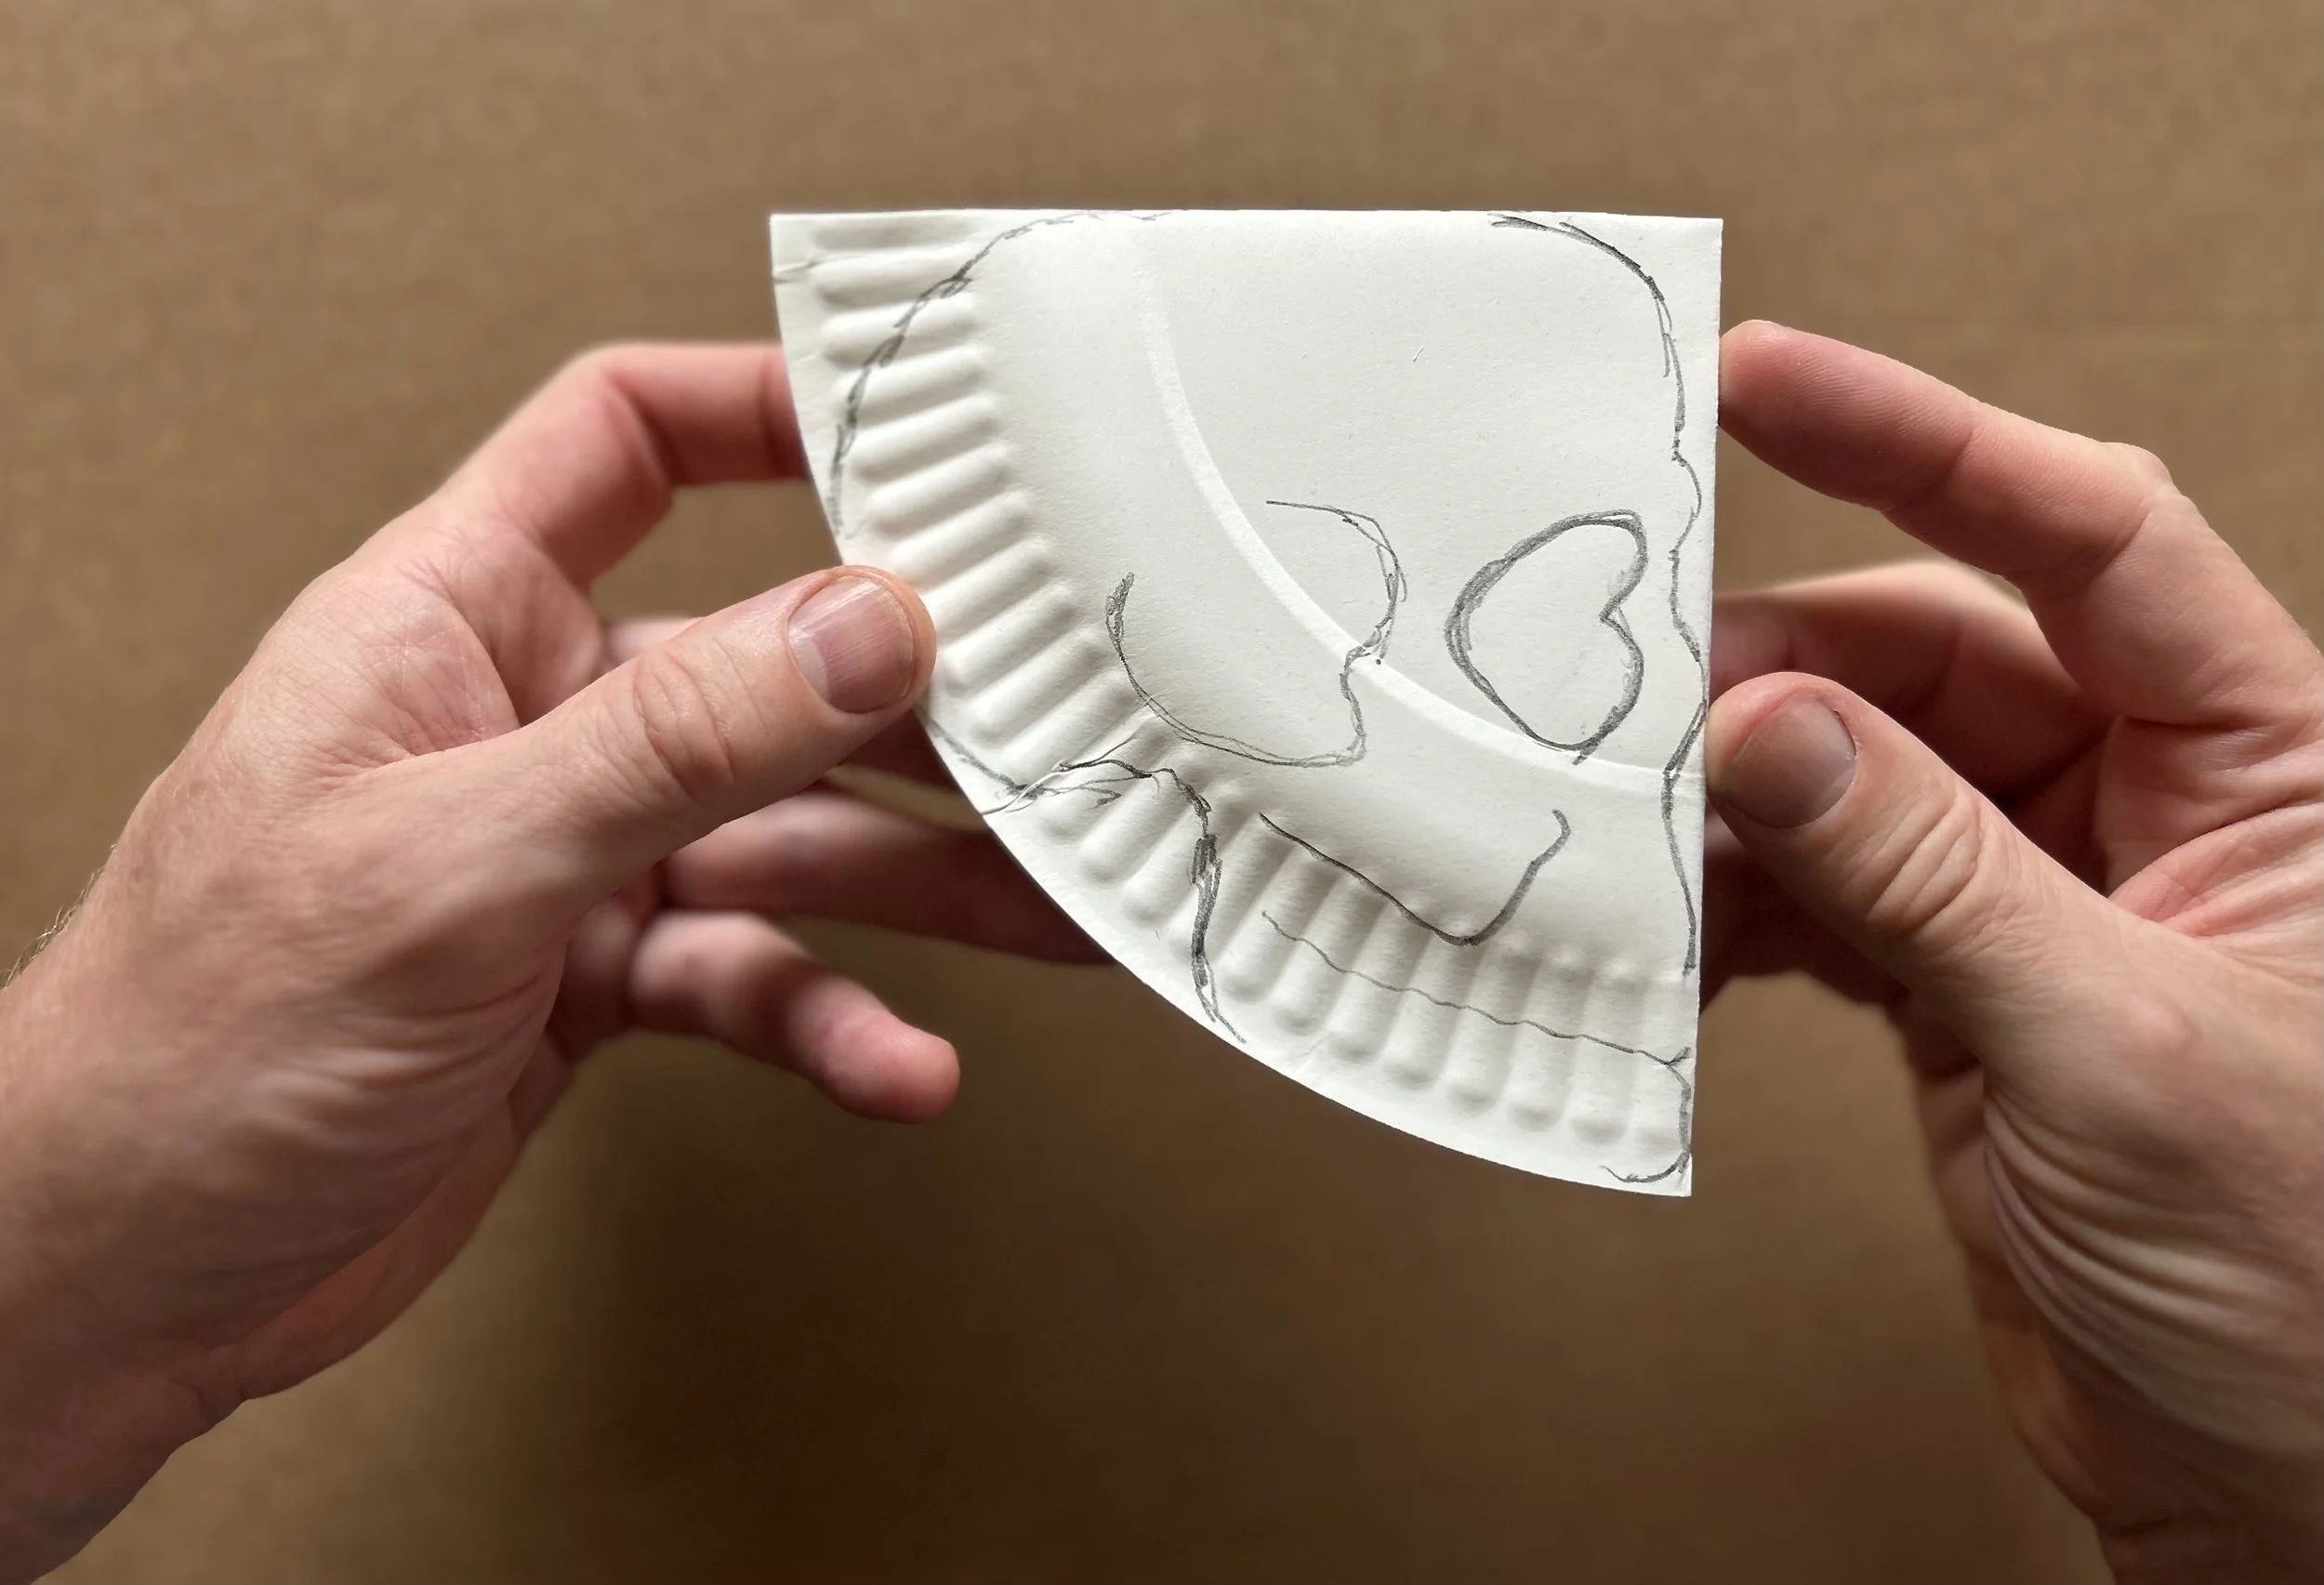
My skull shape.
When you draw this skull you are obviously trying to use the bottom right area to create the texture of the teeth. It also helps if you leave the middle part at the top ‘connected’ and possibly where the nose would be, just so that it stays joined together when you open the plate back out, it’s not vital though, it’ll still work even if the four skulls separate.
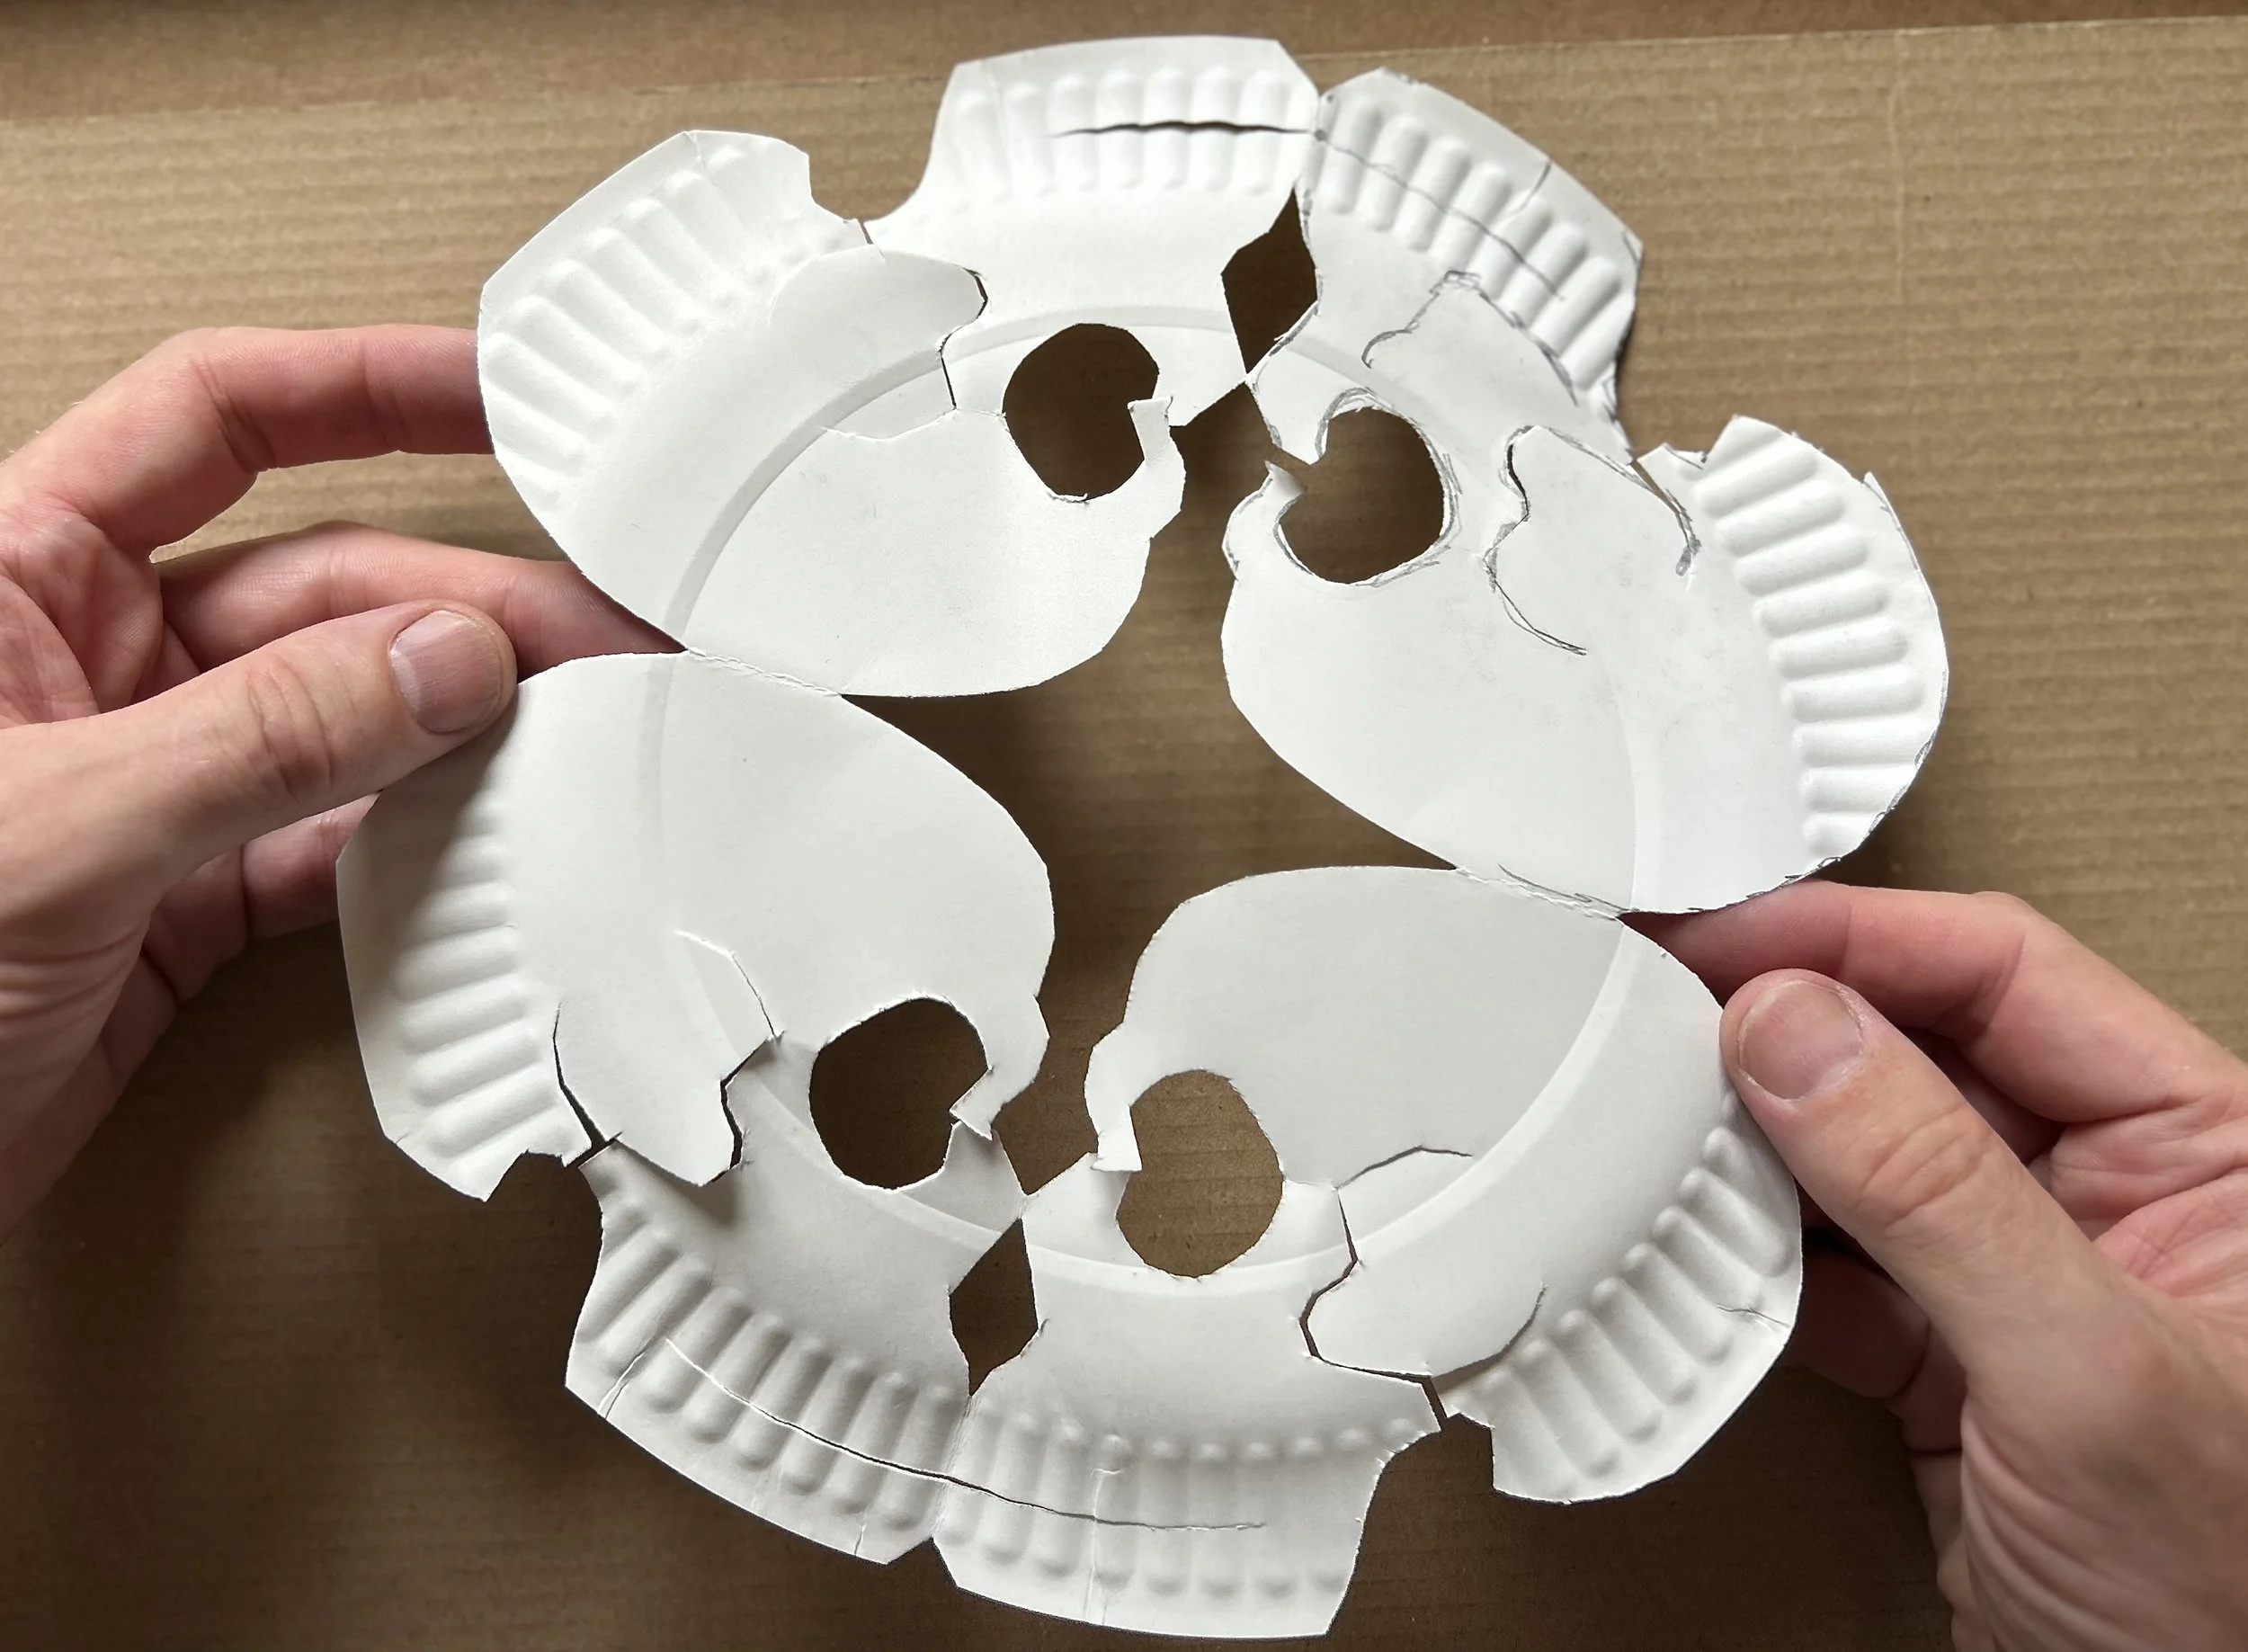
The plate when it’s opened-out.
You could just use the skulls like this, but I’ve done a couple of things to make them more 3D.
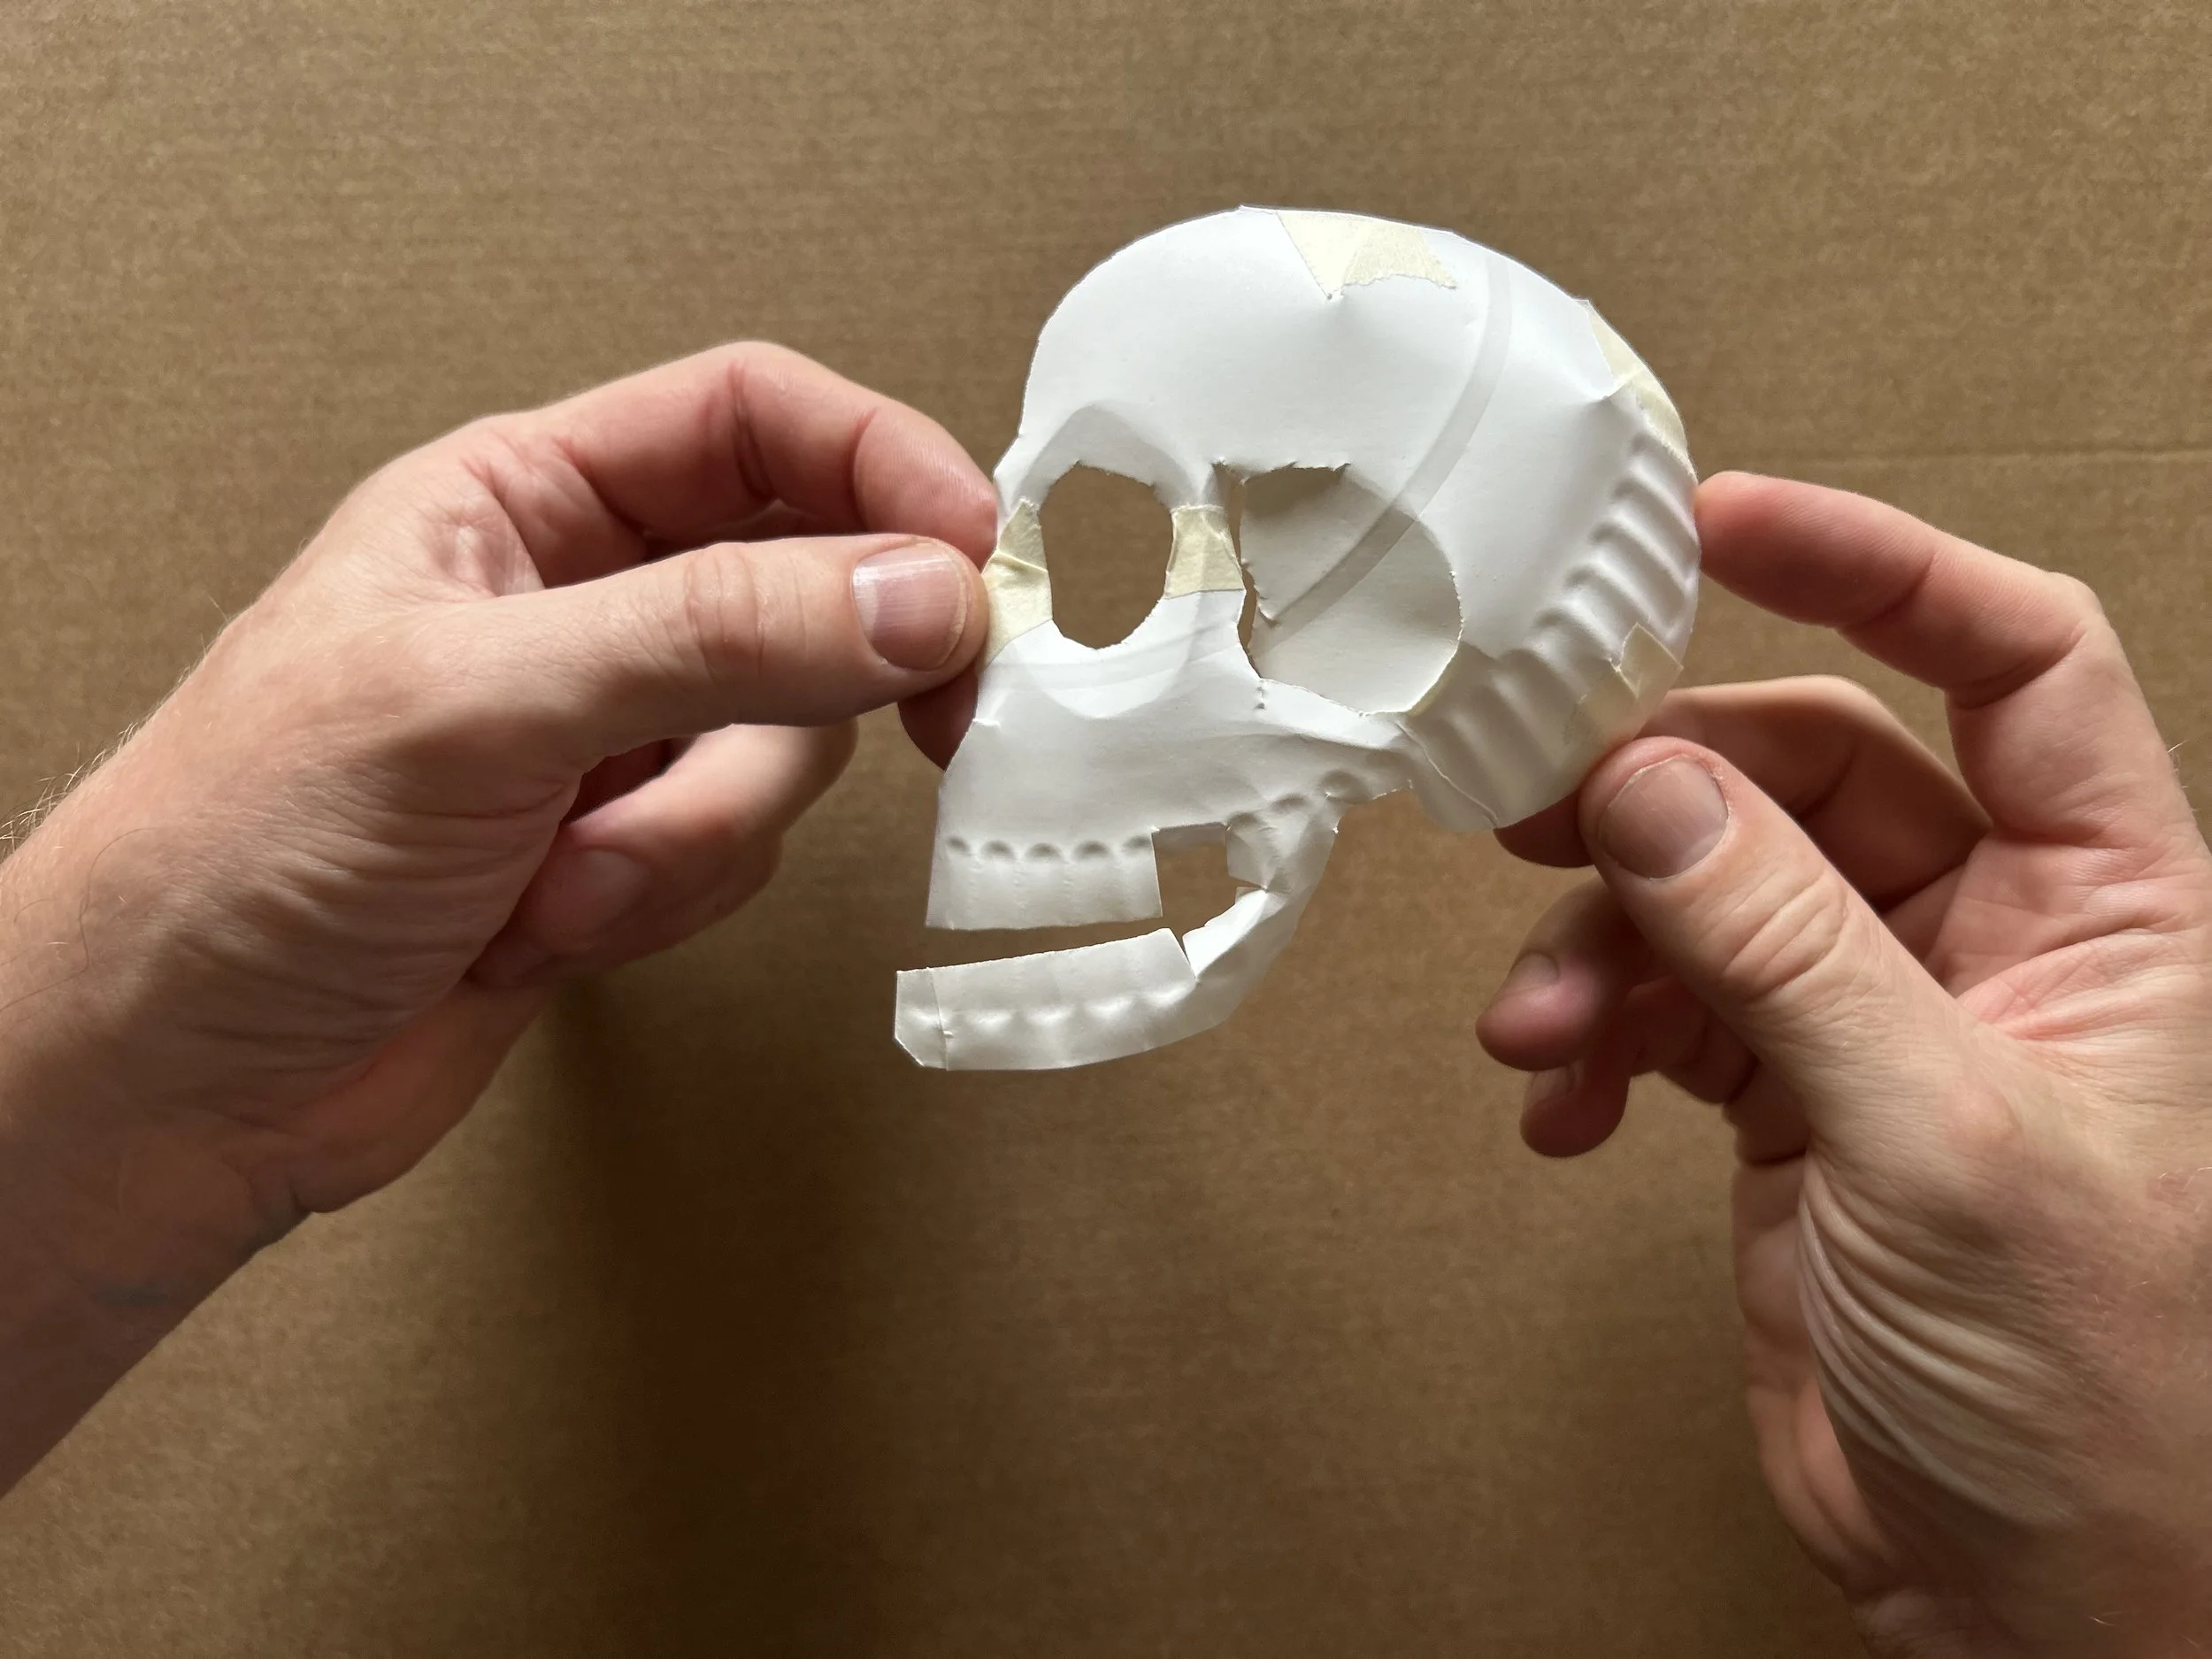
The 3D version
You can see above how I’ve slit and pulled together the back of the skull to make it more ‘rounded’. I’ve also ‘squeezed’ around the eye socket to make that go in, and pushed in the piece by the temple. I’ve also cut a couple of slits by the back of the jaw and pushed that in a little. All of this is shown on the video.
Okay, so for my versions here I decided to draw on some designs, in the style of Mexican ‘Day of the Dead’ masks. It’s a style that’s used on lots of different items, masks, models, figures, puppets etc . . . I just printed off a few versions to use as inspiration but I also began to ‘doodle’ the patterns too. I just used a permanent marker.
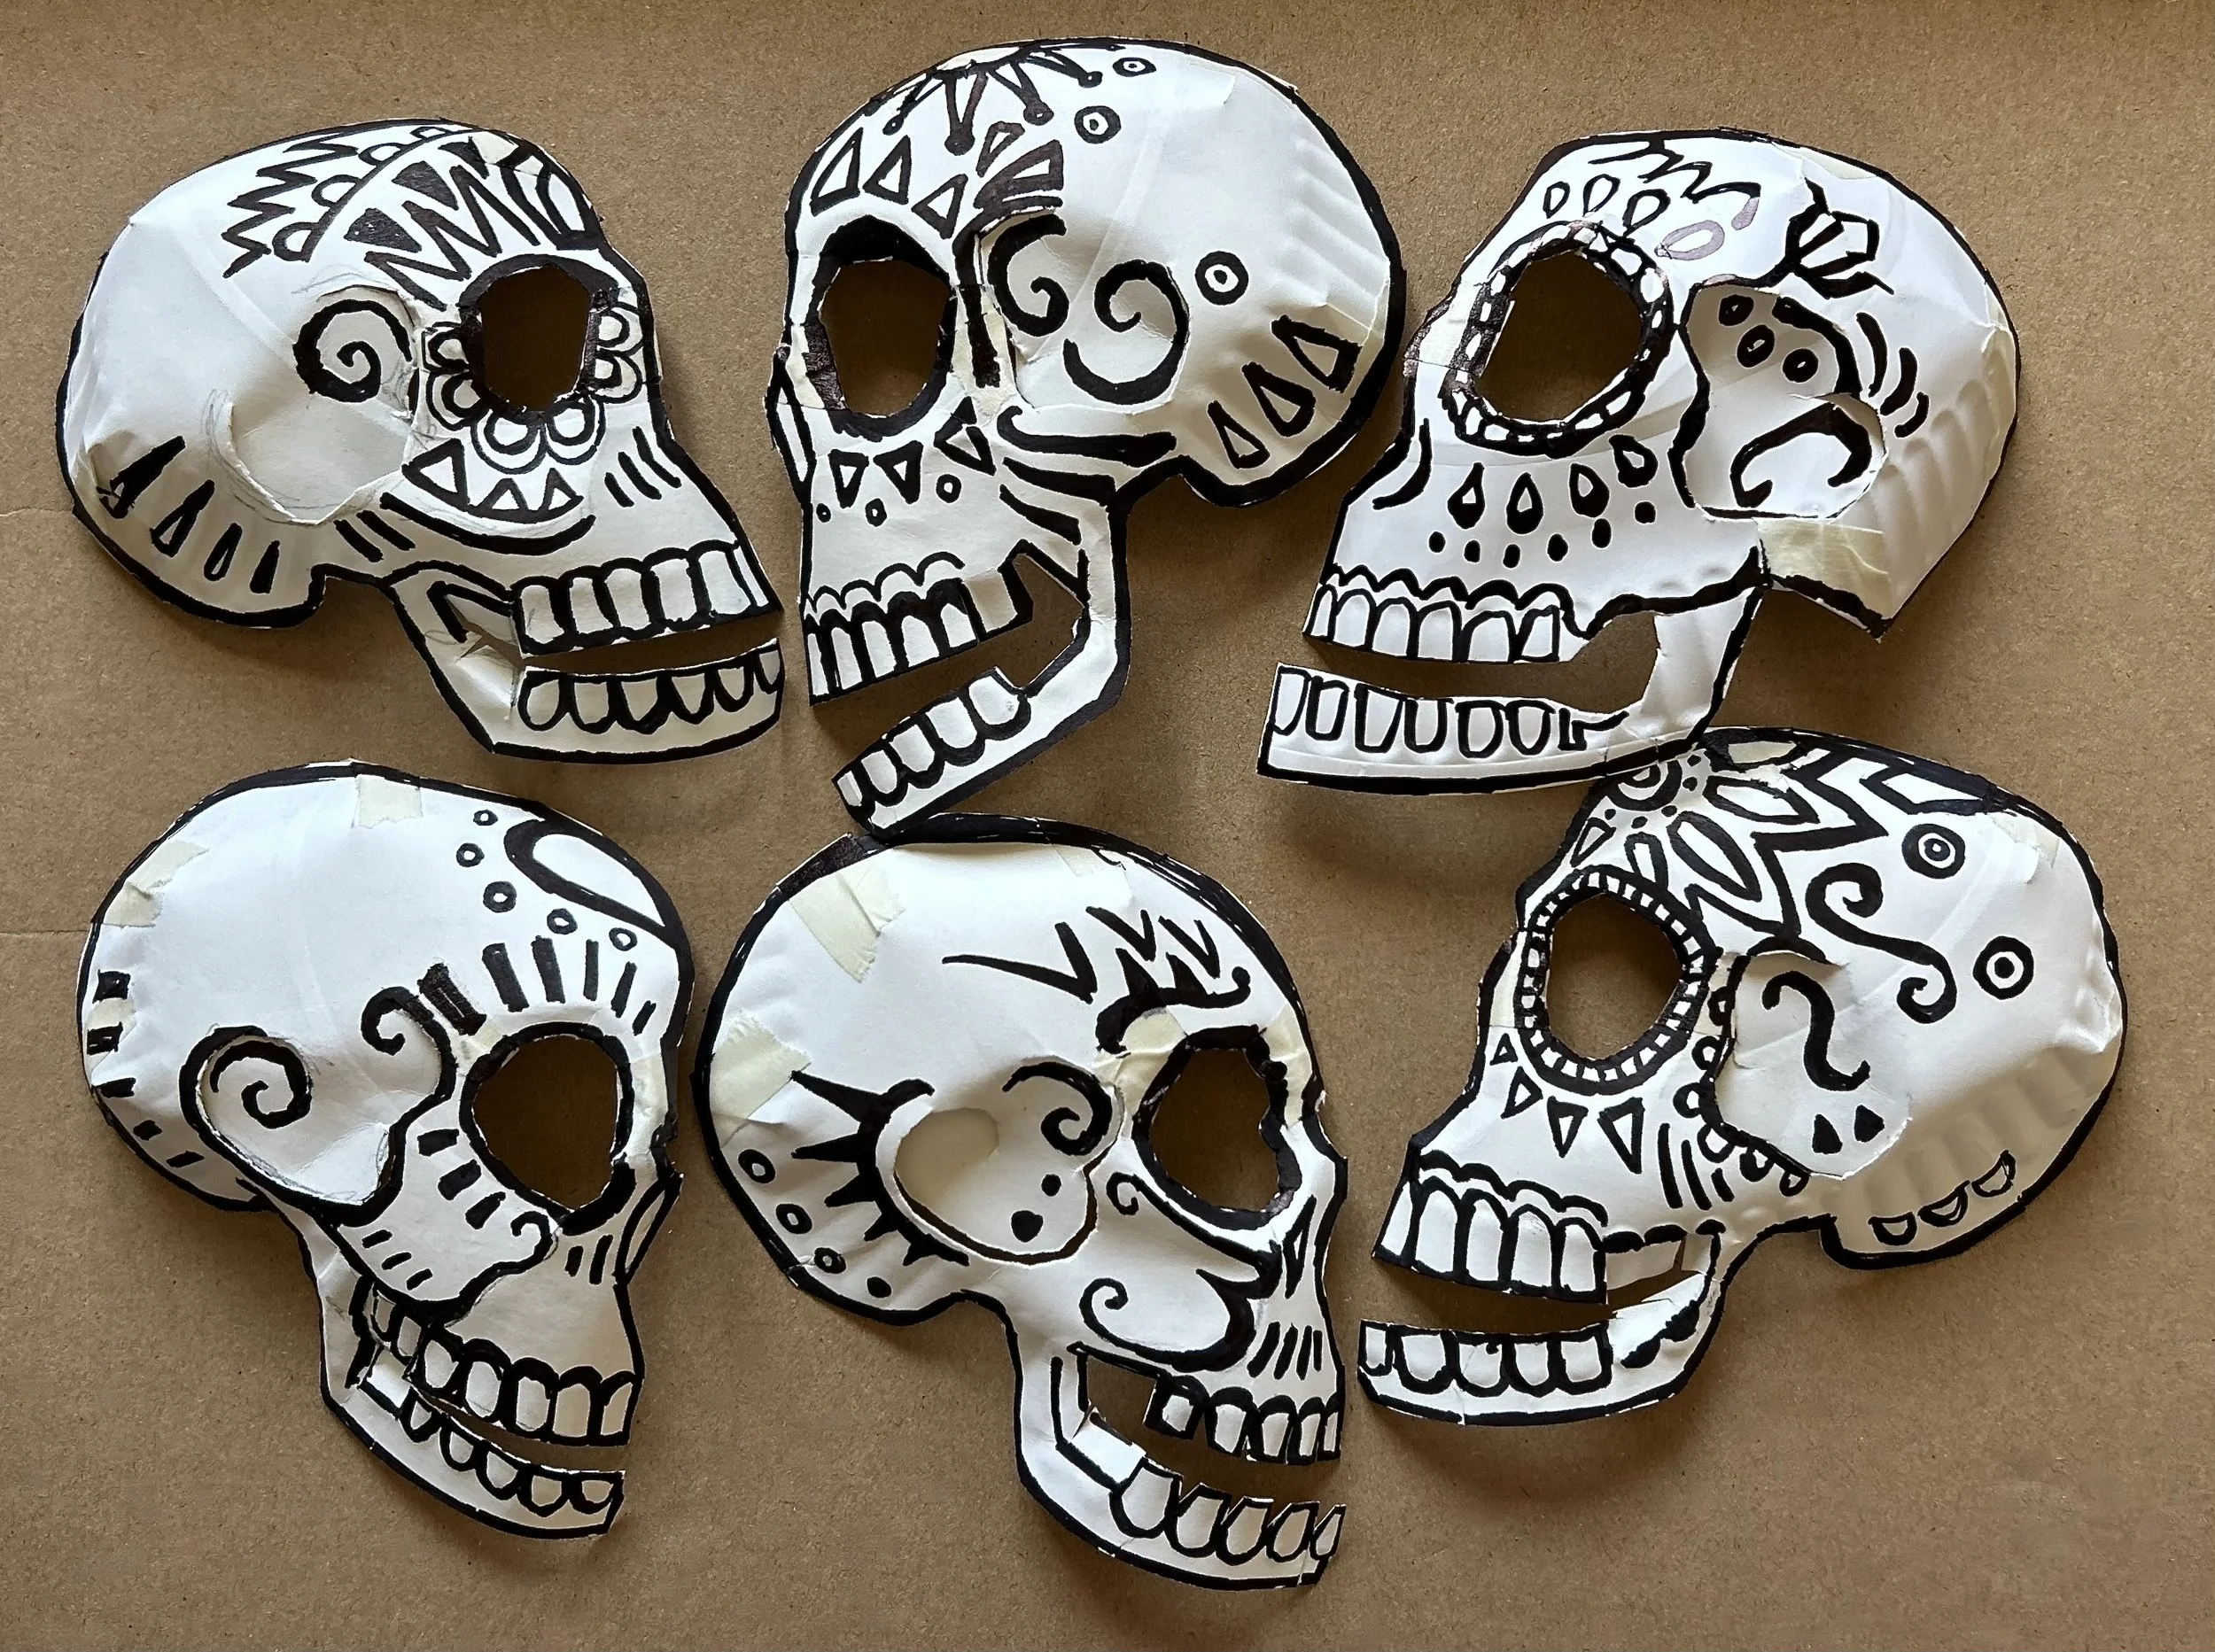
Patterns added with a permanent marker.
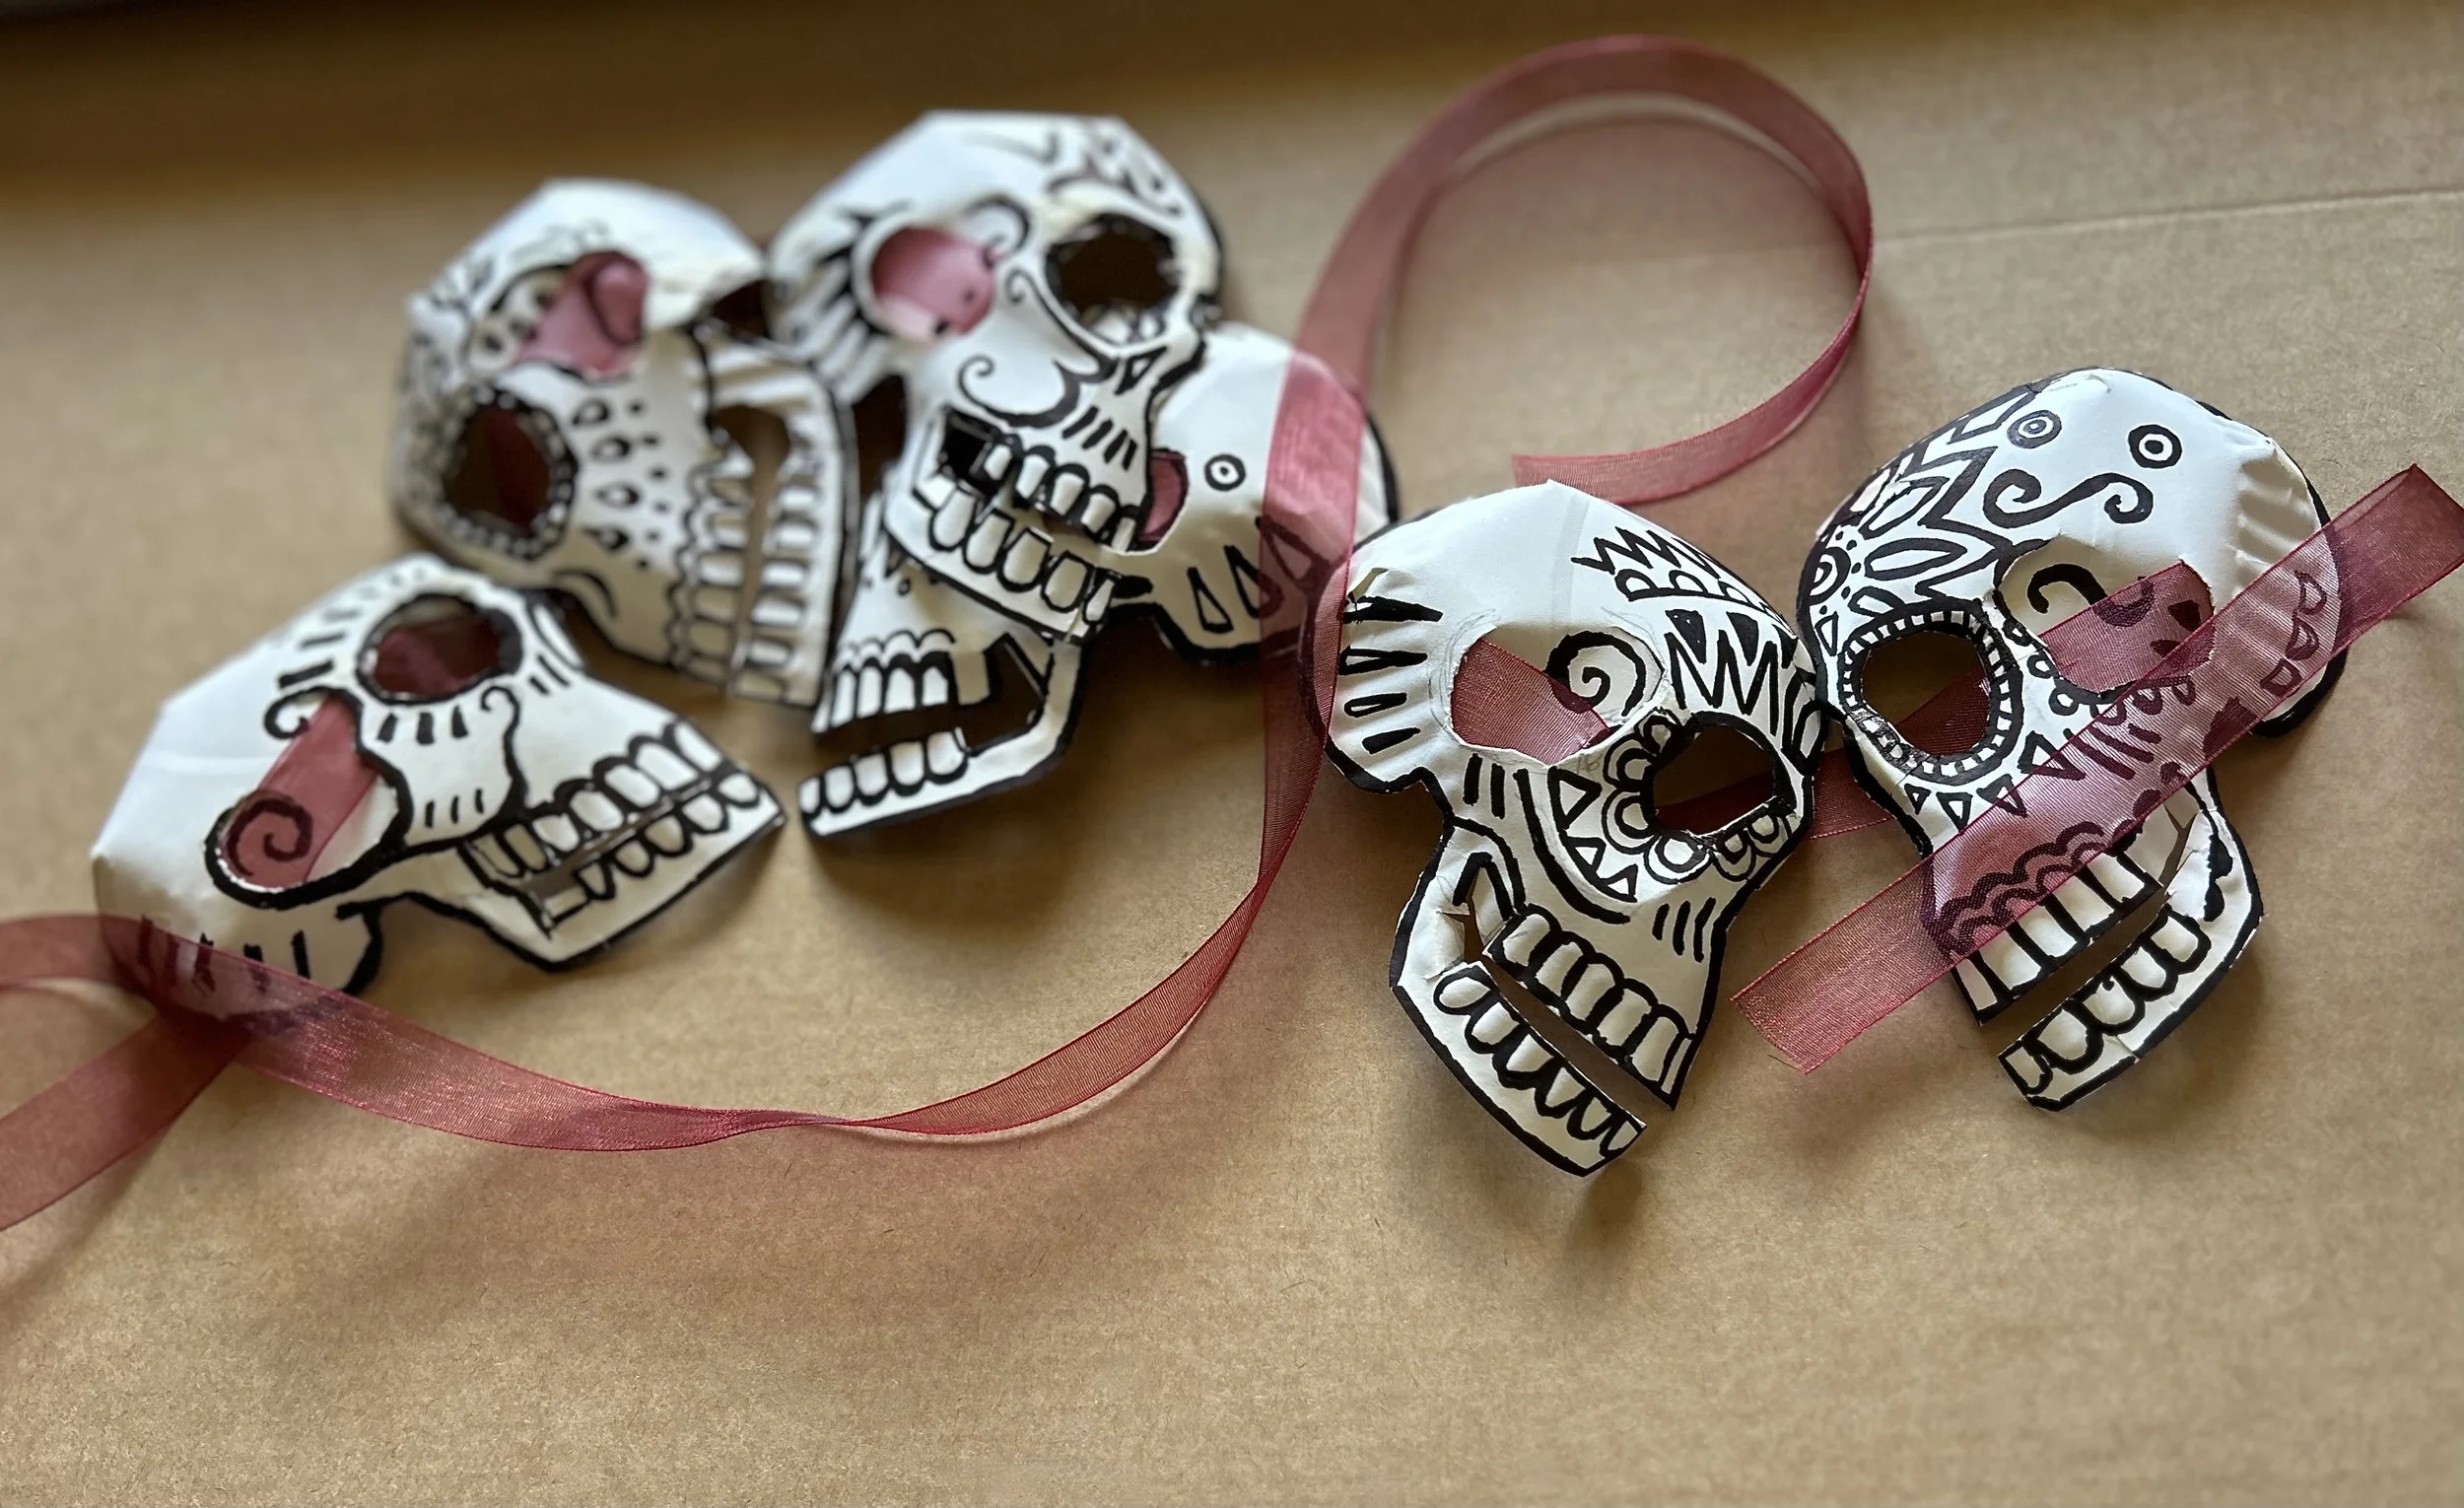
Here, I’ve added a simple piece of ribbon to connect the skulls together. (Just taped to the back of each one)
You could even add some small battery-powered lights, like I have below . . .